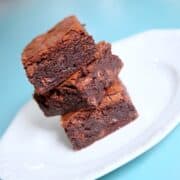
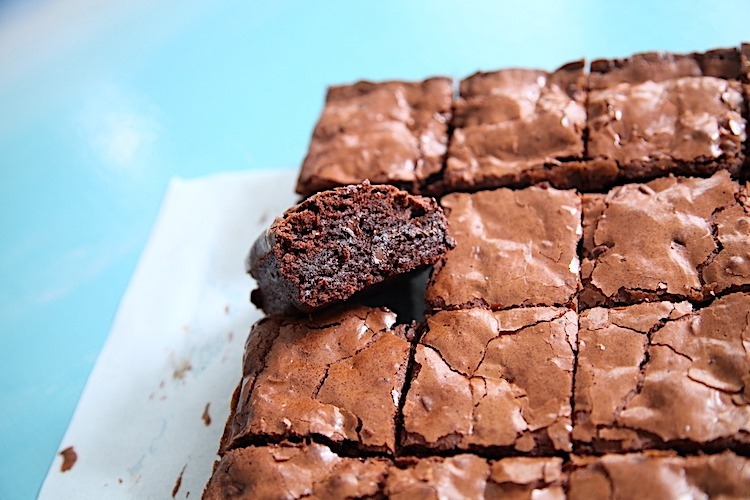
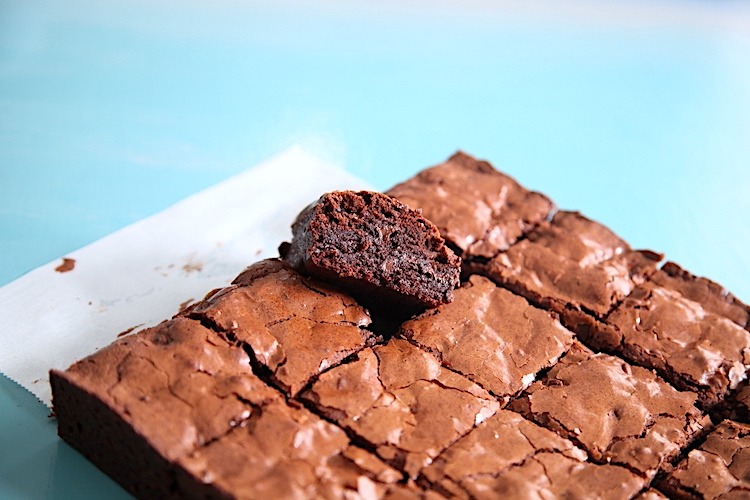
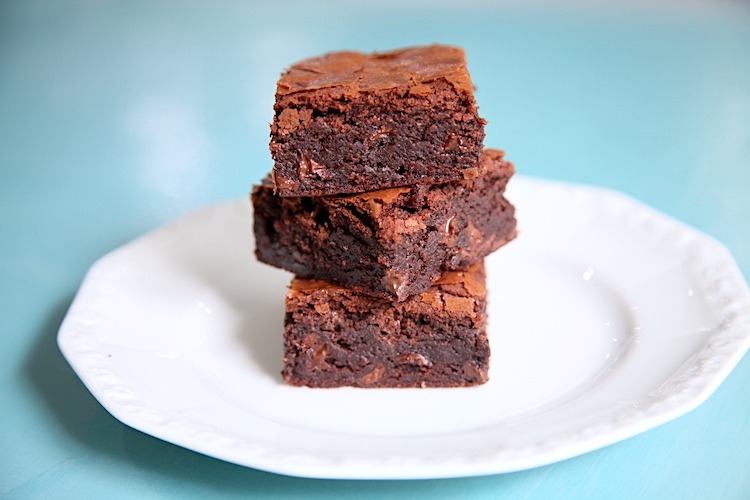
It is a bold statement to call these gluten free Perfect Brownies. I know, I get it. We are all very picky about our brownies, the level of fudgy-ness versus cakey-ness, whether it has a crinkle top or it is frosted, nuts or no nuts. These are all great arguments to have when considering a great brownie, let alone a gluten free one. All I can say is that when I make this version (and I have made many versions) the response is amazing. No one wants me to change a thing. They are rich and deeply chocolatey, fudgy without seemingly under-baked, have a crinkle top and no additional distractions to the flavor or texture. Perfect Brownies and they just happen to be gluten free! Yahoo!
Backstory on the Perfect Brownies
My husband loves chocolate. I am pretty sure that he eats some kind of chocolate every day. However, he is not usually a fan of cake. Not to say that he can’t appreciate a good cake, he can. And I have made many that he has enjoyed over the years, but that will never be his preferred dessert. So when we got married…. We had a tough decision to make regarding our wedding cake. Does it have to be cake, we wondered?
We consulted with the pros at the bakery we were working with (Savannah Rum Runners Bakery), and we came up with the idea of stacking round brownies with cheesecake in layers. It was then frosted and decorated like you’d normally expect a wedding cake to look. It was served with a raspberry sauce and turned out beautifully and delicious. Everything works out the way it is supposed to, as they say!
Fast Forward
Throw in the gluten free issue and now I have the challenge of making a gluten free brownie that my husband will love. I went through countless different versions. The completely flourless version tasted rich and amazing, but the texture didn't scream “brownie.” Using almond flour results in a nice density, but there was a bit of grainy chew due to the nuts. Eventually, I developed a brownie with the ingredients found in this recipe and I knew I was on the right track. The right balance of the amounts of each ingredient, perfect the cooking temp and timing was the key. I finally nailed it though! I truly hope you try this recipe and let me know what you think in the comments section!
The Rest is Easy!
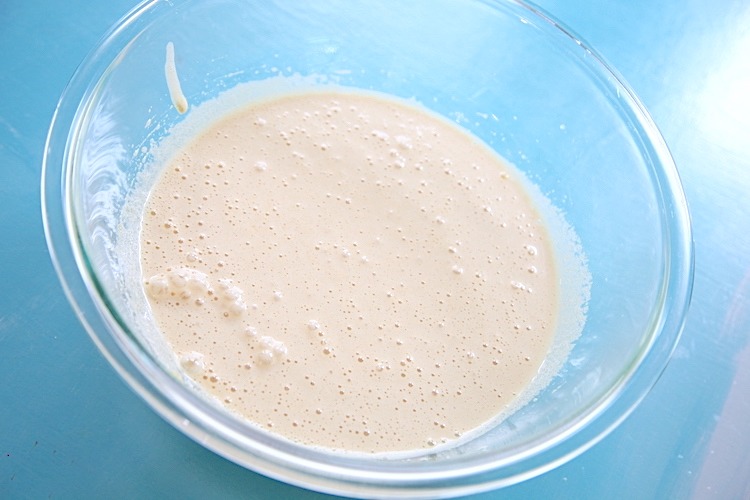
Making these Perfect Brownies is easy peasy! Begin by beating the eggs until they are frothy. Add in the sugars and beat with a hand mixer until combined well. Gradually add in the butter, then the vanilla.
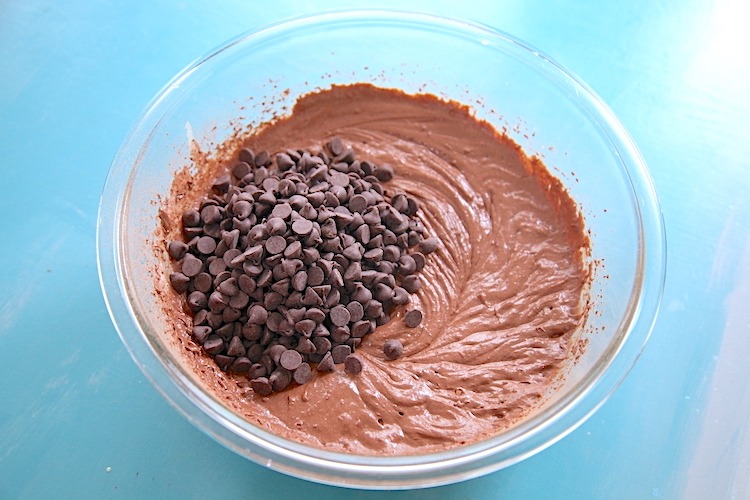
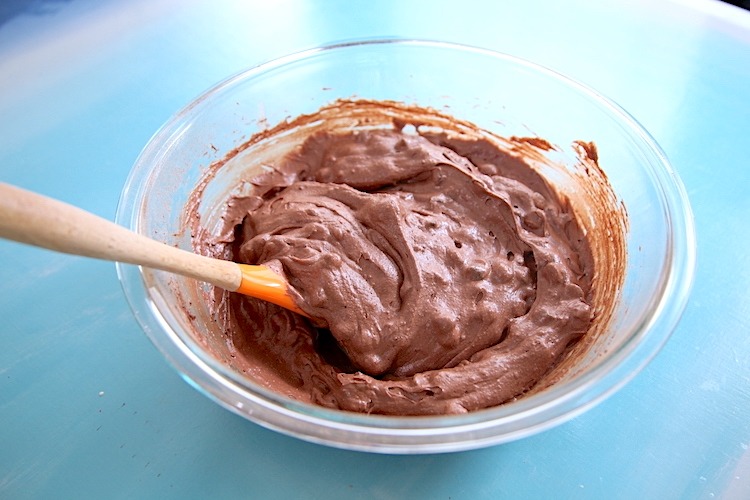
Combine the cocoa powder, flour and salt with the wet ingredients using the hand mixer. Stir in the chocolate chips by hand with a spatula.
Bake until the center is set. Although the crinkle looking top will develop fairly early on in the baking time, it will take until about ¾ of the way through the baking time for it to rise and puff up a little in the center. If this hasn’t happened yet, it still needs to bake a bit longer. The dry toothpick test will not determine if it is baked properly because it is a dense, fudgy brownie.
Serve it Up!
Serve up this Perfect Brownie while it is still warm, just on its own or top with Bourbon Laced Whipped Cream, ice cream or both! A few fresh berries would be nice too.
More Gluten Free Treats to Check Out
- Lava Cake
- Chocolate Macaroon Tart
- Chewy Chocolate Chip Cookies
- Mocha Caramel Chip Ice Cream
- Spiced Chocolate Cheesecake
- Pumpkin Chocolate Chip Cookies
Recipe
Perfect Brownies
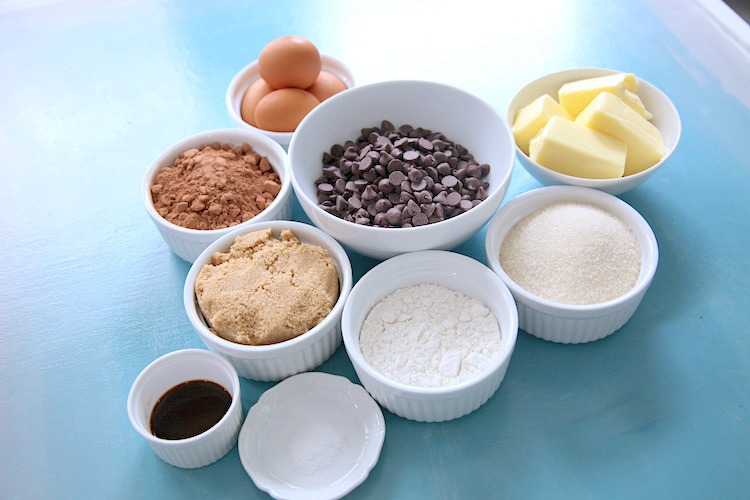
Ingredients
- 4 eggs
- 1 cup butter - melted & cooled
- 1 tablespoon vanilla extract
- 1 cup granulated sugar
- 1 cup light brown sugar
- 1 cup cocoa powder
- ½ cup gluten free flour blend with xanthan gum
- ½ teaspoon fine sea salt
- 1 ½ cup semi-sweet chocolate chips
Instructions
- Preheat the oven to 300 degrees. Grease and line an 8x8 or 9x9 baking pan with parchment for easy release.
- In a mixing bowl, beat 4 eggs with a hand mixer until light and frothy. Add in the sugars and mix again until combined very well and pale in color.
- Gradually add the butter and vanilla, mixing to combine. Then add in the cocoa powder, flour and salt. Combine using the hand mixer, scraping the sides as needed.
- Stir in the chocolate chips by hand with a spatula.
- Pour the batter into the prepared pan and bake for 70-75 minutes or until set in the center. Remove from the oven and let cool for at least 30 minutes before cutting and serving.




Comments
No Comments