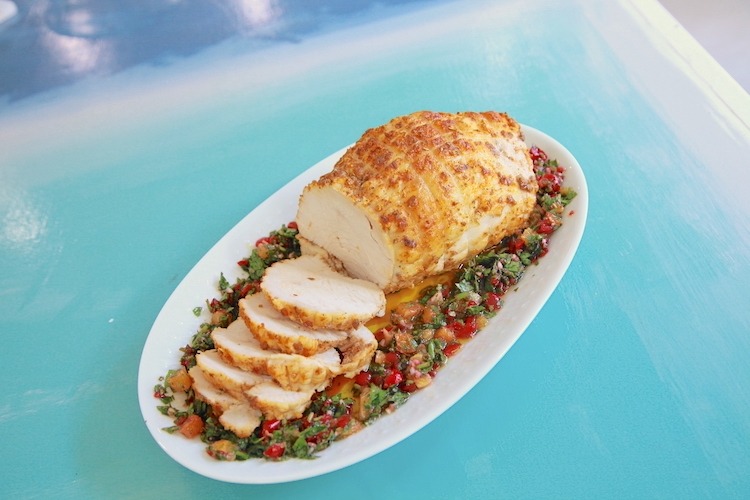
Brined & Buttered Boneless Turkey is a new rendition on an old favorite, my Boneless Thanksgiving Turkey. This version is brined in a simple buttermilk and salt solution then is stuffed and coated with a generously seasoned butter. The result is super flavorful and juicy meat with a crust of buttery herbs and spices. As much as I adore the original, my need to tinker with recipes is endless! I like variety and this is definitely a delicious option to add to the rotation during the holidays as well as the rest of the year.
What I Love About this Brined & Buttered Boneless Turkey
In contrast to a whole turkey, this boneless roast takes up much less space in the oven. Even if you have a large crowd, just double or triple the roasts and they will still easily fit on a single sheet pan. You don’t have to worry about it drying out! The brining, buttering and baking to 160 degree internal temperature will ensure a juicy and flavorful turkey. It is very easy to slice and serve to a crowd. Leftovers are easy to package up and store in the fridge, especially compared to the hassle of breaking down a whole turkey.
Time to Brine
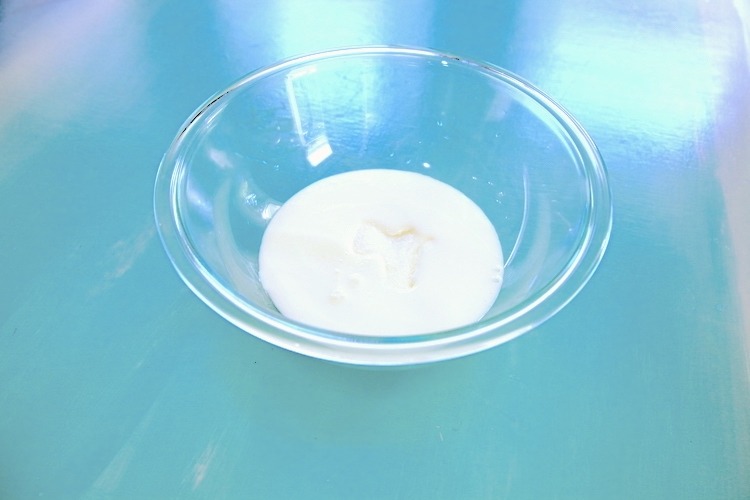
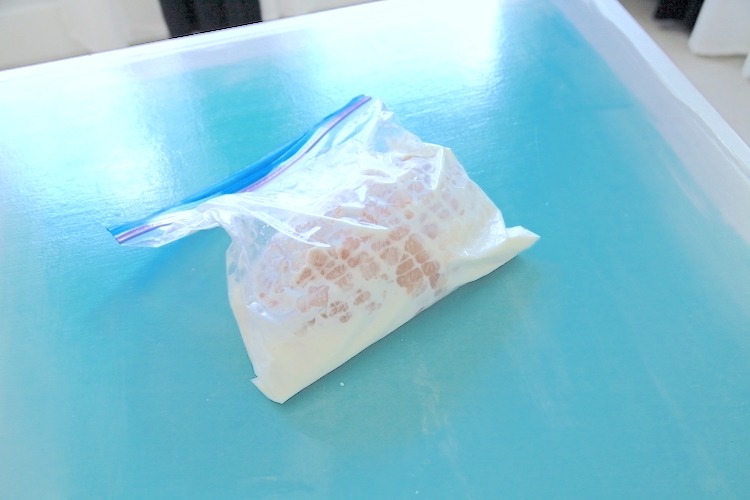
Begin by setting up the brining mixture. If you decide to brine in a bowl, which is a perfectly great option, you may need more buttermilk and salt to cover the roast entirely. Otherwise, combine the buttermilk and salt in a sturdy gallon zippered bag.
Remove the roast from the packaging, leaving the netting on. Discard the juices and the gravy packet and/or turkey neck that is often included in these roasts. Place the roast in the bag/bowl with the buttermilk brine. Seal the bag or cover the bowl and place in the fridge for up to 48 hours. I really, I shoot for a 24 hour brine ahead of cooking.
Hiccup in the Plan
I decided to work on this recipe post before the fall holiday season and the grocery stores in my area were only carrying the white and dark meat boneless roasts. In the past, I have tried these and was not happy with the results. Dark and white meat need to be cooked and treated differently, therefore, I bought 2 roasts and pulled the dark meat out of both of them and saved it for another meal. Then I combined the white meat from both roasts into one netting that held it all together and proceeded with the recipe as usual. Love it when a plan works out;-)
Butter Time!
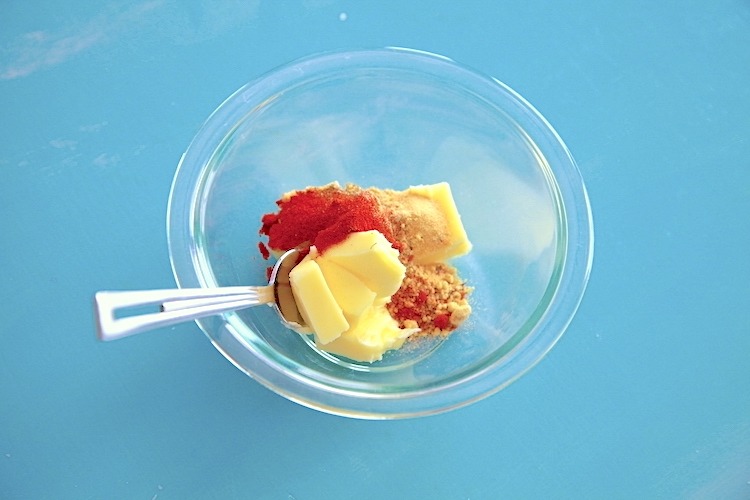
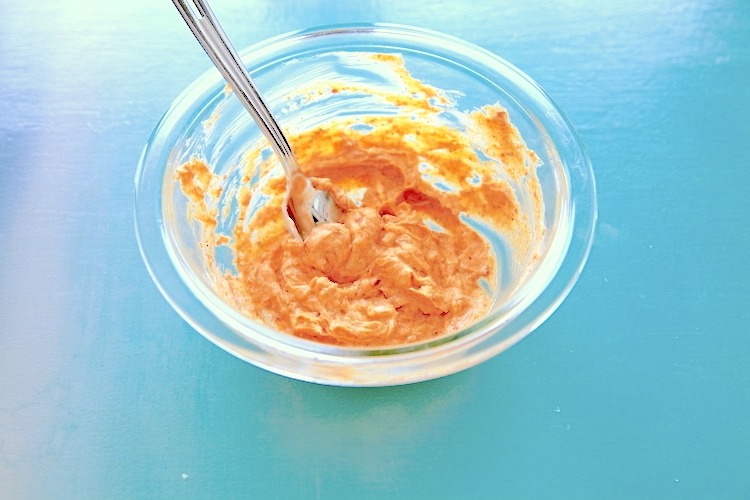
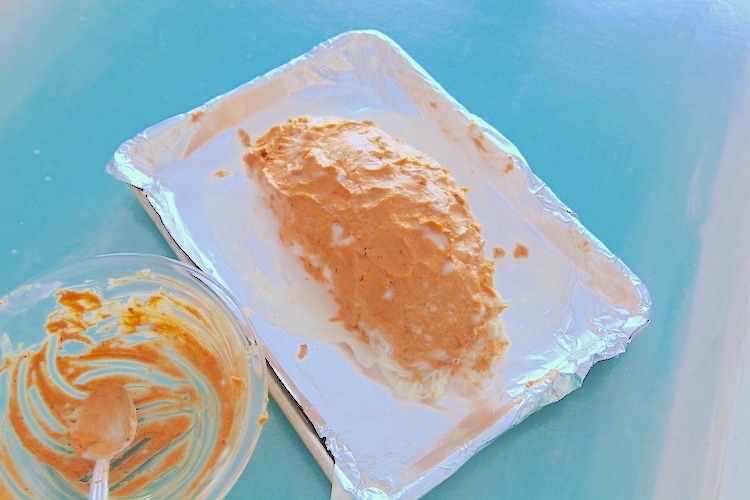
Combine the softened butter with all of the dry seasonings in a small bowl. Remove the turkey from the brine, allowing it to drip off as much as possible, but don’t rinse the brine off. Place the turkey on the sheet pan or baking dish you plan to cook in. Now it’s time to use the best tool in the kitchen… your hands! Take small scoops of the seasoned butter and press it into the layers of the turkey meat inside the netting. Open the ends of the netting to get better access to the turkey and get as much of the butter inside as possible. Spread the remaining butter all over the exterior of the roast leaving its skin side up on the baking pan.
And Bake!
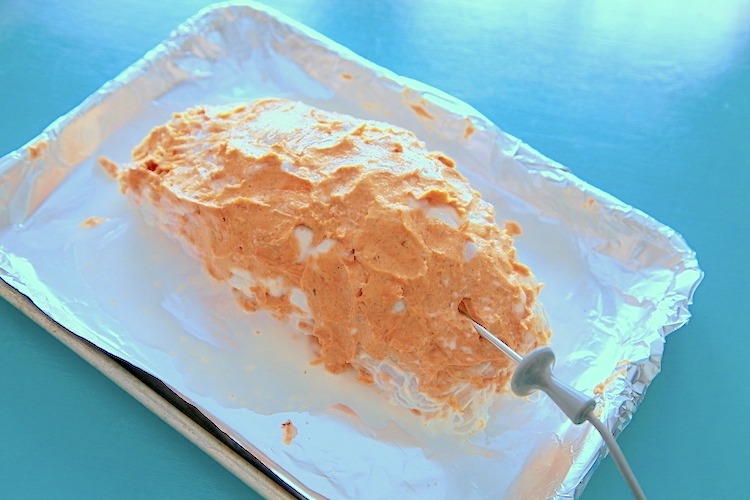
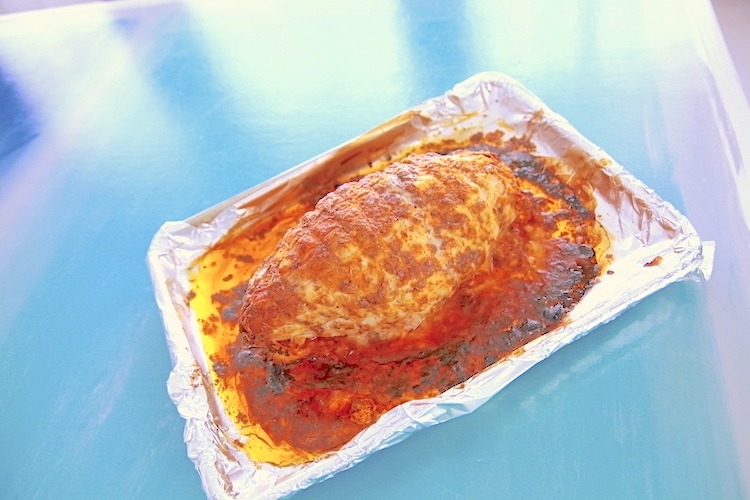
Place an oven safe thermometer into the center of the roast and take it out when it reaches 160 degrees. If you do not have a thermometer, check the turkey packaging for its weight and length of time recommended for safe cooking. Generally, roasts between 3-5 pounds will take between an hour and 15 minutes to an hour and 45 minutes to fully cook. Having a thermometer is the best way to ensure that the meat is cooked perfectly though. They run between $10-$20 on Amazon, so if you are in the market for one, this might be a good time to make the purchase!
Cranberry Awesome Sauce
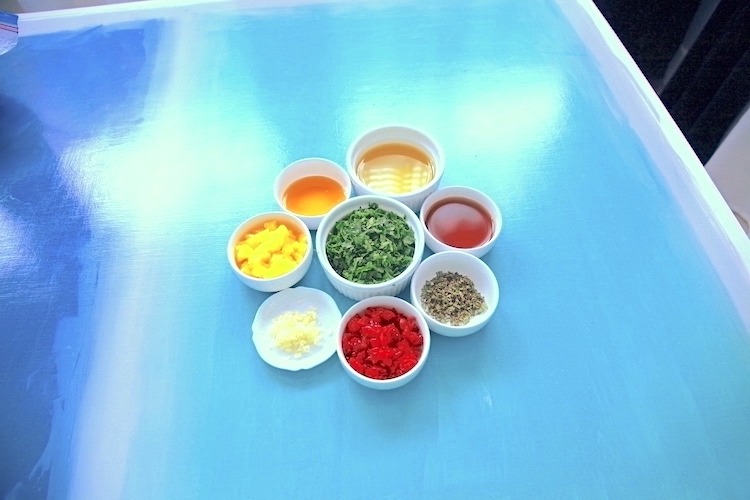
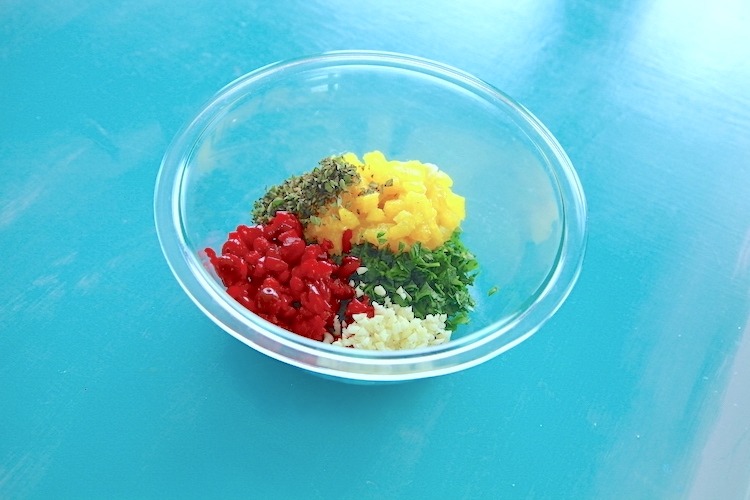
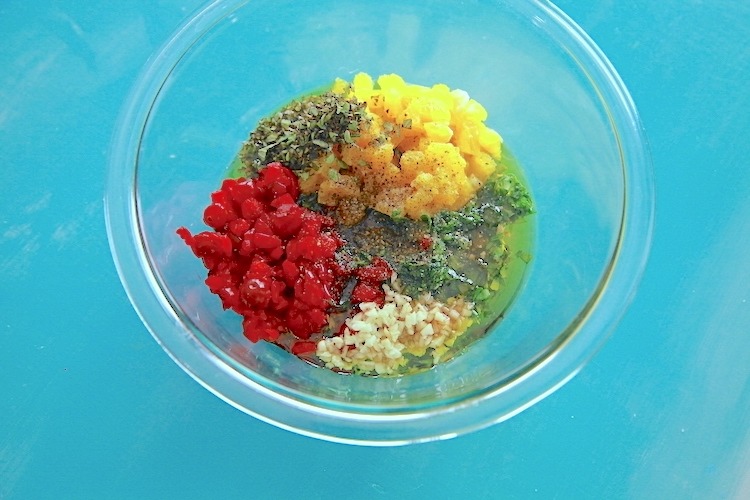
This Cranberry Awesome Sauce is a twist on the classic holiday cranberry sauce. Think of it as the lighter, fresher and less sweet cousin. A combination of fresh cranberries, orange segments, garlic, parsley and oregano are splashed with olive oil, sherry vinegar, a touch of honey, salt & pepper. Just mix it all together in a bowl and enjoy! So simple and refreshing. It helps to balance the richness of meats and starchy sides, while adding a ton of flavor. If you want to double down on the “richness” factor, check out my Drunk as a Sailor Turkey Gravy.
More Gluten Free Recipes to Check Out
- Roasted Garlic Mashed Potatoes
- Browned Butter Mashed Sweet Potatoes
- Gotta Have It! Cornbread Stuffing
- Traditional Thanksgiving Stuffing
- Boneless Thanksgiving Turkey
- Creamy Vegan Pumpkin Pie
- Cherry Cream Pie
- Peanut Butter Pie
- Spiced Pumpkin Cheesecake

Brined & Buttered Boneless Turkey
Ingredients
Turkey Brine:
- 3-5 lb boneless turkey roast - white meat only
- 2 cups buttermilk
- 1 tablespoon fine sea salt
Turkey Seasoning:
- 1 stick butter - softened
- 1 teaspoon Italian Seasoning
- 1 teaspoon garlic powder
- 1 teaspoon smoked paprika
- ½ teaspoon black pepper
- ¼ teaspoon mustard powder
- ⅛ teaspoon red chili flakes - *optional
Cranberry Awesome Sauce:
- 1 bunch flat leaf parsley
- 1 tablespoon fresh oregano - sub 1 teaspoon dried oregano if needed
- 3 large cloves fresh garlic
- ⅓ cup fresh cranberries - roughly chopped
- ⅓ cup orange segments - diced
- ¼ cup sherry vinegar - or red wine vinegar
- ½ cup olive oil - good quality
- salt & pepper - to taste
Instructions
Brining the Turkey:
- If possible, brine the turkey one to 2 days before roasting.
- In a bowl or sturdy gallon zippered bag, combine the buttermilk and salt.
- Remove the turkey roast from the packaging and discard the juices and gravy packet (unless you would like to use the gravy). Do not remove the netting holding it together.
- Place the whole boneless roast into the buttermilk mixture, making sure that it is covered on all sides. You may need more buttermilk to cover the turkey if using a bowl. Seal the bag or cover the bowl and store it in the fridge for several hours or up to 48 hours.
Roasting the Turkey:
- Preheat the oven to 325 degrees
- In a small bowl, combine the softened butter and dry spices and seasonings. Stir it well to combine evenly.
- Remove the turkey from the buttermilk brine and allow as much of the brine to drip off as possible, but don’t rinse it off. Place the turkey on a baking sheet or dish that is large enough to leave at least an inch on all sides of the meat.
- Using your hands (it’s the best tool in the kitchen!), take bits of the seasoned butter and push it inside the layers of turkey as best as you can. Open the netting on the ends to access the layers of the turkey meat and get the butter in there. Smooth any remaining butter on the exterior of the roast. Leave the skin side facing up when you rest the turkey on the baking pan.
- Insert an oven-safe thermometer into the center of the roast and place into the preheated oven. Remove when the meat reaches an internal temp of 160 degrees. If you don’t have a thermometer, expect the turkey to take between 1 hour and 15 minutes to 1 hour and 45 minutes depending on the size. Refer to the package on the turkey for guidance on size & timing. Let rest for 10-15 minutes before slicing. Serve with Cranberry Awesome Sauce.
Cranberry Awesome Sauce:
- Combine all ingredients in a small bowl. Taste and re-season if needed.
- Although you can make this ahead of time, keep in mind that the color in the cranberries may spread to the orange segments over time, so you may want to delay adding the orange in until within an hour of serving. Store leftovers covered in the fridge.










Comments
No Comments