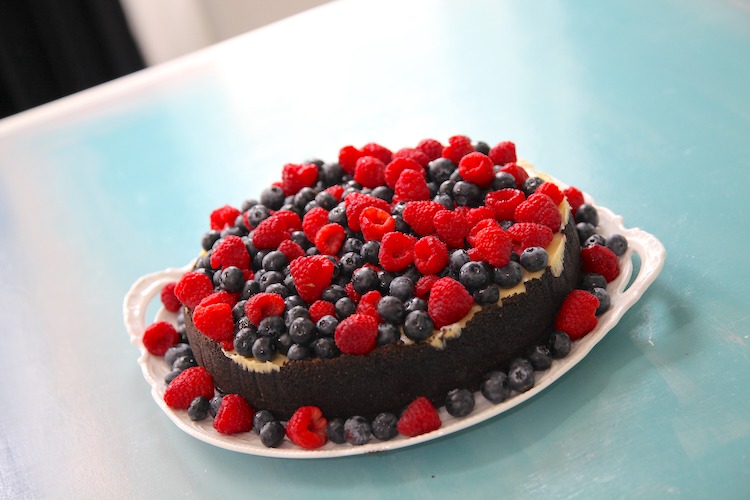
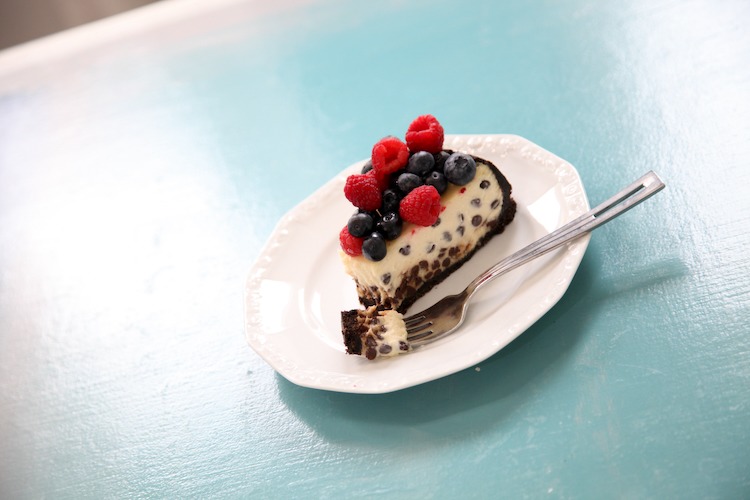
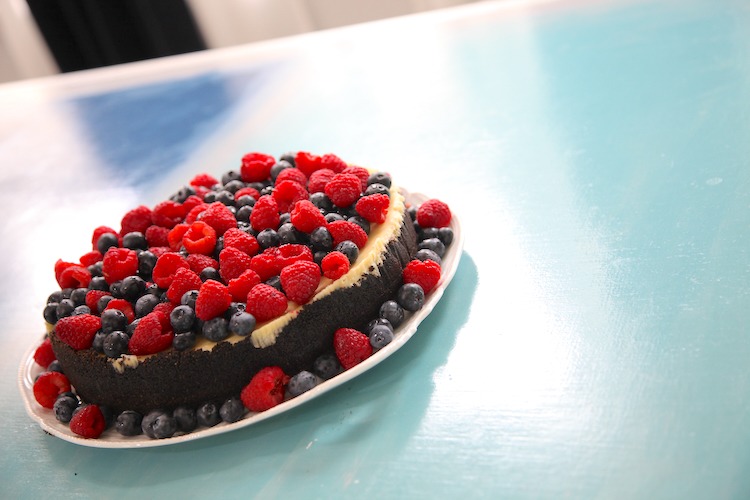
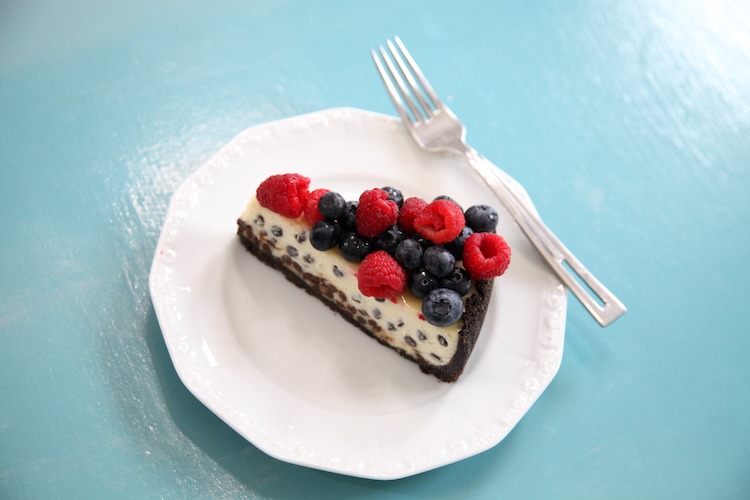
I decided to top this gluten free Chocolate Chip Cheesecake with fresh berries because it is super rich and creamy. It needed the acid and freshness from the berries to balance the decadence of the filling. The combination works perfectly and is accented by the buttery crisp chocolate cookie crust that holds it all together. A contrast of silky smooth and crunchy textures with amazing flavor to satisfy any sweet tooth!
Start with the Crust
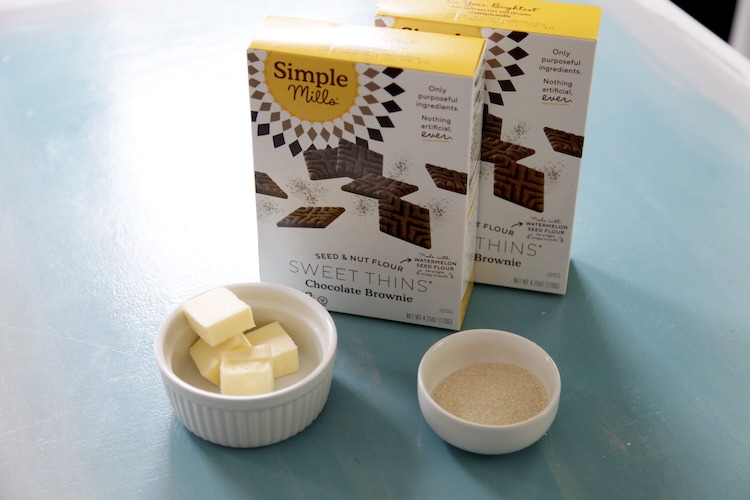
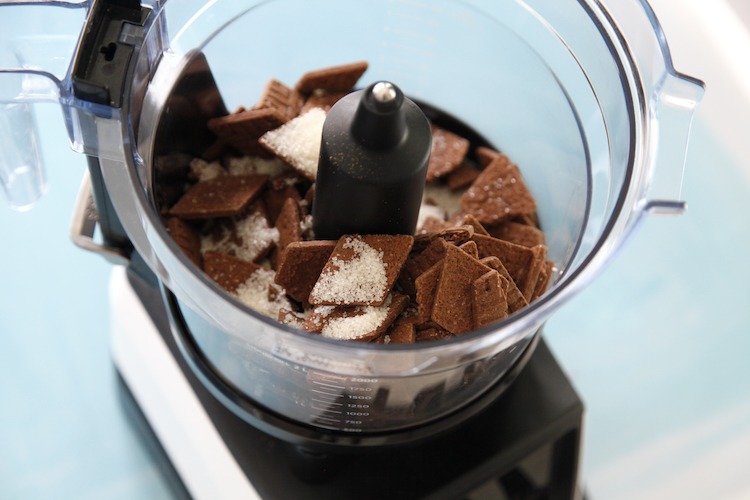
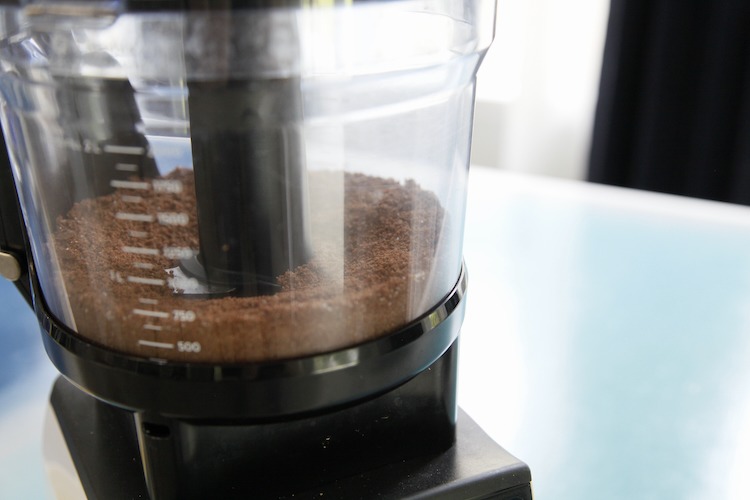
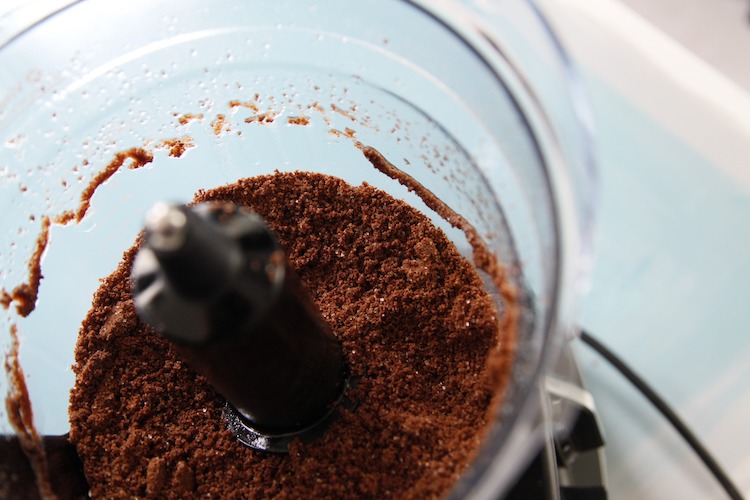
I used Simple Mills Seed & Nut Flour Brownie Thins for this recipe and they really work well. They aren’t too sweet and hold together perfectly as a crust without becoming soggy. Two boxes of them with just a little sugar are ground up in a food processor to fine crumbs. Gradually add melted butter until the crumbs are damp and hold when pressed to the side of the bowl. The dryness of the cookies will determine how much butter is needed, but it is usually just under 1 stick.
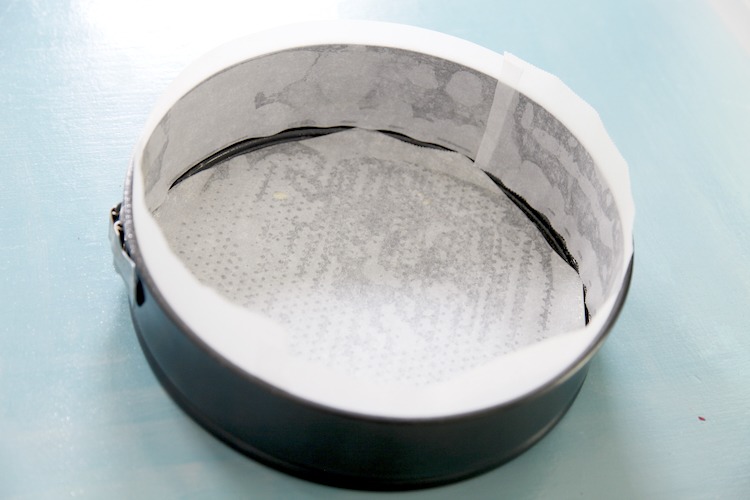
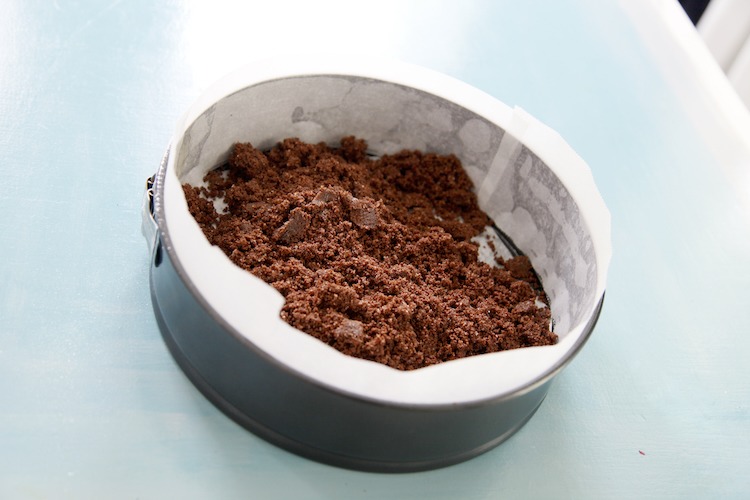
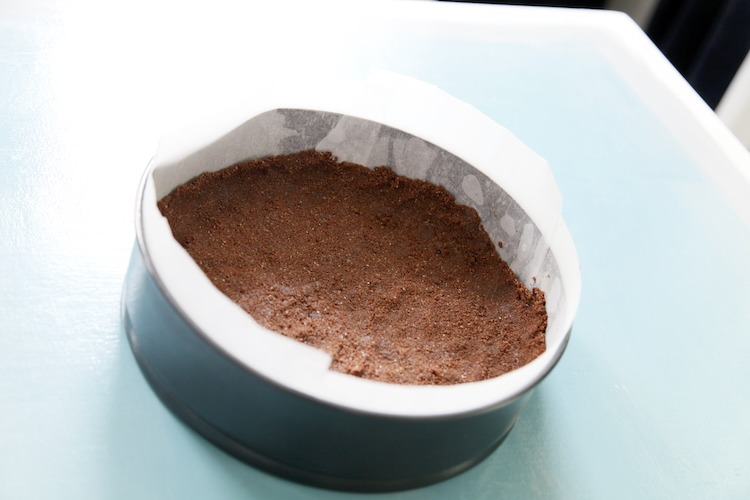
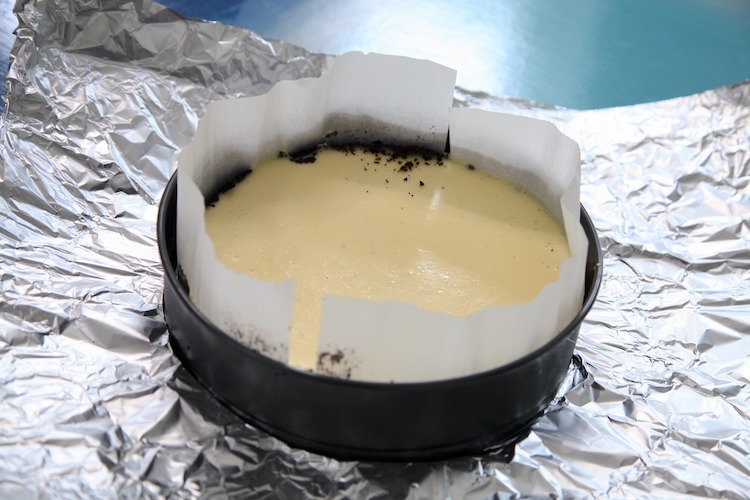
Press the crumbs into the bottom of the parchment lined springform pan. Go up the sides as far as you can, but it won’t go all of the way up. Then set the prepared crust aside while you work on the filling.
Size Matters!
I use a 10 inch pan for this recipe. The size of your pan will determine how much coverage up the sides you will get from the crust and how tall the cheesecake will be. Which also translates to baking time! The taller the cake, the longer it takes to bake. This 10 inch cheesecake takes 2 and a half to 3 hours. Make sure to plan accordingly. I mention that because I have messed that up more than once.
Easiest Chocolate Chip Cheesecake Filling
Use a paper towel to wipe out the crumbs from the food processor. No need to clean it any more than that. All of the filling ingredients, except the chocolate chips, can go into the bowl at the same time. Blend until combined, then scrape down the sides and whip the mixture on a high speed to add a bit of air to the filling. Gently stir the chocolate chips into the filling with a spatula. If you would like a more airy or less dense cheesecake, whip the whipped cream separately then fold it in gently with a spatula last.
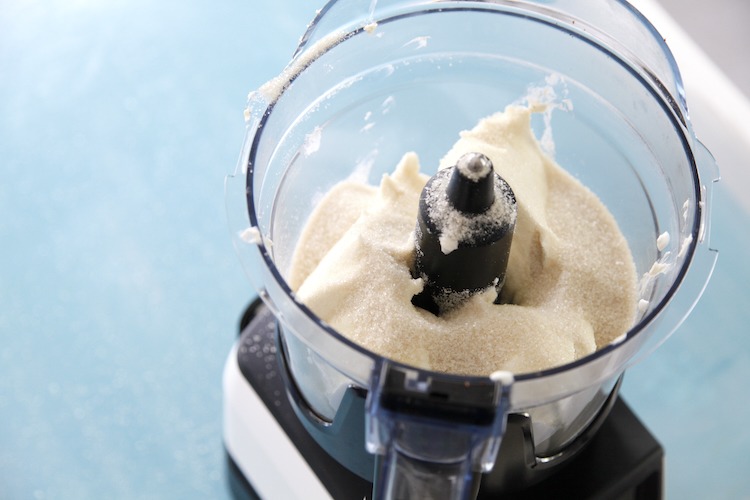
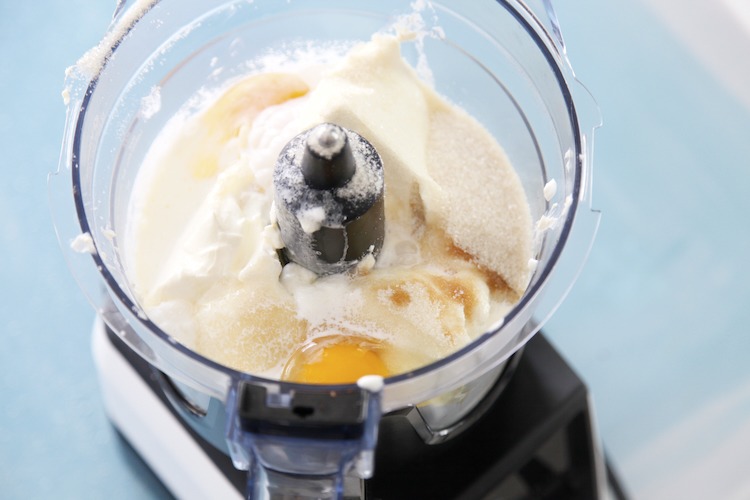
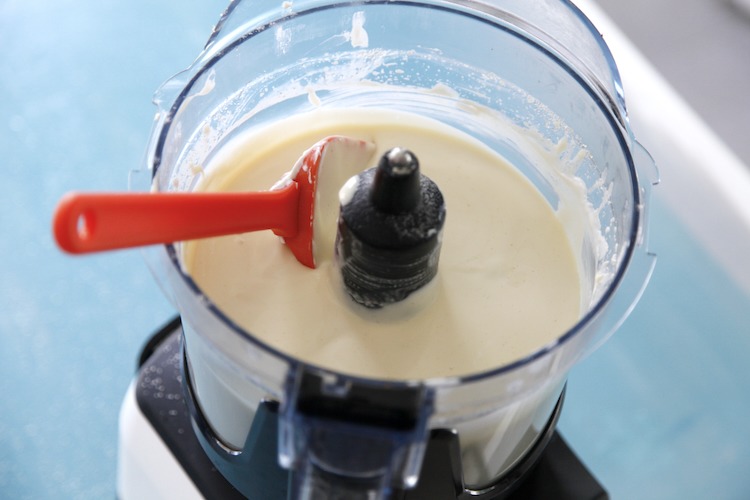
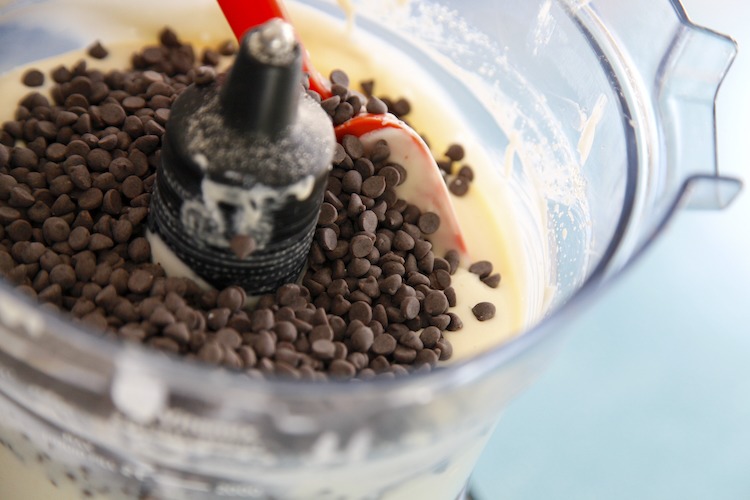
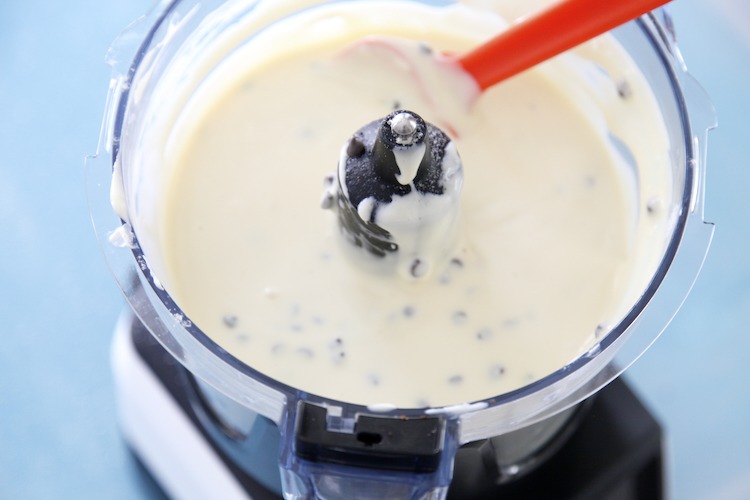
Pour the filling into the crust. The filling will likely go above the crust. Wrap the bottom and sides of the springform pan with a wide sheet of aluminum foil to make it water-tight. Place it in a larger baking pan that can serve as a water bath. Transfer to the oven and fill the water bath at least halfway up the side of the spring form pan. Allow the cheesecake to bake covered loosely with aluminum foil for 2 and a half to 3 hours. The center will puff slightly when it is done, but it will not brown much if at all.
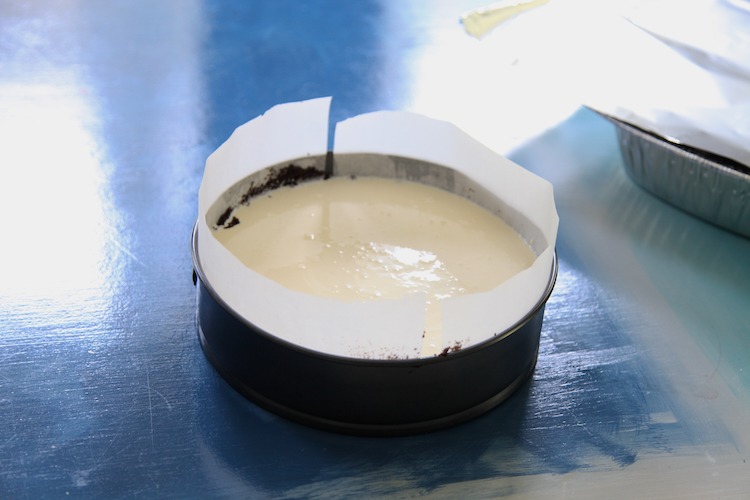
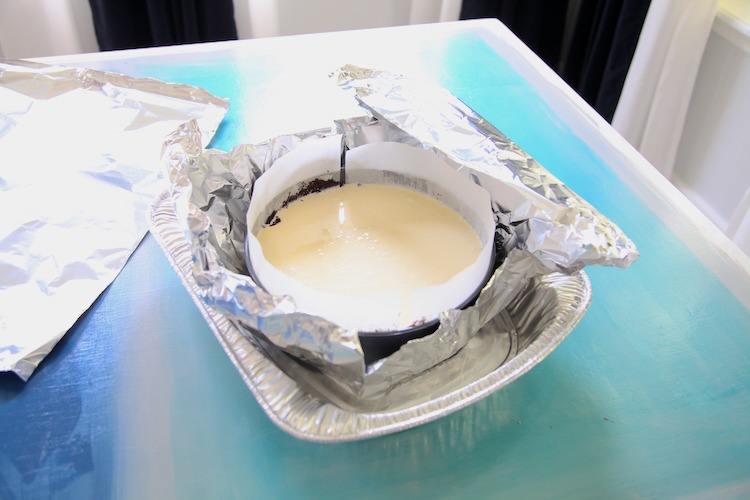
Let the Chocolate Chip Cheesecake Chill Out
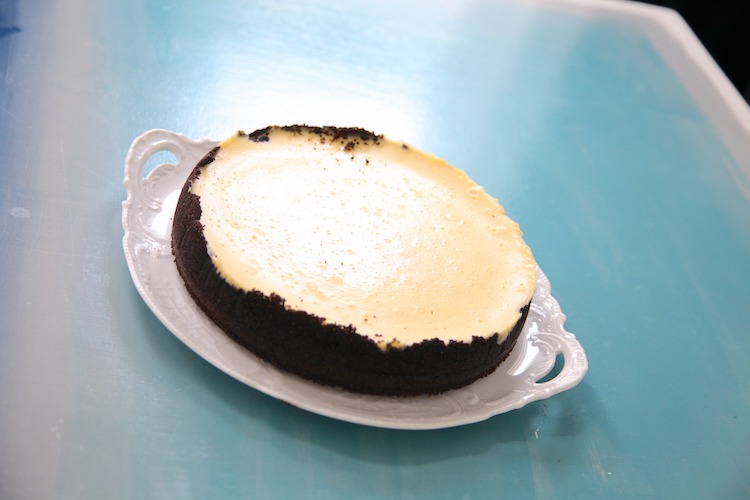
Let the cheesecake chill overnight in the refrigerator. Then remove it from the springform pan. Transfer it to a serving plate and pile on the fresh berries. If the berries aren’t sweet enough, toss them with a little powdered sugar or sprinkle it on top. Then you are ready to serve!
More Gluten Free Desserts to Devour
- Spiced Chocolate Cheesecake
- Spiced Pumpkin Cheesecake
- Coconut Berry Mini Cakes
- Lime in the Coconut Pie
- Eden's Browned Butter Chocolate Chip Cookies

Chocolate Chip Cheesecake
Ingredients
Chocolate Cookie Crust:
- 2 boxes chocolate cookie wafers - Simple Mills Gluten-free Chocolate Brownie Thins or similar
- 2 tablespoon granulated sugar
- 6-8 tablespoon melted butter
Chocolate Chip Cheesecake:
- 3 pkgs full fat cream cheese - 8-ounce each
- 8 ounce full fat sour cream
- 1 ½ cups granulated sugar
- 1 cup heavy whipping cream
- 3 large eggs
- 1 teaspoon pure vanilla extract
- 1 cup mini chocolate chips
- 3 pints fresh berries - rinsed and dried for topping
- 1 tablespoon powdered sugar - optional topping
Instructions
- Preheat the oven to 350 degrees.
- Line a 10” springform pan with parchment paper on the bottom & sides.
- Combine the cookies & sugar in a food processor and pulse until small crumbs form. Drizzle in the melted butter 1 tablespoon at a time until it comes together like damp sand. When pressed, it will hold against the side of the container.
- Then press the cookie crumb mixture evenly into the bottom and up the sides of the pan as far as the crumbs allow.
- Wipe off the blade and inside of the food processor with a clean paper towel to remove the crumbs. Then process the cream cheese, sour cream, heavy cream, sugar, eggs, and vanilla until smooth in the same food processor.
- Scrape down the sides then turn the mixer up to a high speed to whip a little air into the mixture.
- Add the chocolate chips, only pulsing a time or two to mix without crushing the chips. Or stir them in by hand.
- Wrap the bottom of the springform pan in a layer of aluminum foil, to prevent water from leaking into the pan & soaking the crust. Place this in a larger and deeper pan to create a water bath.
- Pour the filling into the crust. Transfer the water bath set up to the pre-heated oven.
- Fill the outer pan with water until it comes halfway up the side of the aluminum wrapped springform pan. Loosely cover the top of the cheese cake with a piece of aluminum foil to prevent it from burning, while still keeping it loose enough to allow plenty of air flow for steam to vent from the cheesecake as it bakes.
- Bake until slightly puffed in the center and just barely set, approximately 2.5 hours. Reduce baking time for a larger diameter pan. Increase baking time for a smaller diameter pan.
- Remove from the oven, let it cool at room temp for an hour if possible, then cover it loosely and let it chill through for several hours or overnight in the refrigerator. Letting it cool at room temp for a bit will prevent excess condensation.
- Release the cake from the springform pan. Remove the parchment paper lining. Then transfer to a serving plate. Top with fresh berries and a generous sprinkle of powdered sugar if the berries are too tart.
- The Chocolate Chip Cheesecake can be stored covered in the fridge for up to a week.



Comments
No Comments