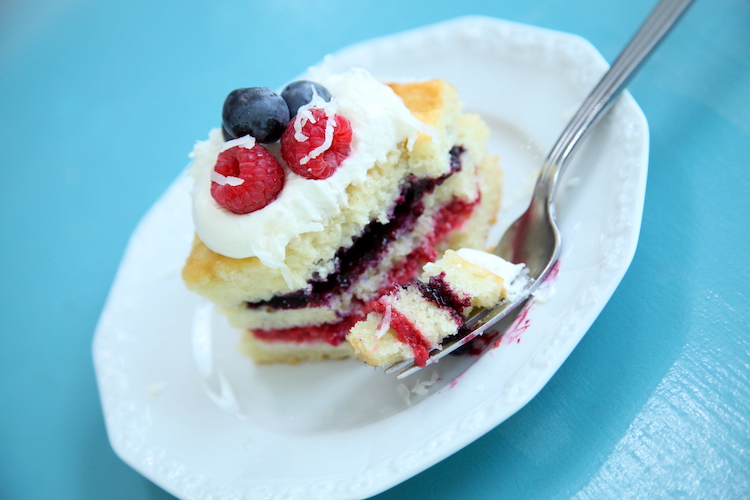
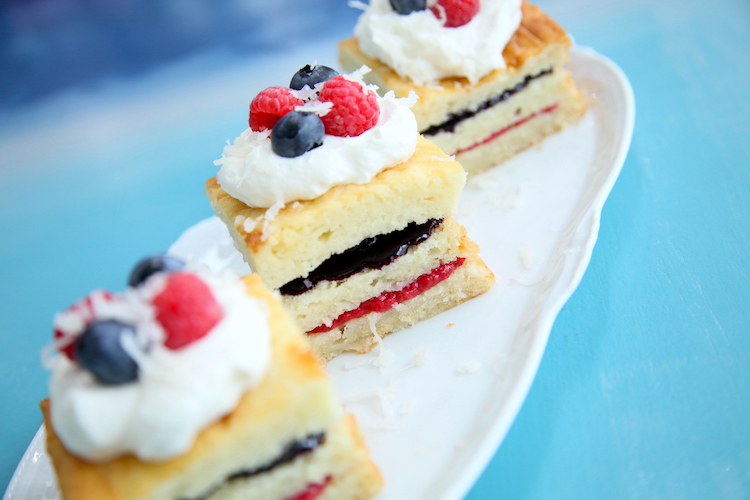
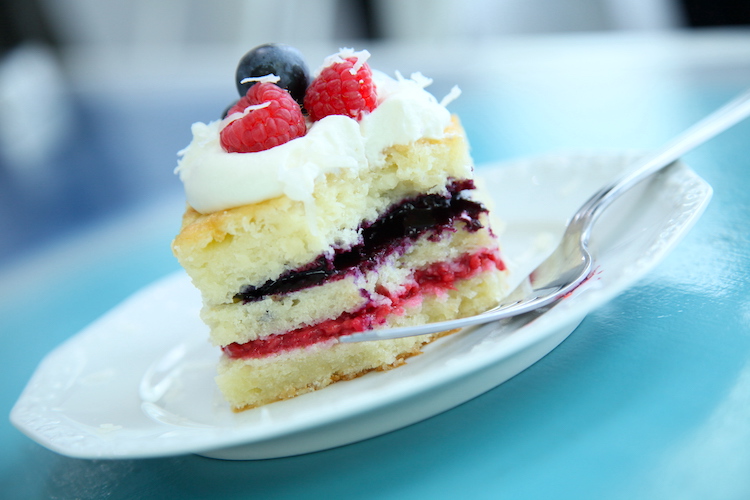
I have been dreaming up a coconut and berry combo in a cake for a very long time. After much playing around with recipes and daydreaming, I finally decided on these gluten free Coconut Berry Mini Cakes. This coconut cake is light and moist, with lots of coconut flavor. The raspberry and blueberry fillings are easily made with fresh fruit on the stovetop. A touch of fresh lemon juice along with the natural tartness of the berries compliments the coconut flavored cake beautifully. Topped with freshly made whipped cream, it absolutely satisfies your sweet tooth without being overly sweet. And their delightful red, white and blue colors making them perfect for celebrating any patriotic holiday or event!
Why Mini Cakes?
My usual mode of operation is to make everything BIG. Over the last year, while living on our tiny Covid-minded safe circle of friends, I have needed to downsize what I cook and bake. My usual routine of sharing goodies with neighbors and co-workers hasn’t been a great idea. And my family of four can only eat so much! Lol!
So when I was developing this recipe, I was trying to figure out how to make a tiered cake that wasn’t too big, but didn’t require any special pans. I know that 6 inch cakes are all the rage… and they make awesome small celebration cakes. But I only have one 6 inch round, so that would require baking & cleaning it 3 times for a tiered cake. Or buying 2 more. And not everyone has 6 inch cake pans… that’s not cool for me to tempt you with deliciousness and require you to buy more pans when I can find a work around, right??? So here we are with mini cakes for the win!
Maximum Coconut Flavor
My tricks for getting the best natural coconut flavor in this cake is to use unsweetened, finely shredded coconut or desiccated coconut. It is minimally processed this way, retains a lot of flavor and is so fine that you might not notice it in the texture of the cake. Next is to use unrefined coconut oil. Again, the lack of refinement leaves the natural coconut flavor intact.
The final piece of this puzzle comes down to the coconut milk. I use full fat, 100% coconut milk without any additives. My choice is the Aroy-d brand which is available in 8 oz cartons (not cans) on Amazon. It has the best flavor and is noticeably more creamy than any canned coconut milk I have found in stores. I am pretty sure I have tried every brand. Aroy-d also makes a 100% coconut cream that can be chilled and used to make whipped coconut cream if you’d like to keep this recipe dairy free.
Berry Fillings
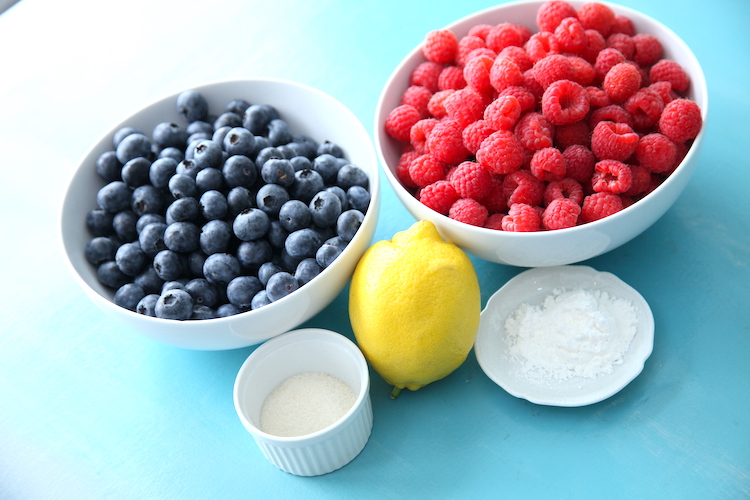
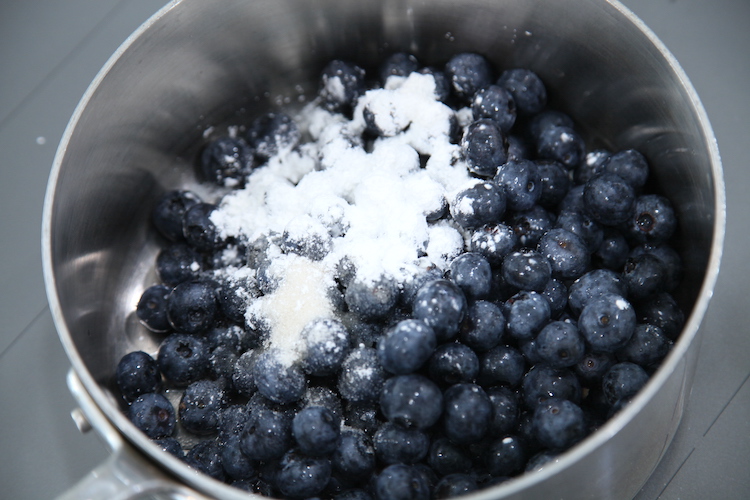
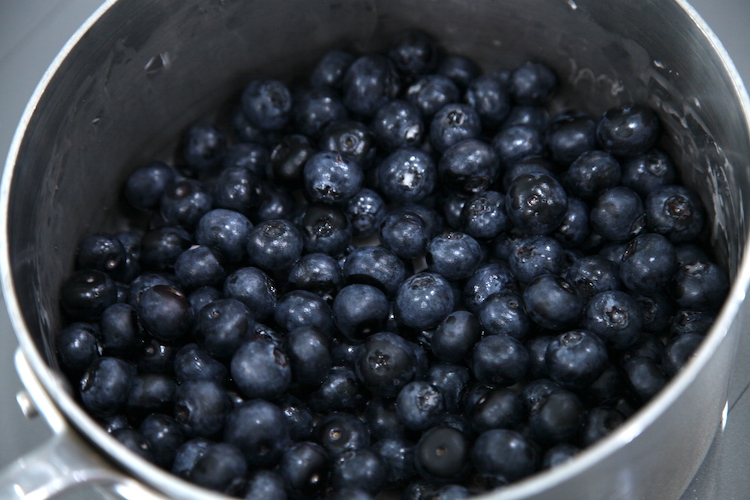
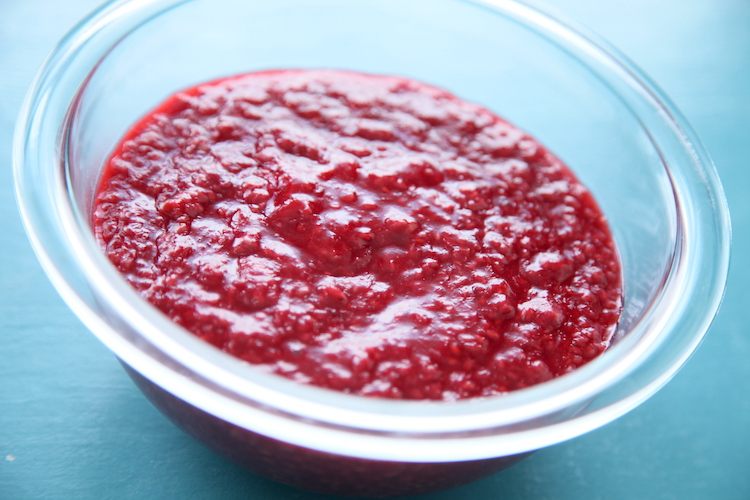
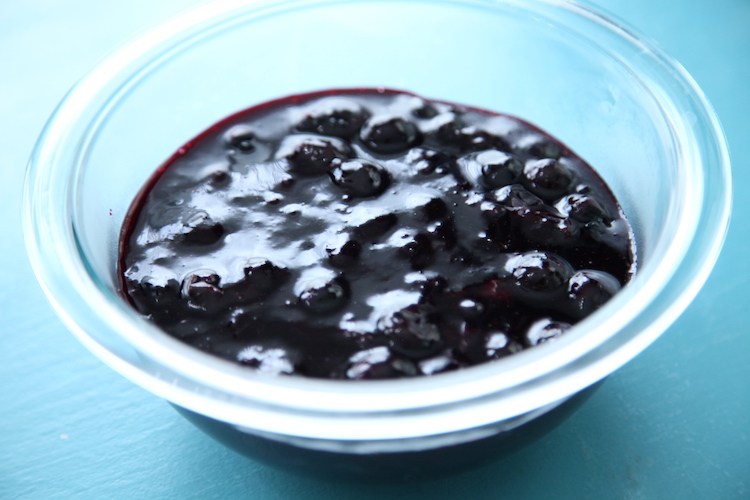
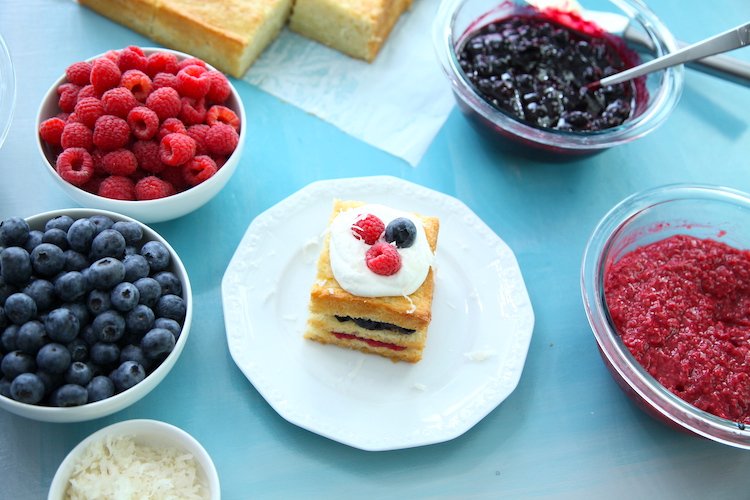
The raspberry and blueberry fillings are very easy to make. The same method and ingredients are used for both fillings, just cook each separately. Begin by combining the rinsed and still wet berries with the cornstarch, sugar and lemon juice in a saucepan.
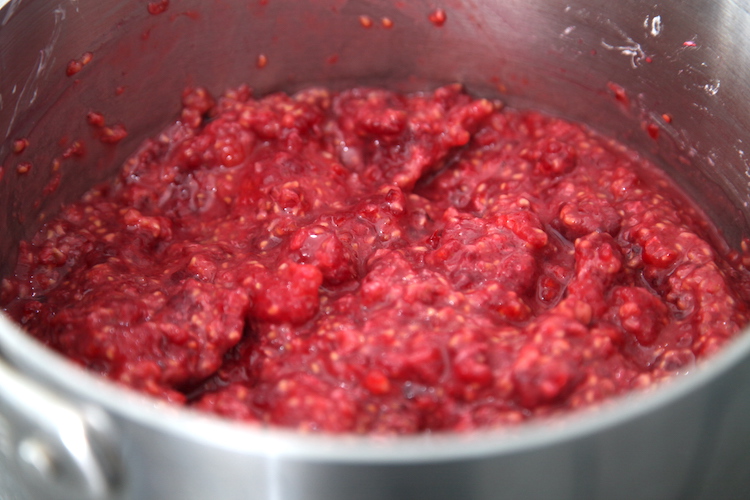
Once stirred together the best you can, turn the heat to medium and allow the berries to begin to break down. Help the blueberries to pop and release more liquid by pressing them with a spatula or wooden spoon.
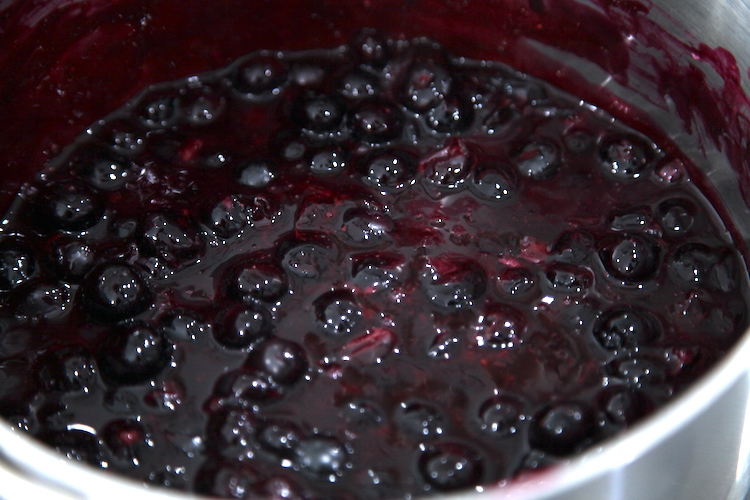
Let the mixture come to a boil, the sauce will thicken and turn from cloudy to clear. At this point feel free to break up the berries as much or little as you’d like. Then remove from the heat and let cool completely before assembling the cakes.
Making the Gluten Free Coconut Cake
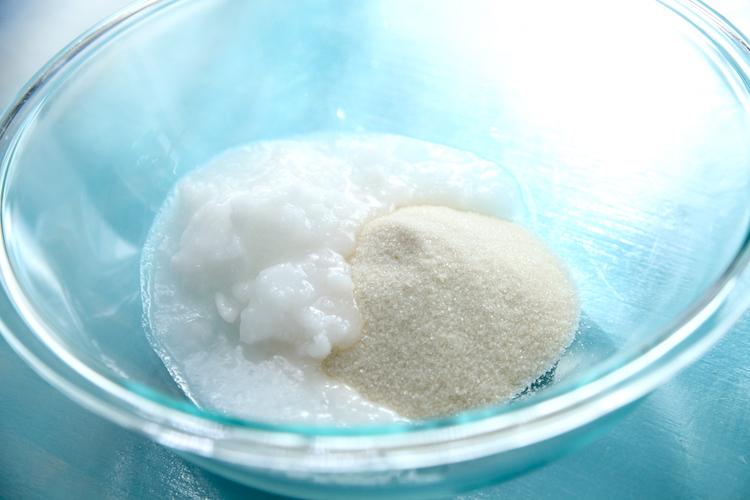
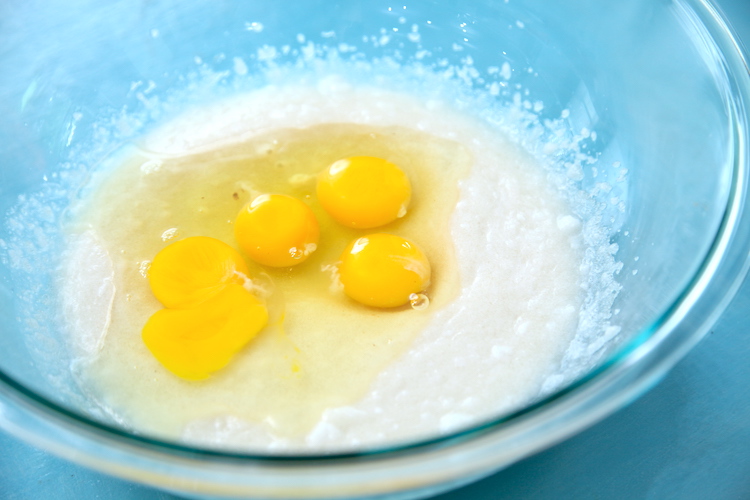
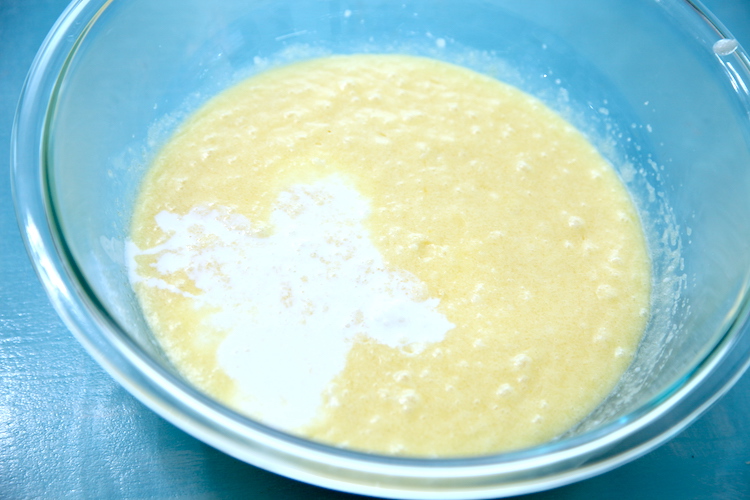
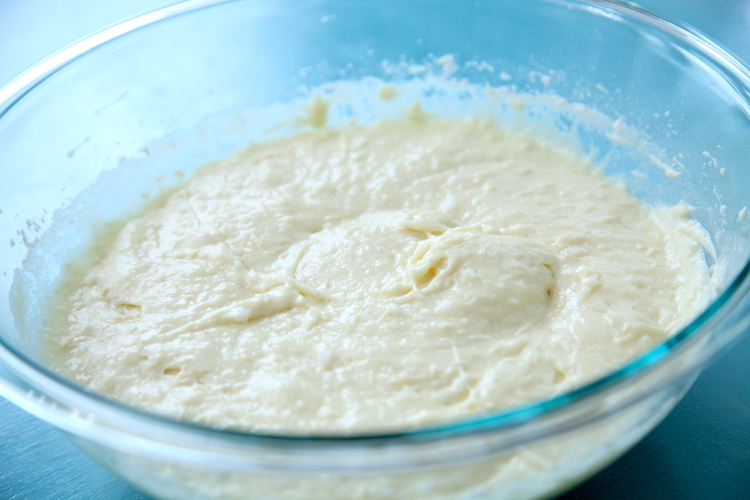
There aren’t any tricks to making the batter. Begin by creaming the coconut oil and sugar, add the eggs, then the coconut milk.
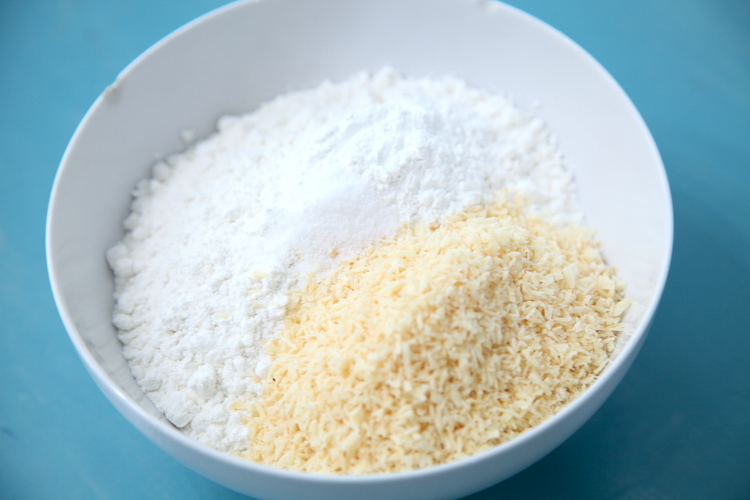
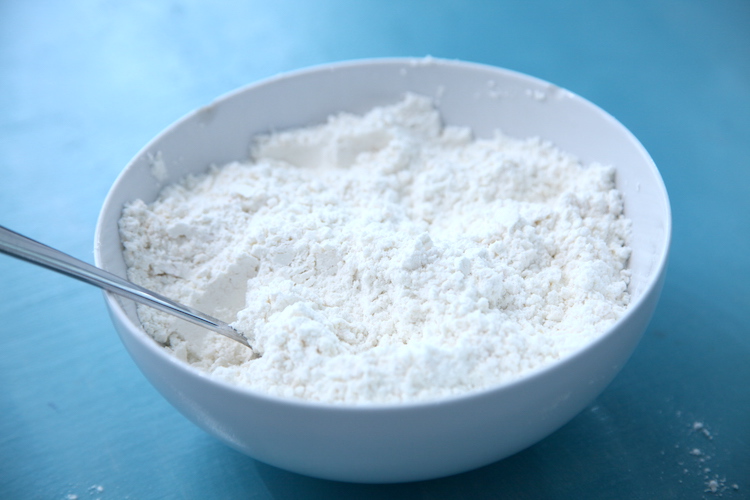
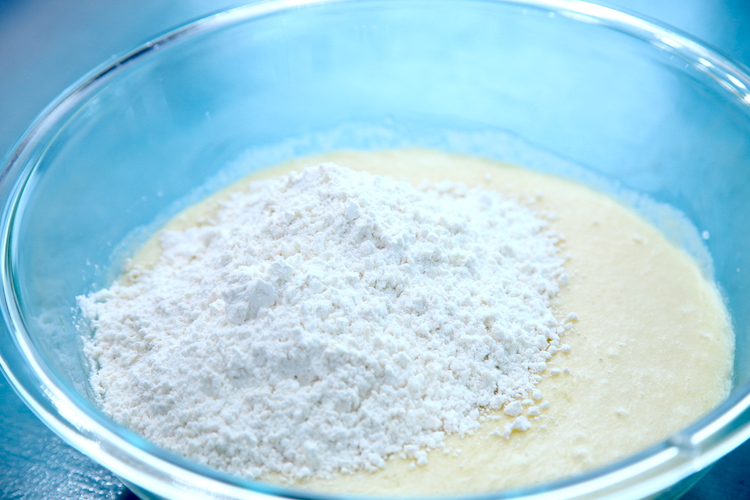
The dry ingredients are combined together in a small bowl, then added to the wet batter mixture. All using a hand mixer for a quick and easy mix.
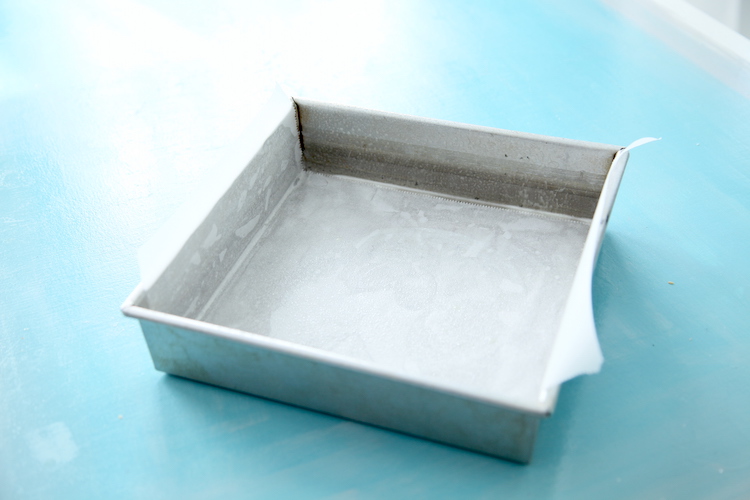
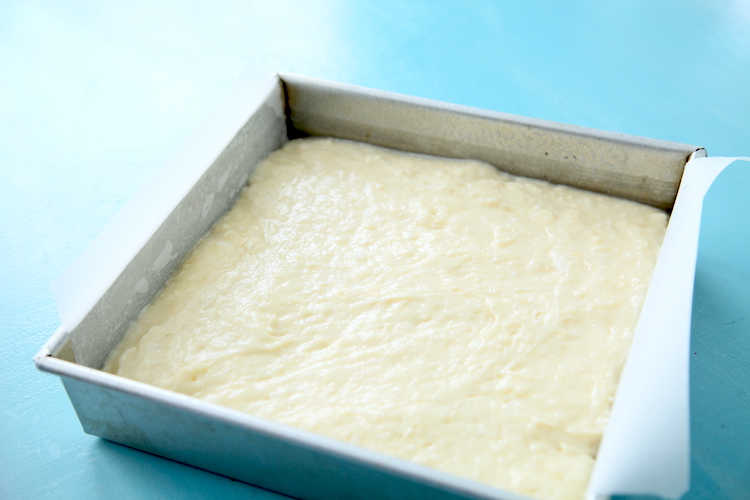
For easy cake release from the pan, I like to line the pan with parchment and spray the entire pan with cooking oil. Then pour the batter into the prepared pan and bake. I allow the cake to cool in the pan completely before removing it.
Cut the Minis
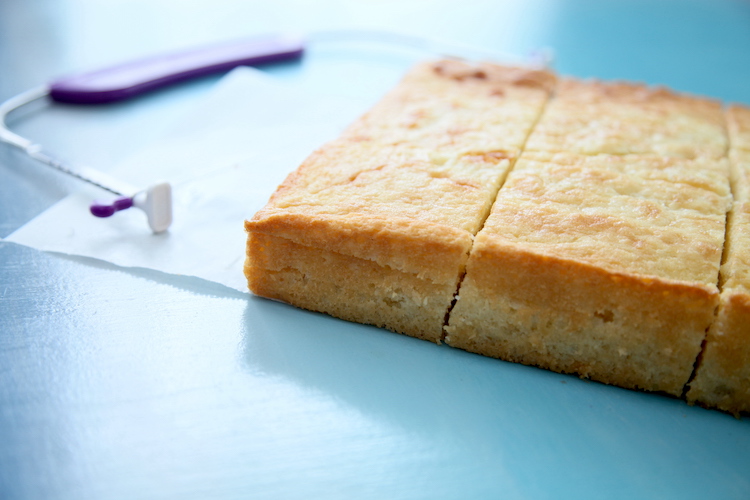
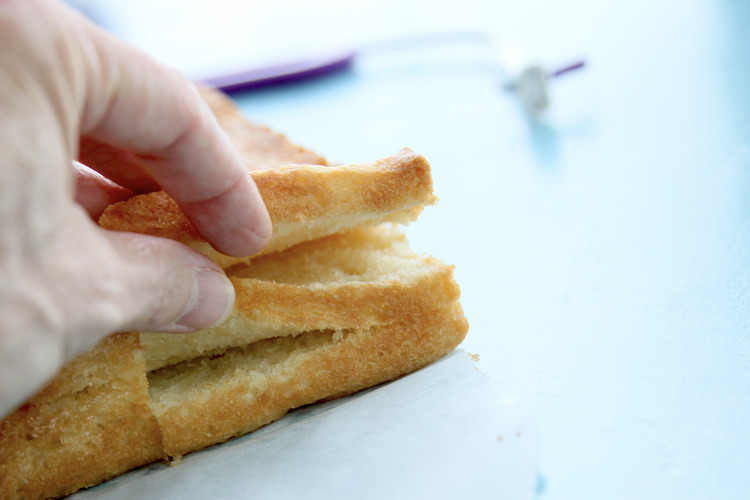
Once you remove the cake from the baking pan, if you have a cake cutting tool (as in the pic below), it will easily cut the cake into 3 even layers. This is one of my favorite baking tools and well worth the purchase if you like to bake tiered cakes. Here is a link to the one I have made by Wilton.
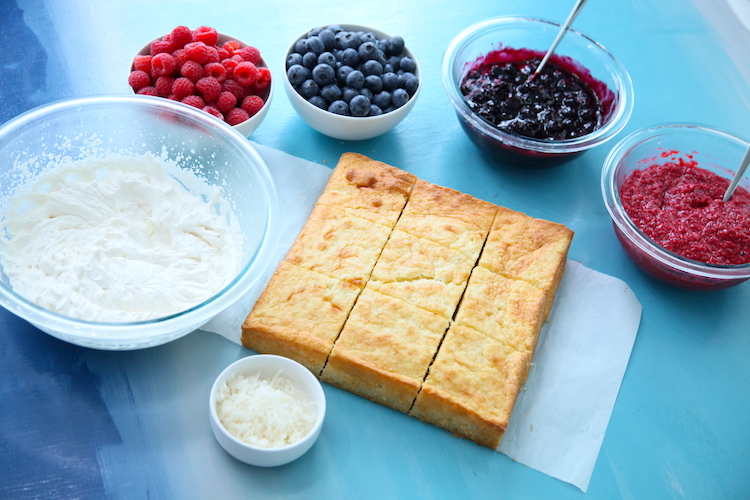
Then cut the cake into 9 even squares (cut the cake into 3rds in both directions), using a large sharp knife. I used a serrated bread knife.
If you don’t have a cake cutting tool, you can cut the cake into 3rds in both directions, then slice the layers on each individual mini cake. The layers won’t likely turn out as even from cake to cake, but it is much easier to cut layers in the mini cakes than in the full 9 x 9 cake with a knife.
Coconut Berry Mini Cakes Assemble!
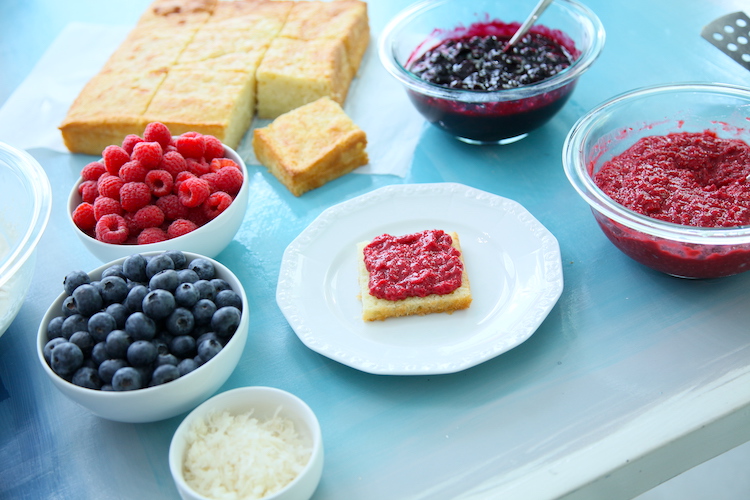
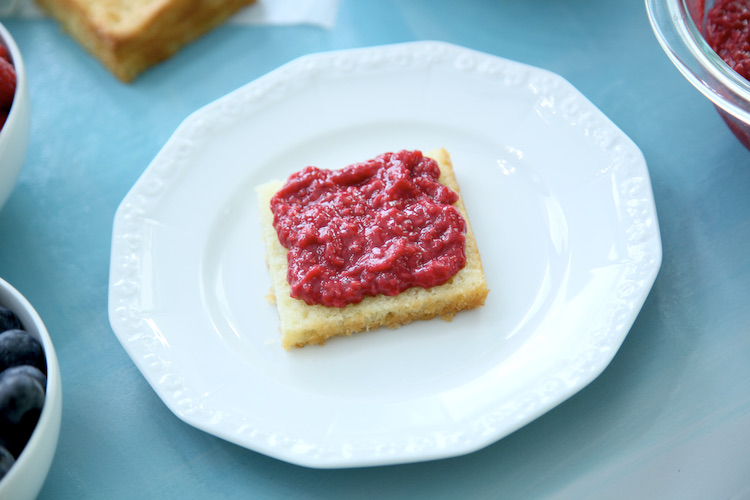
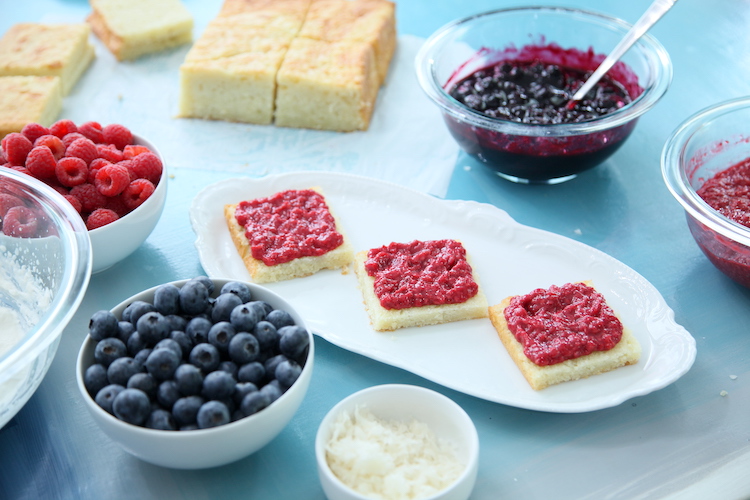
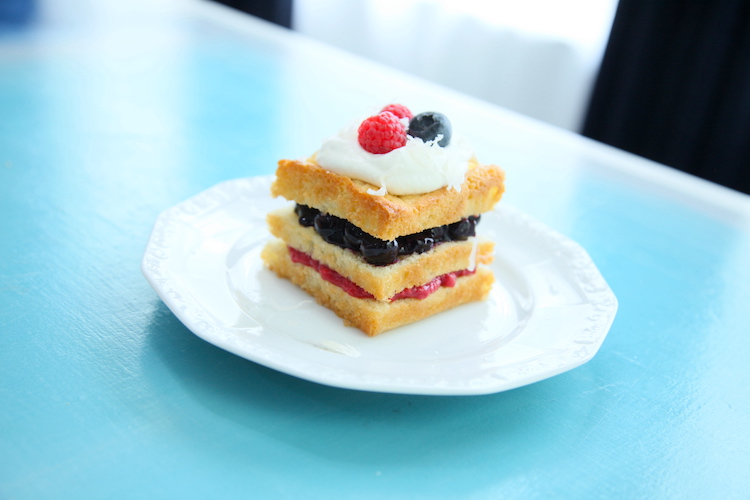
Place a slice of mini cake on a plate, top with about 2-3 tablespoons of raspberry filling. Spread the filling on the layer leaving a gap along the edge.
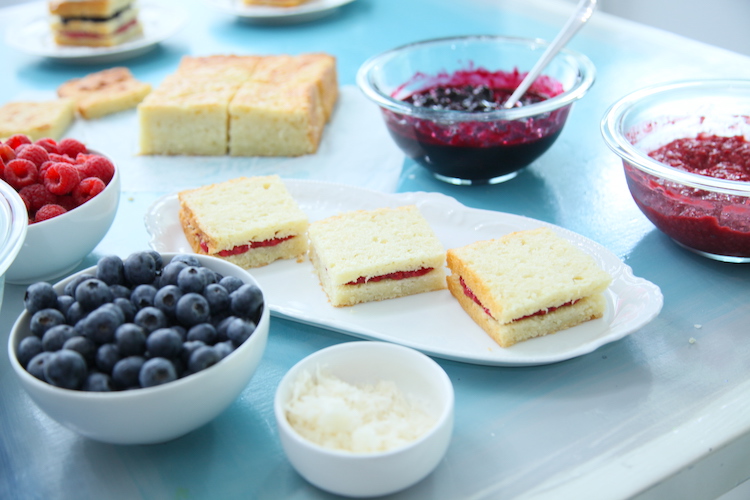
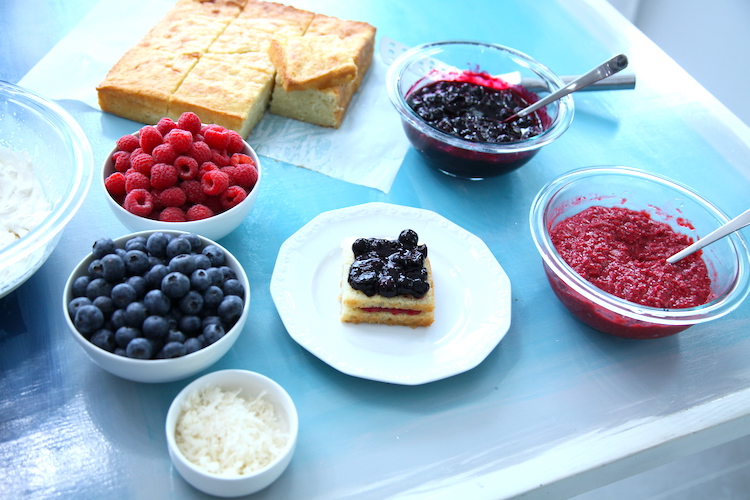
Then top with the second layer of cake, top with 2-3 tablespoons of blueberry filling. Once again leave a gap along the edge of the cake layer with the filling so that the weight of the cake doesn’t cause the filling to drip out excessively.
Then place the top layer of cake on. Garnish with a dollop of freshly whipped cream, fresh berries and a sprinkle of sweetened shredded coconut.
More Gluten Free Cake Goodness
Check out my Chocolate Peanut Butter Caramel Cake, Carrot Cake with Maple Cream Frosting, Coconut Tres Leche Cake, Chocolate Hazelnut Cupcakes, Banana Cupcakes with Cream Cheese Frosting, Praline Cream Cupcakes, Not So “Vanilla” Cupcakes, Elevated Almond Cake and Coconut Cupcakes with Lime Frosting

Coconut Berry Mini Cakes
Ingredients
For the Coconut Cake:
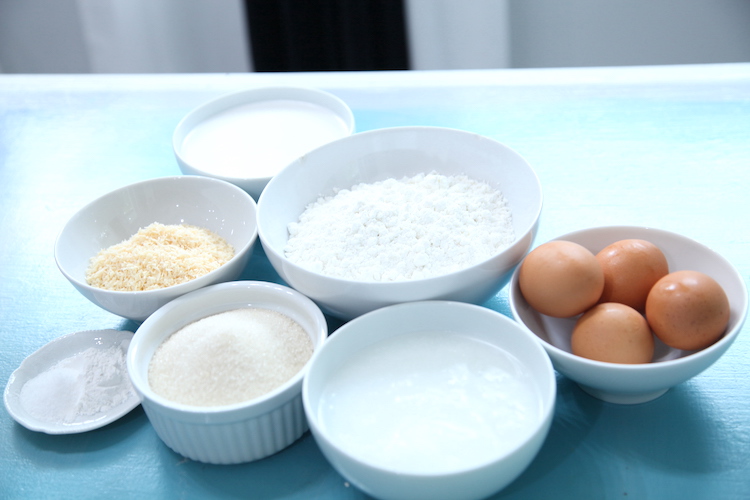
- 2 cups gluten free flour blend with xanthan gum - I use Bob's Red Mill GF 1 to 1 Baking Flour
- ½ cup unsweetened finely shredded coconut
- 1 tablespoon baking powder
- 1 teaspoon salt
- 1 cup sugar
- 1 cup unrefined coconut oil
- 4 eggs
- 1 ¼ cup full fat coconut milk - I use Aroy-d brand
For the raspberry filling:
- 18 oz fresh raspberries - (3) 6oz containers
- 1 tablespoon cornstarch
- 2 teaspoon sugar
- ½ lemon, juiced
For the blueberry filling:
- 18 oz fresh blueberries - (3) 6oz containers
- 1 tablespoon cornstarch
- 2 teaspoon sugar
- ½ lemon, juiced
Fresh Whipped Cream Topping (sub with store-bought dairy free alternative if needed):
- 1 cup heavy whipping cream
- 1 tablespoon powdered sugar
- 1 teaspoon vanilla extract
- ¼ cup shredded coconut - optional garnish
- extra raspberries & blueberries - optional garnish
Instructions
For the Coconut Cake:
- Preheat the oven to 350 degrees. Grease and line a 9x9 cake pan with parchment for easy cake release.
- Combine the flour, coconut, baking powder and salt in a small bowl and stir with a spoon to combine well. Set aside.
- In a mixing bowl, beat the sugar and coconut oil together using a hand mixer on a high speed. Add in the eggs and whip until light and a little foamy. Add in the coconut milk on a medium speed so that it doesn’t splash all over.
- Add in the flour mixture until combined completely. Scraping the sides as needed.
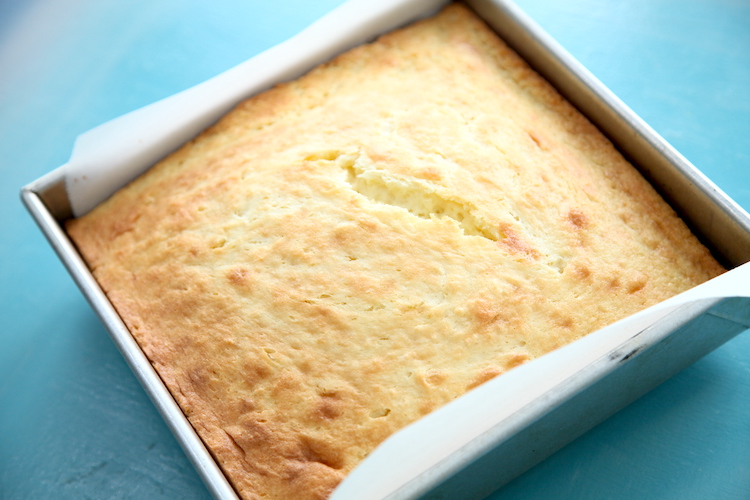
- Pour the batter into the prepared baking pan. Bake for 45-50 minutes, or until the center no longer jiggles and it is lightly browned. Check the cake at the 40 minute mark and if it is browning too quickly, tent the cake loosely with aluminum foil and continue to bake until done.
- Remove and let cool in the pan to room temp before removing.
For the berry fillings:
- Cook each separately, but it is the same process for both. Rinse the fruit and leave wet, placing the berries along with the remaining ingredients in the saucepan at the same time.
- Stir to combine the ingredients in the saucepan, then turn the heat to medium. Continue to stir from time to time as the berries begin to break apart (or the blueberries pop). Allow the sauce that develops to boil and turn clear. The raspberries break down more quickly & easily than the blueberries.
- At this point, you can continue to mash the berries to your desired consistency as it remains on the heat. Once you are happy with the ratio of whole berries to sauce, remove from the heat and let cool to room temp or in the fridge. These can be made a day ahead and stored covered in the fridge.
For the whipped cream topping:
- Combine the whipping cream, powdered sugar and vanilla extract in a medium bowl. Whip with a hand mixer on a high speed until soft peaks form. Store covered in the fridge until ready to assemble and serve the cakes.
Cutting the mini cakes:
- Remove the cake from the baking pan. I use a cake cutting tool, to evenly cut the cake into 3 even layers. Then cut the cake into 9 even squares (cut the cake into 3rds in both directions).
- If you don’t have a cake cutting tool, you can cut the cake into 3rds in both directions, then slice the layers on each individual mini cake. The layers won’t likely turn out as even from cake to cake, but it is much easier to cut layers in the mini cakes than in the full 9 x 9 cake with a knife.
Assemble the mini cakes:
- Place a slice of mini cake on a plate, top with about 2-3 tablespoons of raspberry filling. Spread the filling on the layer leaving a gap along the edge.
- Then top with the second layer of cake, top with 2-3 tablespoons of blueberry filling. Once again leave a gap along the edge of the cake layer with the filling so that the weight of the cake doesn’t cause the filling to drip out excessively.
- Then place the top layer of cake on. These can be stored at room temp in a sealed container for a few hours without the whipped cream topping. When ready to serve, garnish tops with whipped cream, berries and a sprinkle of sweetened shredded coconut.


Comments
No Comments