Gluten free Almond Cut Out Cookies are one of my husband's favorite cookies. I think I tweaked this recipe at least 6 times before I felt (and my hubby felt) it was perfect. The cookie needed to taste like real almonds. It had to be firm enough to be cut out and not spread while baking. I wanted it to be crisp on the outside and tender in the middle. Not to be too picky, but the dough needed to be easy to work with as well. Oh, and easy to make. Well... it took several tries, but now this recipe ticks all of the boxes! You will love working with the dough, the final look and the taste.
Standard Operating Procedure
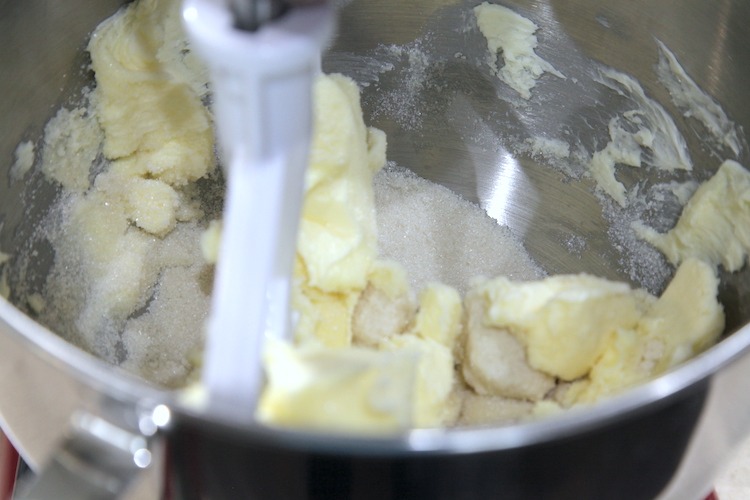
There isn't anything out of the ordinary involved in making these cookies. The dough comes together very easily with a mixer and you can use cold butter! Of course, if the butter is so cold that your beaters can't break it up, then let it soften a bit. Once the butter and sugar are combined, the remaining wet ingredients go in, then the flour mixture. As a side note- I have only tested this recipe with Bob's Red Mill Gluten Free 1 to 1 Baking Flour and finely ground almond flour. The result has been absolutely perfect every time! Let me know in the comments below how it turns out if you try another flour.
The Dough
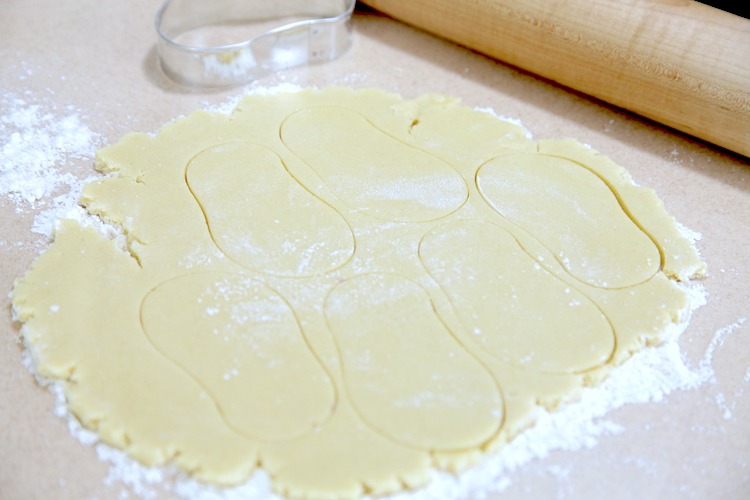
I usually split the dough in half, wrap them in plastic wrap and store them in the fridge until I am ready to roll them out. I work with one ball of dough at a time; rolling, cutting and baking, while leaving the other in the fridge to remain chilled. Keeping the dough chilled will help prevent it from sticking to the surface while you are rolling it out. Truth be told though, this dough is very easy to work with. As long as you keep the surface and rolling pin well dusted with powdered sugar, you shouldn't have any problem with it sticking. Since these are made with gluten free flours, you don't have to worry about "over working" the dough either! No matter how many times you roll up the scraps and re-roll a ball of dough, the result will still be tender baked cookies. Yay!
Baking the Almond Cut Out Cookies
These cookies take under 10 minutes to bake. Fast, right?!?! So keep a close eye on them. Although you won't ruin the taste of the cookies if the edges get browned, they will look better without the browning. So watch them like a hawk at the 7 minute mark. When the tops no longer look like raw dough, take them out. This is usually between 7-9 minutes in my oven.
Nut Free Option & Decorating
After all of this, I realized that the almonds will keep many people from being able to enjoy these. With that in mind, I also came up with a nut-free version! Check out my Naked Cut Out Cookies. Both look amazing once they are dressed up with Quick Dry Cookie Icing. I won't judge if you eat them undressed though;-)

Almond Cut Out Cookies
Ingredients
- ¾ cup cold butter cut into cubes - *let soften if too hard for your beaters
- ¾ cup sugar
- 2 eggs
- 1 tablespoon almond Liqueur (Amaretto) - *sub 1 teaspoon vanilla extract if you prefer
- ½ teaspoon fine salt
- 2 ½ cups finely ground almond flour - I use Bob's Red Mill
- 1 ½ cups Gluten Free Flour Blend with xanthan gum - I use Bob's Red Mill 1 to 1 Baking Flour
Instructions
- In a small bowl, combine flours and salt and set aside.
- Cream together butter and sugar in a medium bowl. Add the eggs and Amaretto until well incorporated.
- Slowly add the flour mixture to the butter mixture until well combined. If doing this in a stand mixer, keep it on a low speed.
- Form the dough into 2 disks, wrap with plastic wrap and refrigerate one while rolling and cutting out the other.
- When ready to bake, preheat your oven to 350 degrees. Line your baking sheets with parchment paper.
- Sprinkle your clean work surface & rolling pin with powdered sugar. Roll out your dough to ¼” thickness.
- Working quickly so that the dough doesn’t warm up, cut out your shapes using cookie cutters and transfer cookies to the baking sheet. You may need to use a spatula to move them. If they stick, sprinkle more powdered sugar on your surface, rolling pin & top of the dough as you roll it out.
- The cookies won’t spread, but you still want air to circulate between them, so leave about ½” between cookies.
- Gather your scraps, form them into a ball and roll it out again. If the dough softens too much, put it back in the fridge or freezer for a few minutes and try again. Continue until all of the dough has been shaped.
- Bake the cookies for 8-10 minutes. They shouldn’t brown at all. When you take them out of the oven, let them rest on the cookie sheet for at least a few minutes or until they cool completely before moving them.
- Once cooled completely, they are ready to eat as they are or decorate. Try my Quick Dry Cookie Icing (see the link in the post above), dip them in melted chocolate or use any other frosting you might like!
- These cookies will remain delicious and tender to bite into for about 5 days. You can store them in an airtight container at room temp. They also freeze well after baking and the dough can be frozen for months in a well-sealed bag or container to prevent freezer burn.


Comments
No Comments