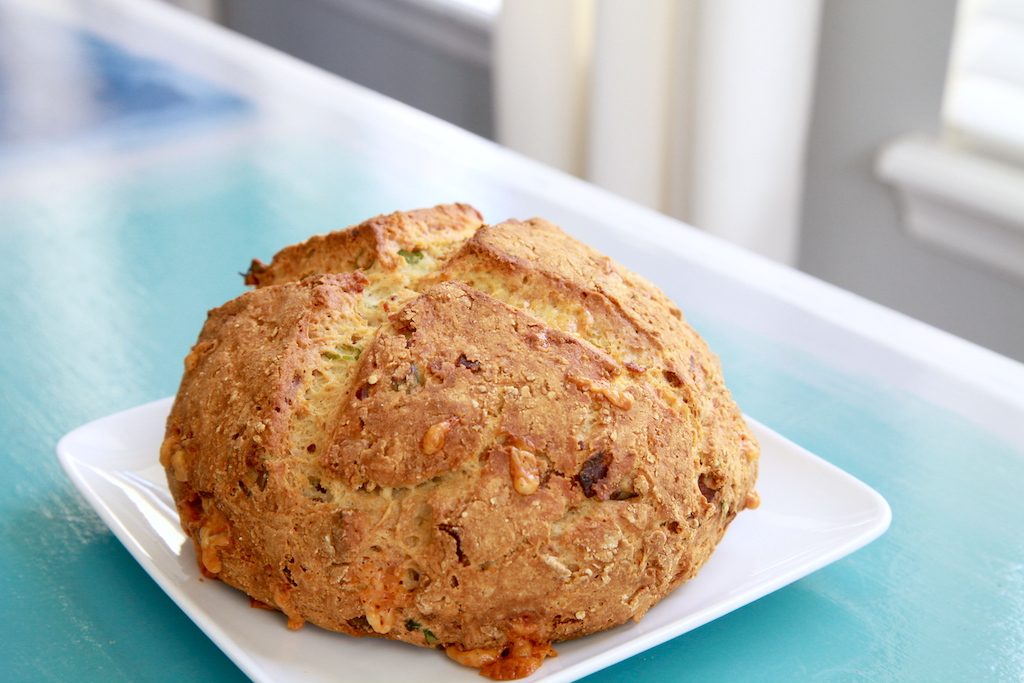
Imagine pulling off a chunk of fresh bread with a crisp crust, soft interior and dunking it into your Irish Beef Stew or Triple B Chili. Then imagine it is gluten free with melted Irish Cheddar cheese, bits of bacon and bright scallions. Hard to believe it is possible, right? I agree. But it is possible with this gluten free Irish Soda Bread with Cheddar and Bacon! This is one type of bread that is truly delicious and satisfying when made gluten free. It is such a hearty and flavorful bread that is fantastic toasted or not, slathered with butter or mopping up sauce.
Traditional vs Gluten Free
Gluten free Irish Soda Bread is one of the easiest and least finicky gluten free breads to make. We all know how hard it is to adapt gluten based bread recipes to gluten free and get great results. Fortunately, the simple ingredients in Irish Soda Bread work well with gluten free flours. A traditional soda bread only uses baking soda as the rising agent. Here, I have added baking powder as well to lighten it up. I have also added eggs to give it more lift along with more moisture and tenderness to the crumb. Traditional Irish Soda Breads are dense with a crisp crust. This gluten free version has the crisp crust but isn’t quite as dense as the traditional version.

Making the Dough
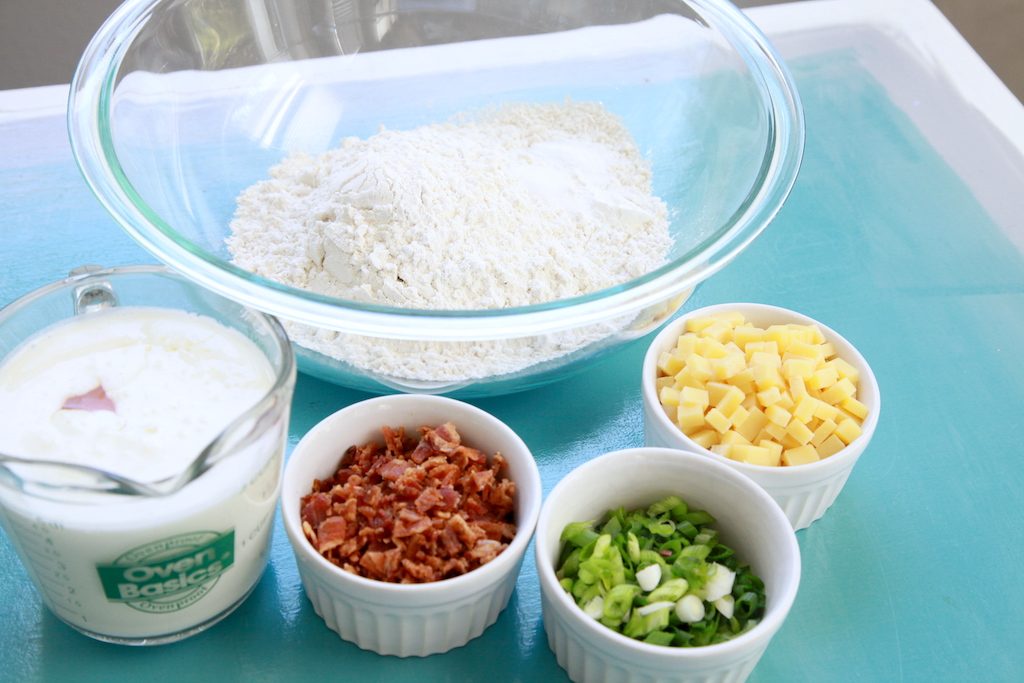
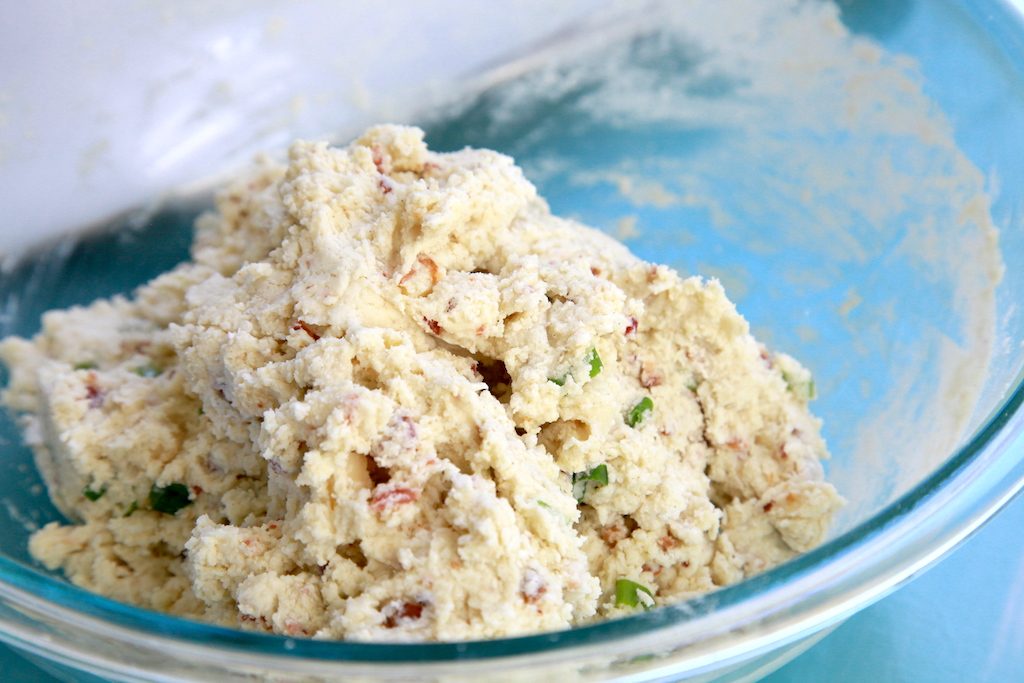
The dough comes together very quickly. Wet ingredients (and bacon, cheese and scallions) mixed in one bowl, dry mixed in another. Pour all of the wet ingredients into the dry at once and mix with a large spoon. The dough should come together in a ball that you can handle. If it is sticky or doesn’t hold its shape, it may need a little more flour. If it seems crumbly and dry, add a little more buttermilk. I use Bob’s Red Mill 1 to 1 Gluten Free Baking Flour for this recipe. Gluten free flours differ dramatically by how much moisture and fat it absorbs, its texture and flavor. If you are using a different flour, you may get different results. So just be aware that you may need to make adjustments. Keep me posted on what you try and what the results are by posting in the comments section below! There are so many great products out there, so it helps us all to share:-)
Baking Under a Bowl
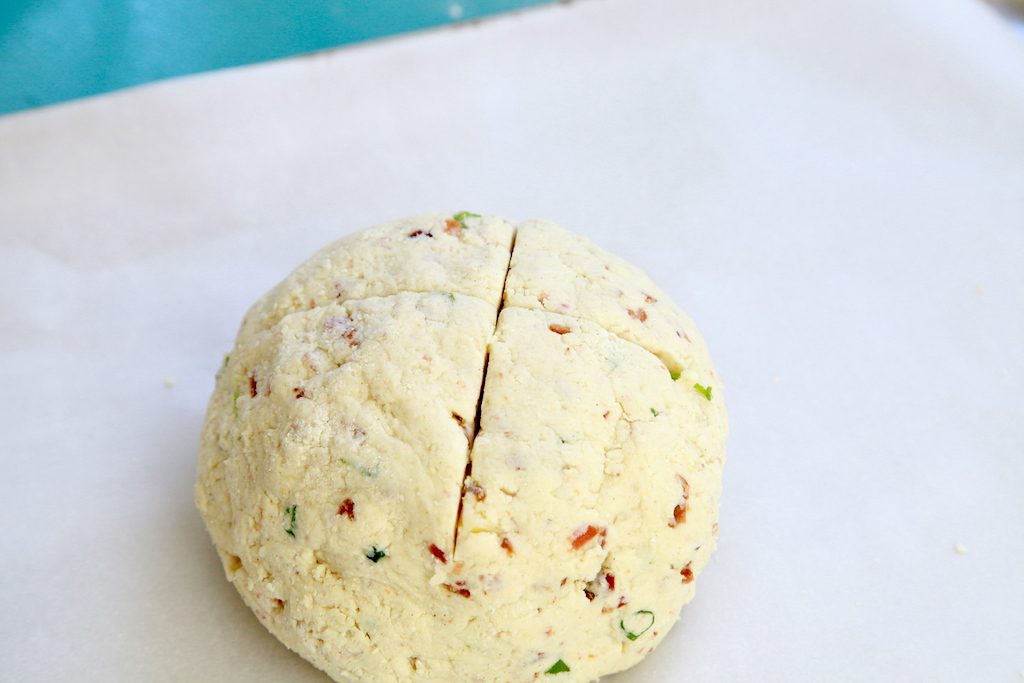
Once the dough comes together in a ball, you want to place it on a parchment lined baking sheet. Using a sharp knife, cut a “plus” sign about ½ inch deep across the top of the dough. Then cover the dough with a large oven safe bowl and put it in the oven. The other option is to place the dough in a large dutch oven that is lined with parchment paper and has a lid. Baking it this way will create steam inside the bowl which will result in a higher rise and crisp crust. Making the slices in the dough allows the bread to continue to rise more easily with an established breaking point in the crust. This method is the key to making an awesome loaf of bread, so don’t skip it!
More Gluten Free Bread Please!
If you like the idea of this bread but prefer not to have the cheese, bacon and scallions, check out Classic Irish Soda Bread. There’s just a slight difference in the bake time from this recipe. For your sweet tooth, check out my Irish Cinnamon Raisin Scones too:-)
Irish Soda Bread with Cheddar & Bacon (gluten free)
Print Pin Email Share RateIngredients
- 3 cups gluten free flour with xanthan gum - I use Bob's Red Mill 1 to 1 Baking Flour
- 1 teaspoon baking soda
- 1 teaspoon baking powder
- ½ teaspoon Salt
- 2 eggs
- 1 ½ cups buttermilk
- ½ cup Irish Cheddar Cheese - cut to 1 cm dice
- ½ cup cooked, crumbled bacon
- 2 scallions - thinly sliced
Instructions
- Preheat oven to 450 degrees. Let the oven remain at 450 degrees for at least 15 minutes prior to putting the bread in the oven. Line a baking sheet with parchment and have a bowl handy that is oven safe that can cover the bread while it bakes. Or you can bake in a large dutch oven with a lid.
- Cook and crumble bacon well. Small crumbles are best.
- In a large bowl, combine flour, baking soda, baking powder and salt.
- In another bowl, combine eggs, buttermilk, cheese, bacon and scallions. Make sure the eggs are combined well with the other ingredients.
- Pour all of the wet ingredients into the dry ingredients at one time. With a large spoon, stir by hand a few times. The dough will come together pretty quickly. The dough should not be sticky and should form a ball easily in your hands. If it seems sticky, add a small amount of flour or flour your hands to see if it holds its shape. Once it does, place it on the parchment paper on the baking sheet or in a dutch oven.
- Using a sharp knife, cut a “plus sign across the top of the dough about ½ inch deep. Cover with the large oven safe bowl or lid of dutch oven and place in the hot oven. Bake covered for 45 minutes. Remove the bowl/lid and continue baking for another 10-15 minutes uncovered.
- The bread is done when it reaches 200 degrees. If you don’t have a thermometer, make sure to remove it by 55-60 minutes. Let it cool for at least an hour before cutting it. It will be very sticky inside if you cut it while it is still warm. Let it cool and it will cut nicely. After cutting it, you can reheat it by popping it in the microwave for about 15 seconds.





Comments
No Comments