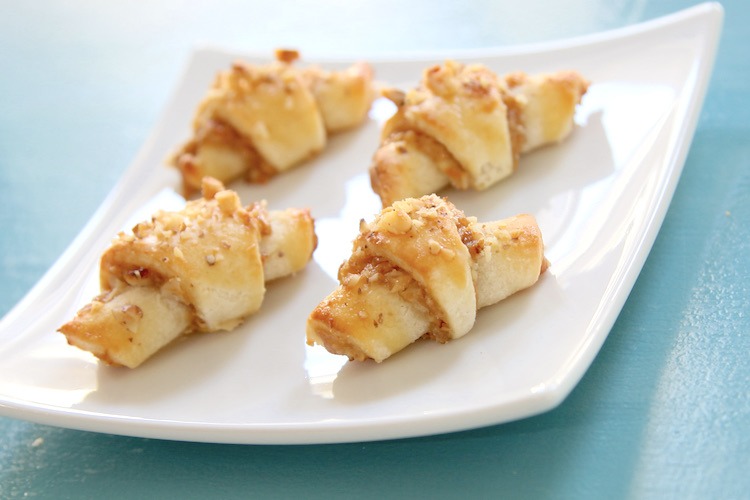
Buttery, flaky, yet tender, pastry-like cookies filled with all kinds of sweet and savory options are what make these gluten free Rugelach an absolute delight! Rugelach are a traditional cookie eaten for many Jewish holidays, but are readily available all year around in many grocery stores and bakeries all over. They are so easy to enjoy and fun to dream up new flavor combinations.
Rugelach Recipe Development
To date, the most challenging and rewarding recipe development I have experienced came from making these gluten free Rugelach. Getting the dough to be light and flaky while still tender and flavorful was a task to say the least! It also needed to be easy to work with, roll out, cut and fill without tearing or falling apart. After countless batches of these bite-sized pastry-like cookies, the ideal results emerged and what a delight!
The Gluten Free Flour
The gluten free flour that is used in this recipe matters. Although I would love to say that you can use any flour with great results, it just isn’t true. No two gluten free flours are made the same. This type of delicate pastry-like cookie needs a specific gluten free flour blend. I developed this recipe using 2 different blends, but it was obvious early on that Cup4Cup is the best performer for this type of cookie. It is available in many grocery stores, specialty grocers, Target and Amazon.
Rugelach Dough Making Method
I tried several different ways of mixing and blending these simple ingredients. The best results came from this method.
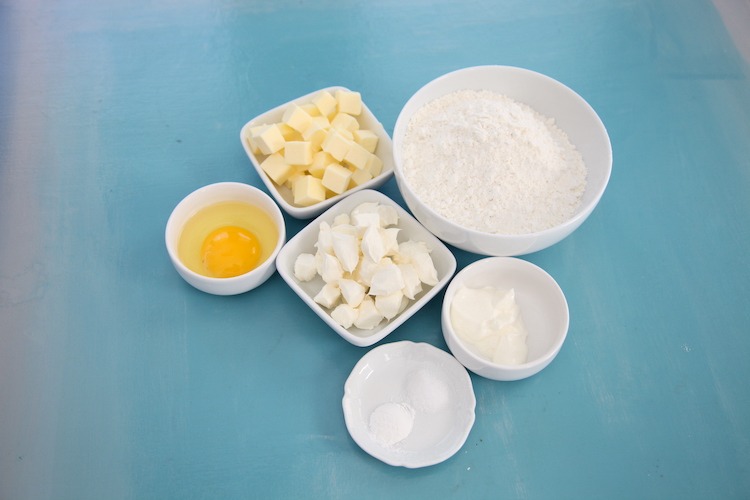
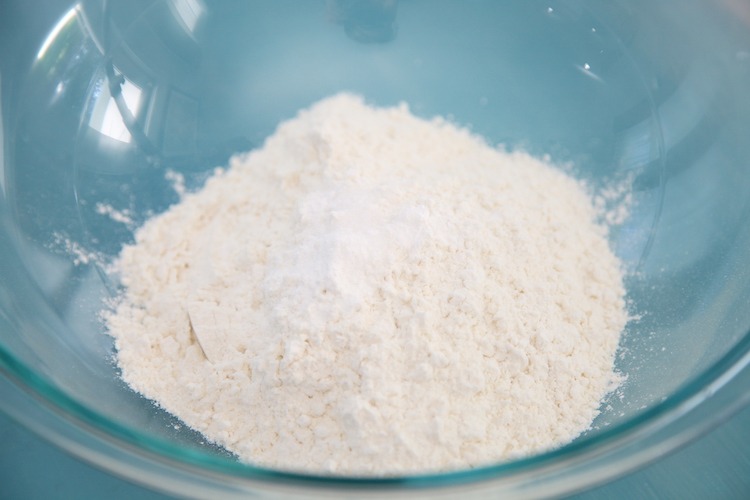
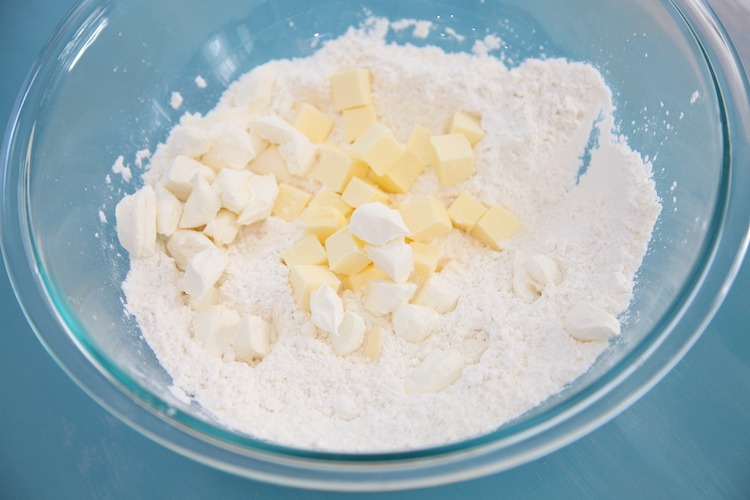
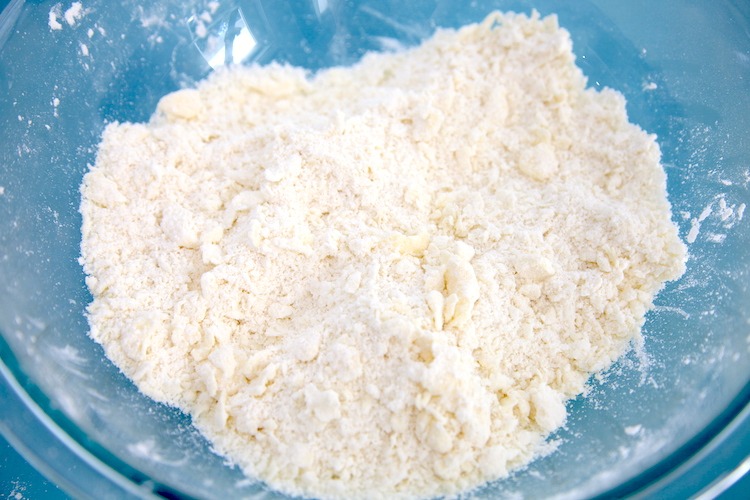
Begin by mixing the flour, salt and baking soda together in a large mixing bowl. Add the very cold butter and cream cheese cubes, coating them individually in flour, then pressing them between your fingers to flatten each cube. Continue with this method until a scraggly mixture develops.
Flattening the butter by hand, without integrating it entirely into the flour (as would happen if you used a mixer or food processor) will allow pockets of air to form as the dough bakes and the butter melts. Those “pockets of air” are what makes it flaky!
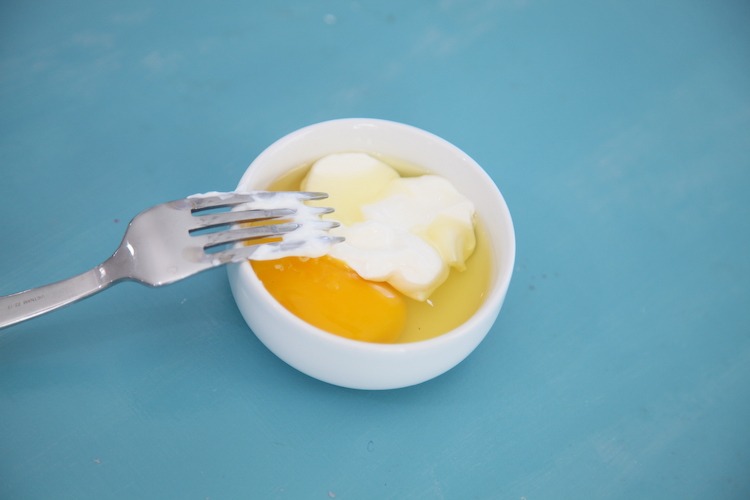
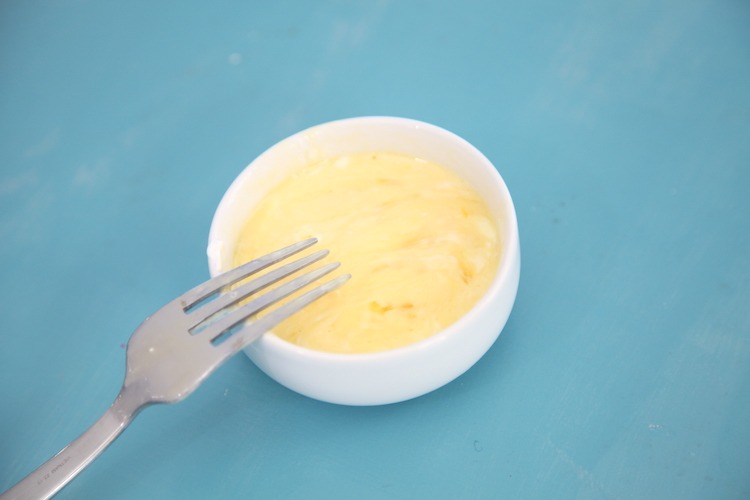
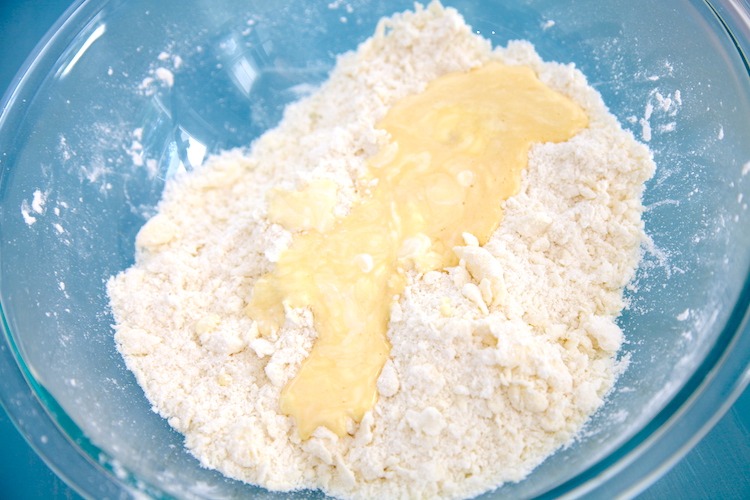
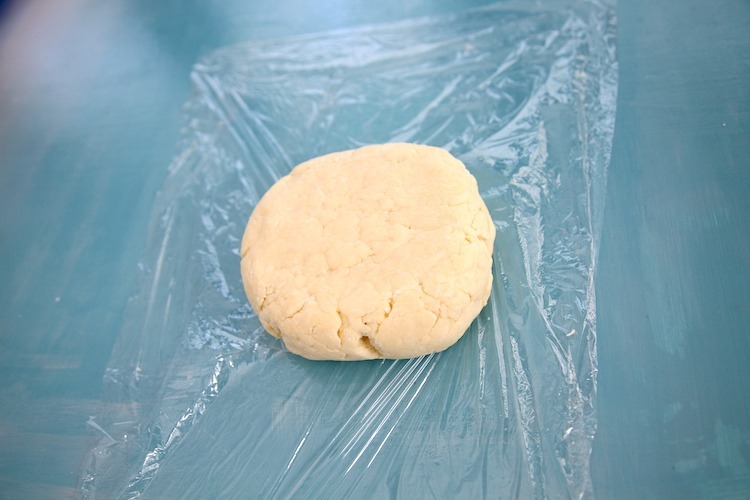
Beat the egg and sour cream together then add it to the flour mixture. Mix it in by hand. It will be an odd mix of dry and sticky, but will come together and form a ball with a few minutes of mixing by hand. It will still be a bit sticky when it comes together, which is okay. This is because your hands have warmed up the butter and cream cheese. Wrap the dough in plastic wrap and set it in the fridge for about 30 minutes while you prepare your fillings.
Rugelach Fillings
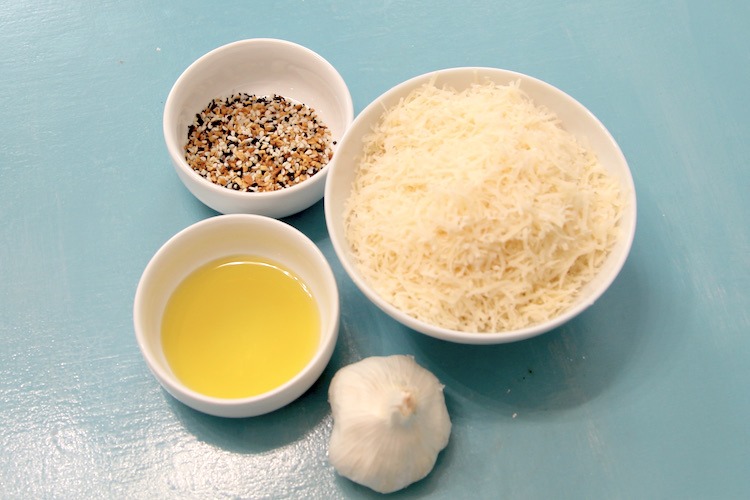
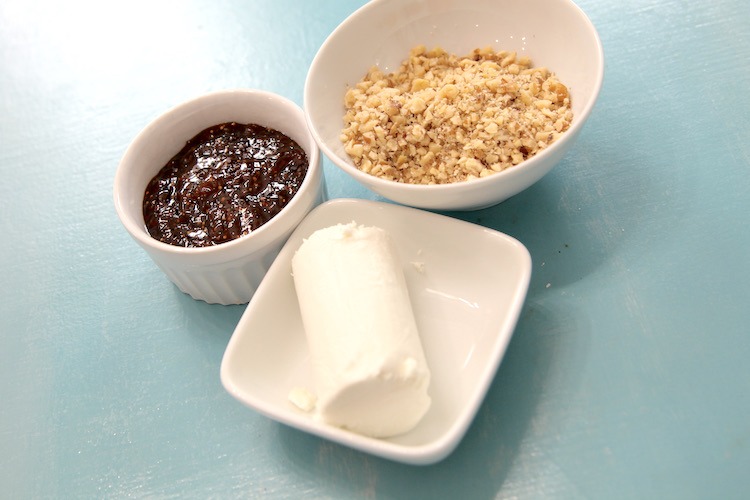
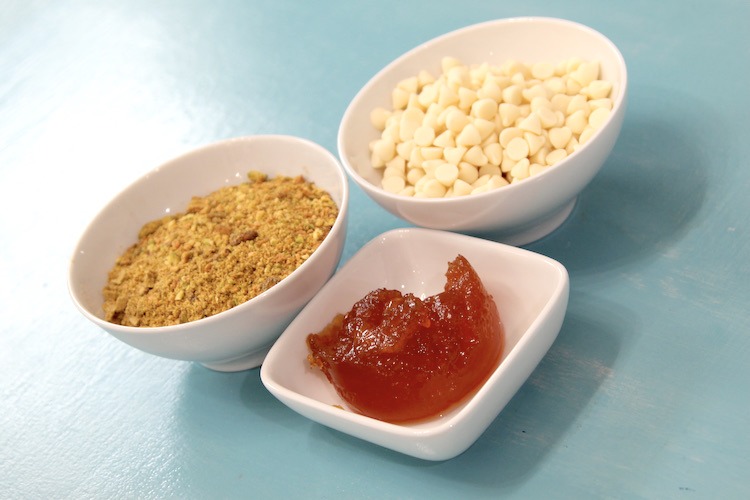
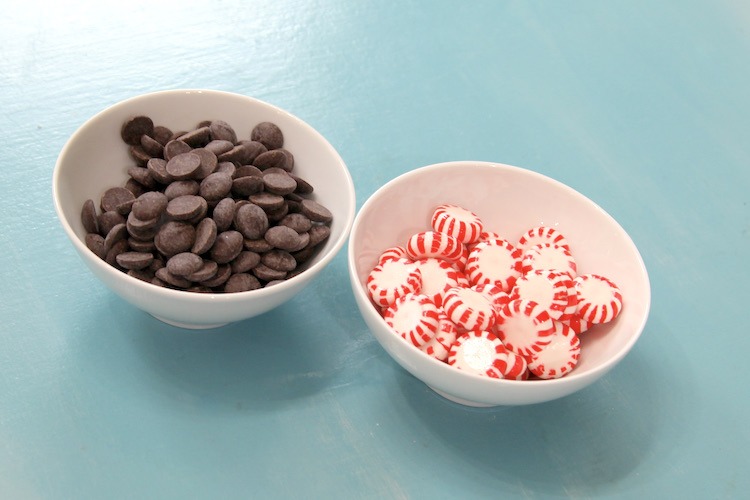
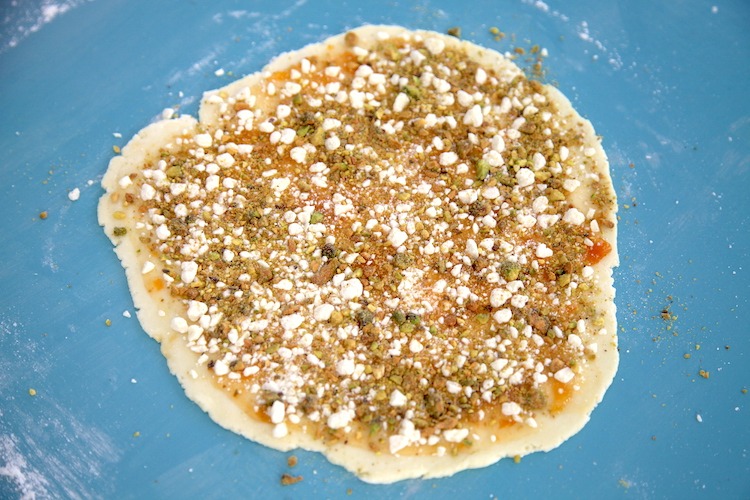
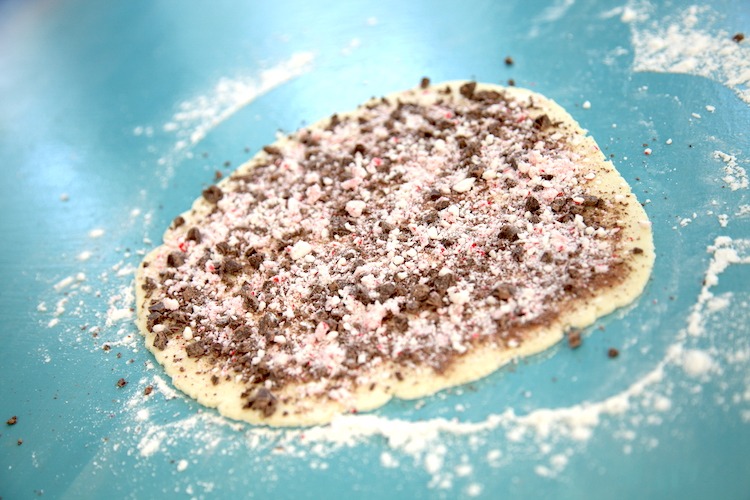
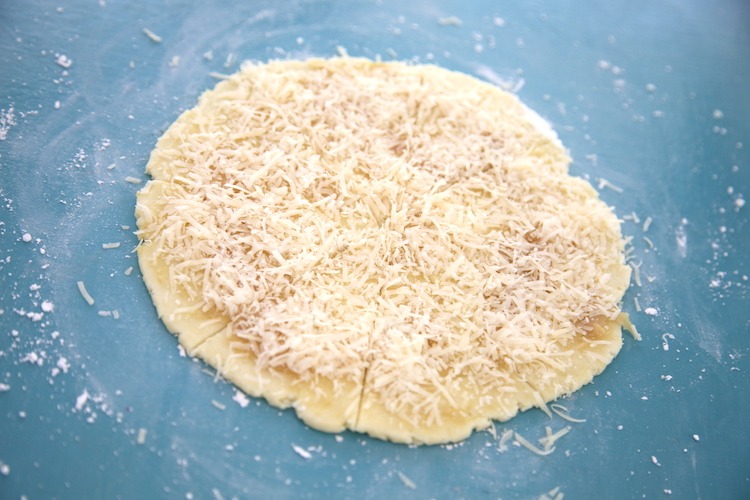
The only “rule” to follow with fillings is to use spreadable or finely chopped ingredients and don’t over fill. Beyond that, the fillings are only limited by your imagination and taste buds! Chopped nuts, nut butters, jams, soft or finely grated cheese, pate, pesto, tapenades, chocolate, caramel, finely chopped candies… are just some of the ideas right off the top of my head. And combine them any way you like. Garnish with chopped nuts and/or a drizzle of this or that…
Rolling the Dough
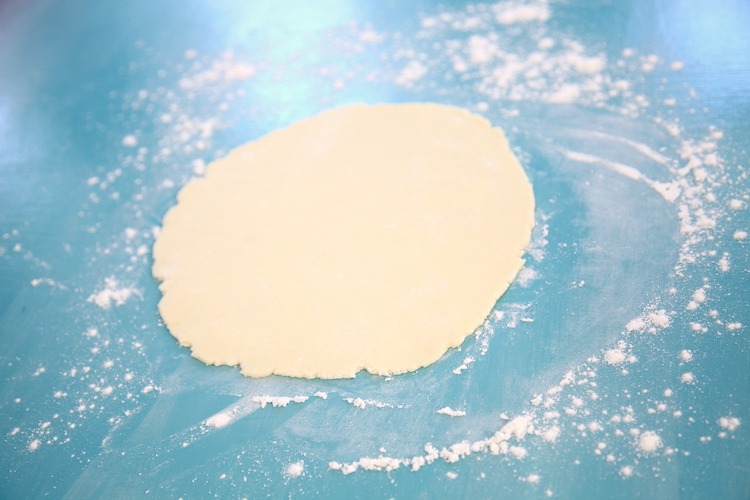
Once the dough has chilled enough that it is no longer sticky (this may be just a few minutes or an hour depending on how warm & sticky it was going in), cut it into 4 even pieces. Working with one quarter of the dough at a time, dust the rolling surface, the dough and rolling pin with flour. Roll into a circle that is about ⅛th of an inch thick.
Add the Fillings
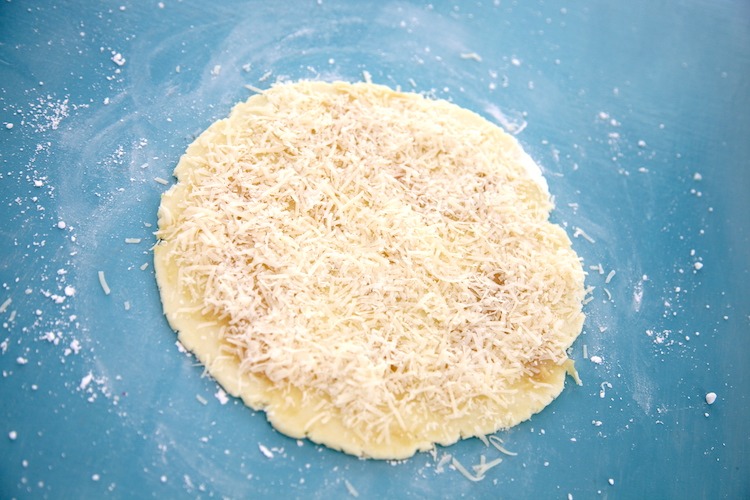
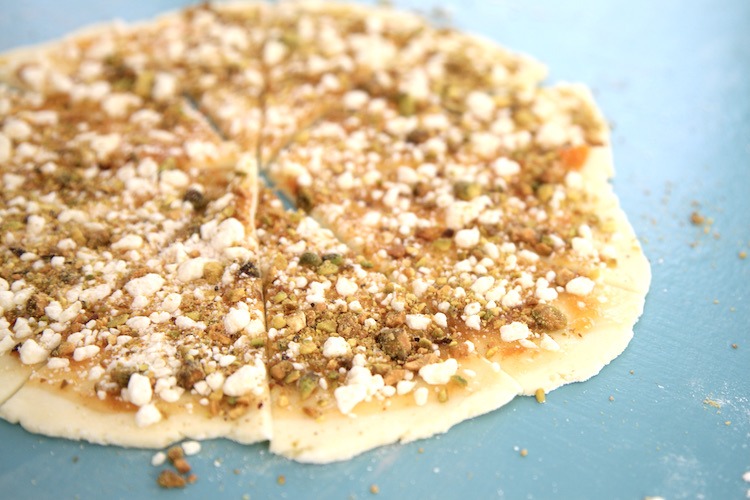
Spread or sprinkle the fillings onto the dough in an even layer. It is okay to take them right to the outer edge.
Cut & Roll
Using a sharp knife or pizza cutting wheel, cut the circle into 8 wedges. Then begin rolling each wedge from the outside edge in toward the point.
No Burnt Bottoms!
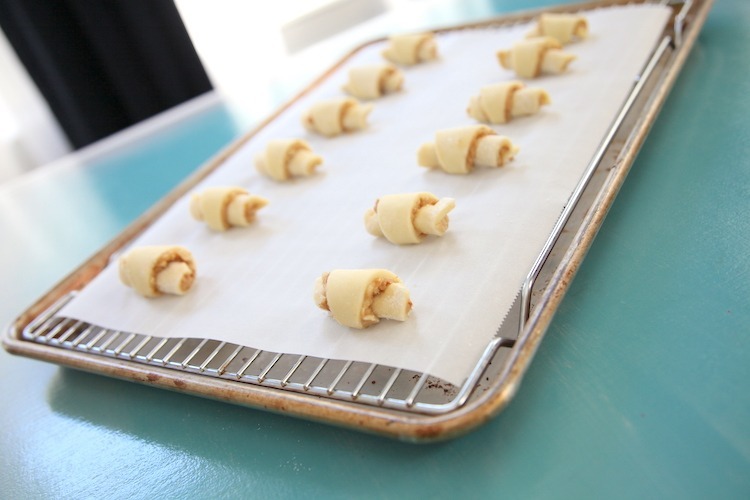
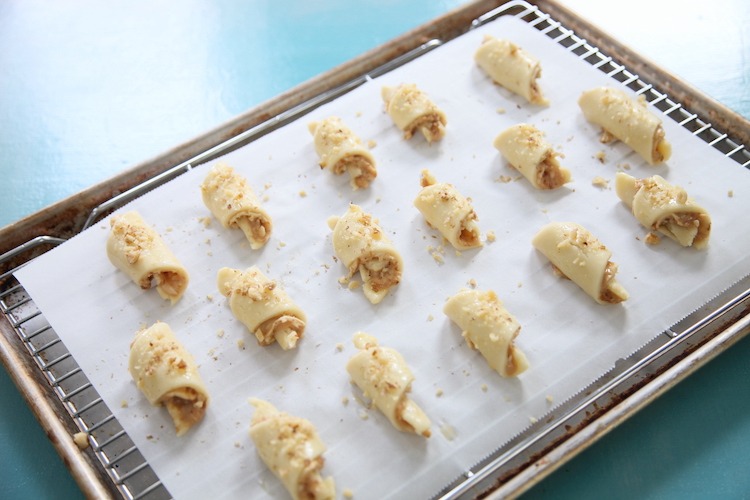
Burnt bottoms are a common issue with Rugelach. The jammy fillings spill out and burn on the hot sheet pan during the brief baking process (see top left pic). To prevent this from happening, place an oven safe baking rack onto a sheet pan. Top with a sheet of parchment paper so that the little cookies don’t fall through. This elevates the cookies above the hot sheet pan and allows air to circulate, keeping the bottoms cooler and perfectly baked, but not burnt, even when the fillings spill out.
And Bake!
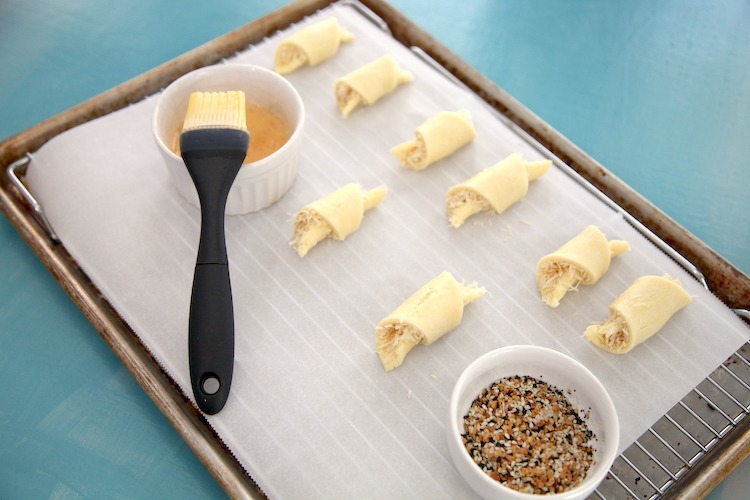
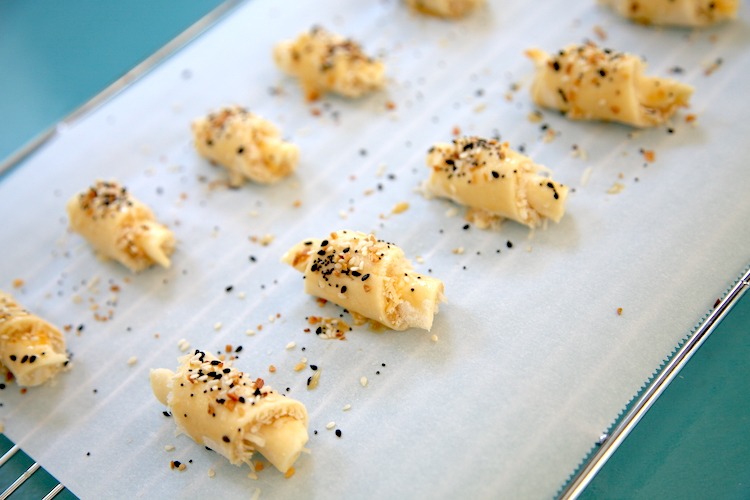
Place the rolled dough onto the parchment paper-baking rack-sheet pan set up about an inch apart. Brush the tops with egg wash and sprinkle any garnishes you’d like on top. Bake for about 15 minutes, until they are lightly browned on top and puffed up nicely.
Decorate & Devour
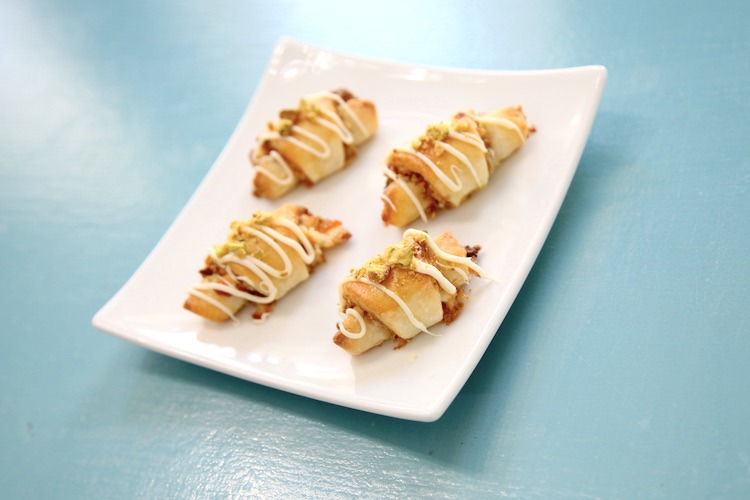
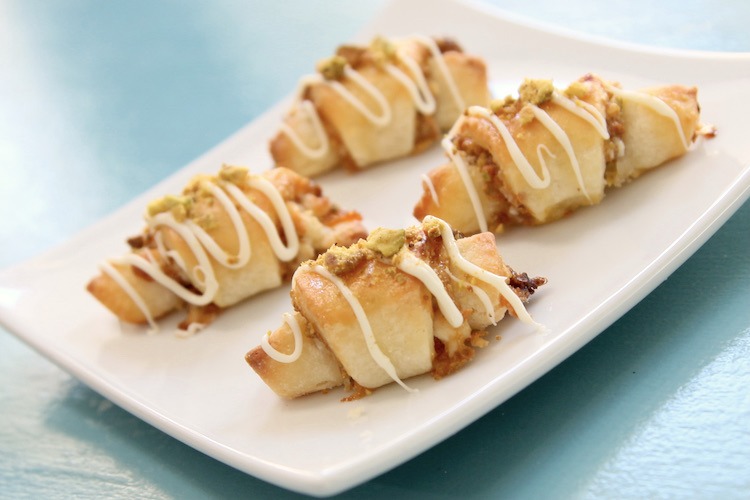
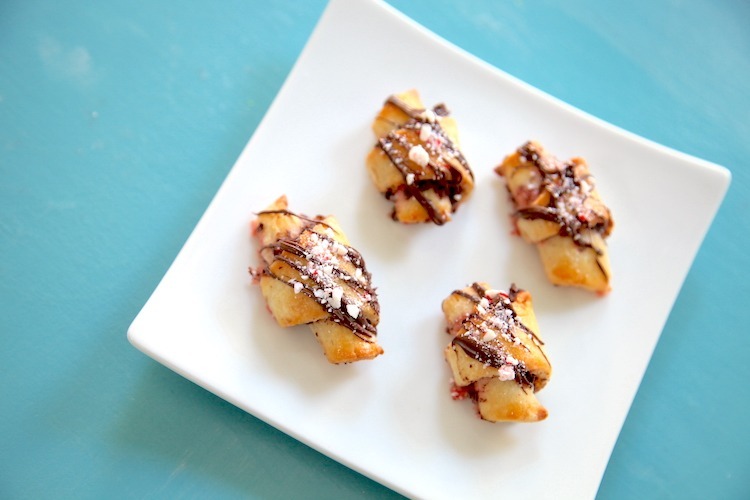
Once the baked Rugelach are cooled, decorate them if you’d like with drizzles of melted chocolate, chopped nuts, seeds or anything else you can dream up!
More Gluten Free Cookies to Explore
- Naked Cut Out Cookies
- Almond Cut Out Cookies
- Chewy Chocolate Chip Cookies
- Hamantaschen
- Dirty Snowballs (Mexican Wedding Cookies)
- Chocolate Filled Macaroons
- College Dorm Cookies (PB & Chocolate No Bakes)
- White Chocolate Macadamia Nut
- Browned Butter Oatmeal Cookies
- Pumpkin Chocolate Chip Cookies

Rugelach
Ingredients
- 2 cups gluten free flour with xanthan gum - Cup4Cup brand highly recommended
- ½ teaspoon baking powder
- ½ teaspoon salt
- 8 tablespoon butter - very cold, cubed
- 4 oz cream cheese (8 tbsp, full fat) - very cold, cubed
- 1 egg
- 2 tablespoon sour cream - full fat
Fillings & Toppings:
- 1 egg - plus 1 tablespoon water for egg wash
- 1 cup spreadable or finely chopped fillings - more for multiple layers of fillings
- ¼ cup drizzle or sprinkled toppings - more for multiple layers of toppings
Instructions
- 30 minutes prior to baking, preheat the oven to 375 degrees. Fit a baking rack onto a sheet pan and top with parchment paper for baking the cookies on.
- Mix egg & sour cream together, set aside.
- Combine flour, salt & baking powder in a large mixing bowl. Add the butter and cream cheese to the bowl and use your hands to coat each piece of butter and cream cheese with flour. Then begin pressing the butter and cream cheese between your fingers to flatten each piece. Instead of making pea shapes, make flat disks with the butter, cream cheese and flour. Continue until the mixture looks scraggly.
- Pour in the egg & sour cream mixture. Mix with your hands to incorporate the ingredients. You will need to continuously rub your hands together to keep the sticky dough from accumulating on your hands. The dough will come together into a sticky ball in a few minutes.
- Shape the dough into a disk and wrap it tightly in plastic wrap. Let it chill in the fridge until it is no longer sticky. This can take anywhere from a few minutes to over an hour depending on how warm the dough got & how sticky it is going in. However, the dough is more workable when it is not very cold. If you leave it in the fridge overnight or freeze it, bring it back close to room temp before rolling it out.
- Cut the dough into 4 pieces and work with 1 piece at a time. Work the dough into a ball with your hands to reduce any cracks. Use flour to sprinkle the work surface, rolling pin and dough to create a non-stick surface to roll into a circle that is about ⅛th inch thick.
- Add the fillings on top of the dough. Use a knife or pizza cutting wheel to cut 8 wedges into the circle. Roll the dough from the outside of the wedge in toward the point to create 8 crescent shaped cookies.
- Place point side down on the parchment paper baking set up. Bake for 15 to 18 minutes, watching carefully after 15 minutes. Remove from the oven and let cool at least 10 minutes before eating or entirely before topping with melted chocolate.
- Best eaten the day they are baked, but can be stored in a sealed container at room temp (or in the fridge if containing anything perishable for fillings) for 2-3 days.














Anonymous says
My whole family loved these! I actually like these more than the originals.