Gluten free Caramel Apple Bars hit all of those warm and comfy notes for me. The buttery oat crust doubles as the crumble topping. Inside, the slices of cinnamon spiced apple are coated in creamy caramel. Just the right balance of soft, crisp and a little crunch. All on its own or topped with vanilla ice cream, I’d never turn this treat down!
Double Duty
Why make two when you can make one? In this recipe, the same ingredients can work differently by either pressing it into the bottom of the pan or crumbling it on top of the filling. It adds the same flavors, but different textures to the dish, therefore it works well. I wouldn’t do this with all recipes of course, but I appreciate the simplicity for this dessert.

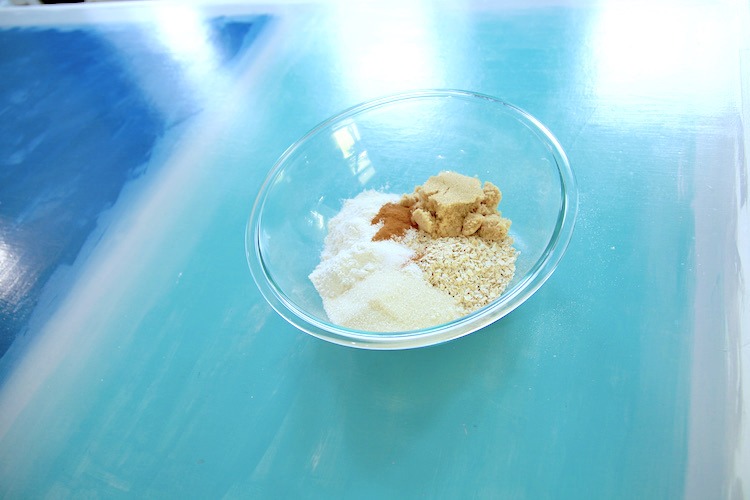
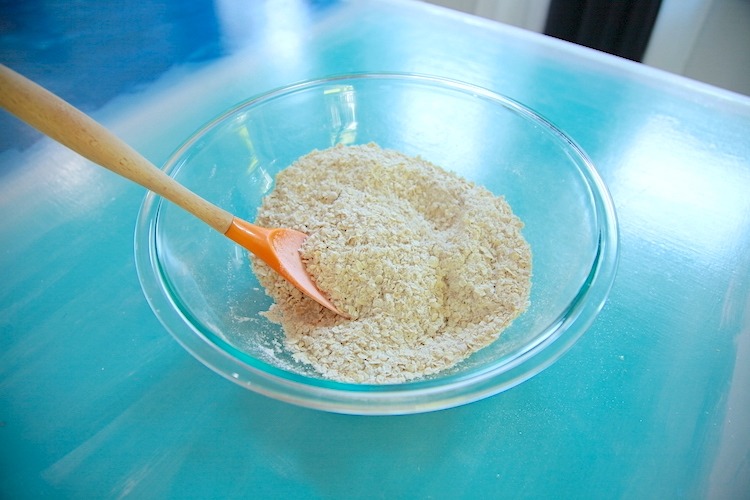
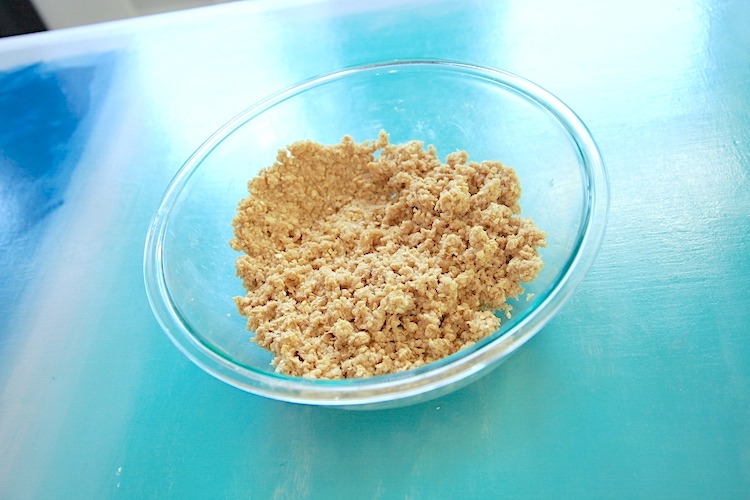
Begin by mixing all of the dry ingredients together in a bowl. Make sure to use quick cooking or instant oats, otherwise the base might crumble. Then add in the softened butter a little at a time, until crumbles form and the mixture holds together when pressed against the side of the bowl. It shouldn’t appear as wet as a batter or dough, it should still crumble easily in your hands. You may not need all of the butter, depending on how dry or absorbent your ingredients are.
Making the Base
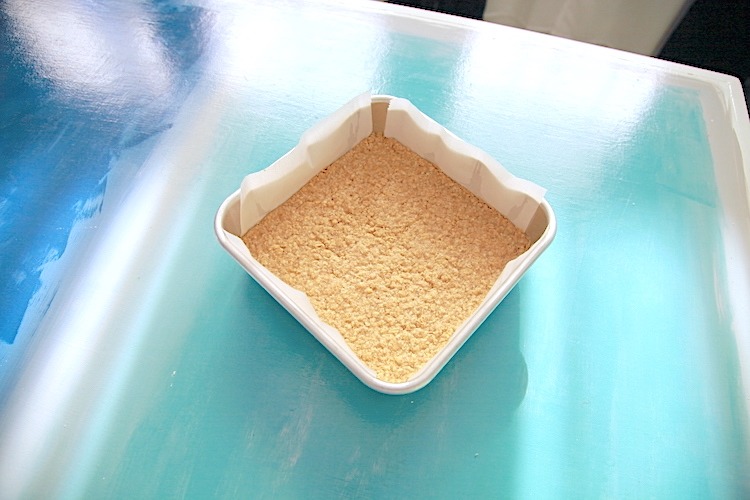
Reserve ⅓ of the oat crumble for the topping and press the remainder into the bottom of your prepared baking pan. Pre-bake the crust for 15 minutes, then remove it from the oven and set it aside while you work on the filling.

The Caramel Apple Filling
Let’s face it. Apples are called "juicy" because they have a lot of juice in them of course! While I was developing this recipe, I had a massive fail for 2 reasons (see the pic below). The first reason was that I used old fashioned oats instead of instant oats. Old fashioned oats are too big and stiff, which didn’t allow the base to come together well enough to support the filling and topping. Second was that the apples released so much liquid while baking that it made the base soggy and the filling didn’t firm up enough to hold its shape when cut. The result tasted great, but was more of a scoopable apple crumble than a bar. The "juicy"apples are the reason you hear people talking about having "soggy bottoms" in pies. If you ever find that you are having that issue, the technique in this recipe can be used and will likely remedy your "soggy bottom."

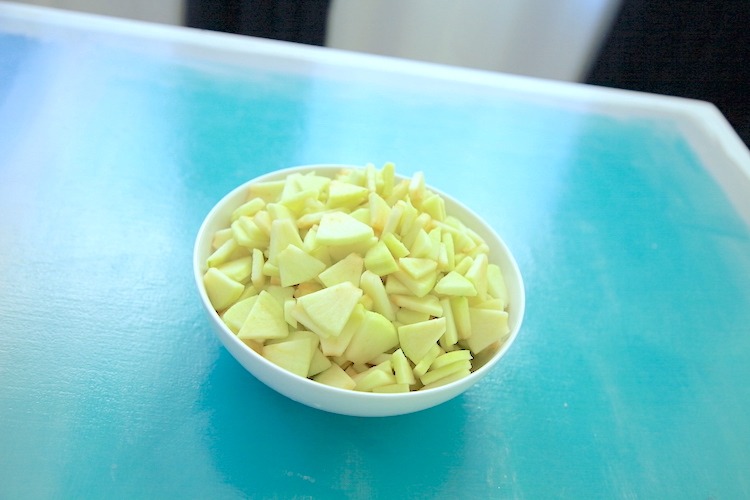
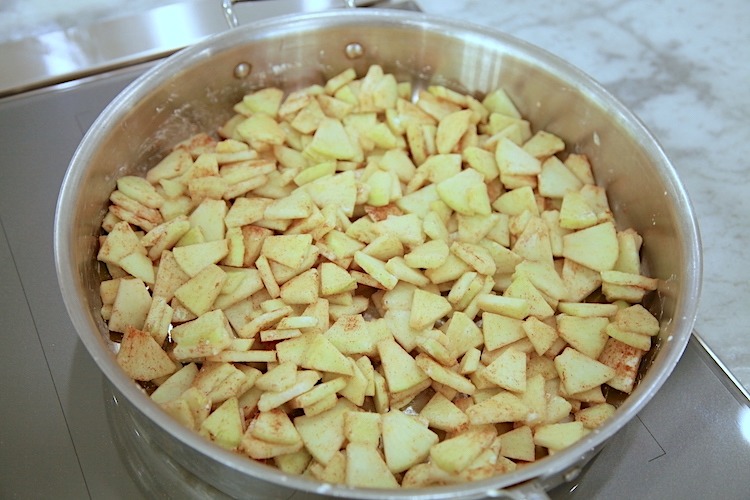
I see these kinds of “fails” as delicious opportunities to try again and learn new techniques. So here we are with the apples, cinnamon and cornstarch mixed together in a large frying pan (a little butter melted to reduce the chance of sticking). Allow the apples to cook while gently stirring them from time to time until they become soft and most of the liquid has evaporated or thickened. This should take about 20 minutes.

The Caramel
Although we could make caramel from scratch, this recipe already has a few steps, so using store bought thick caramel sauce is my cheat to save time, while still getting the caramel flavor and texture I am looking for. Any caramel that can come out of a squeeze bottle has too much liquid in it for this recipe. Look for the jarred type that is really thick or needs to be spooned out of the jar.

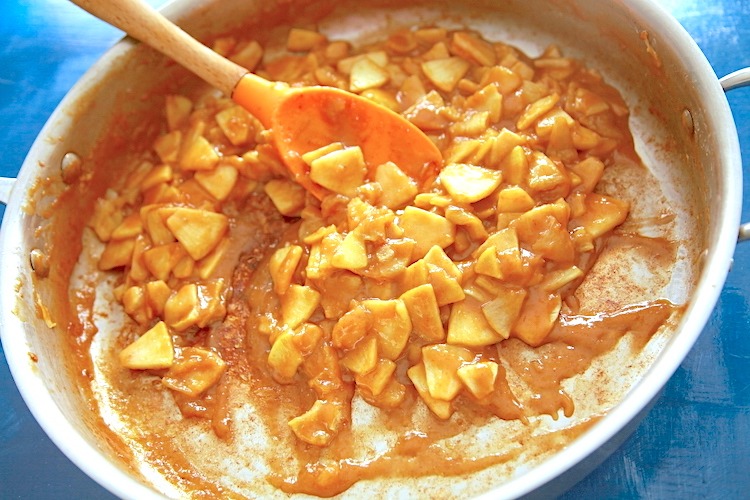
Add the caramel sauce in with the apples as they are just about finished cooking. Stir it to combine everything together well, then let it continue to cook if needed until it reduces and thickens some. That should take about 10 minutes, then turn off the heat on the stovetop.


Bring It All Together
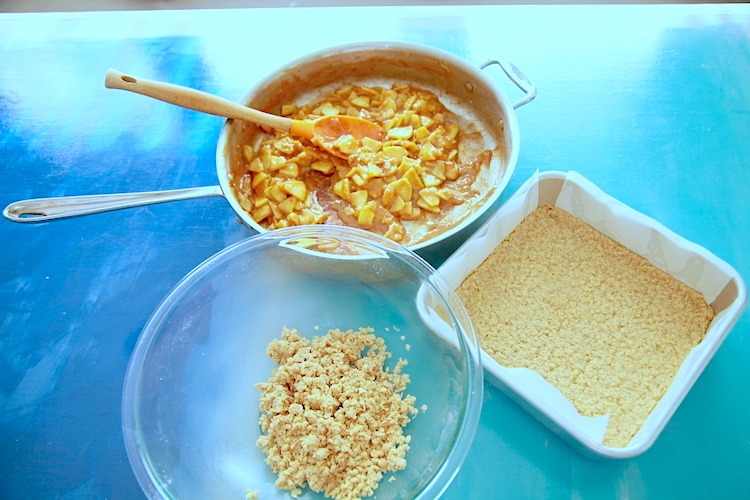
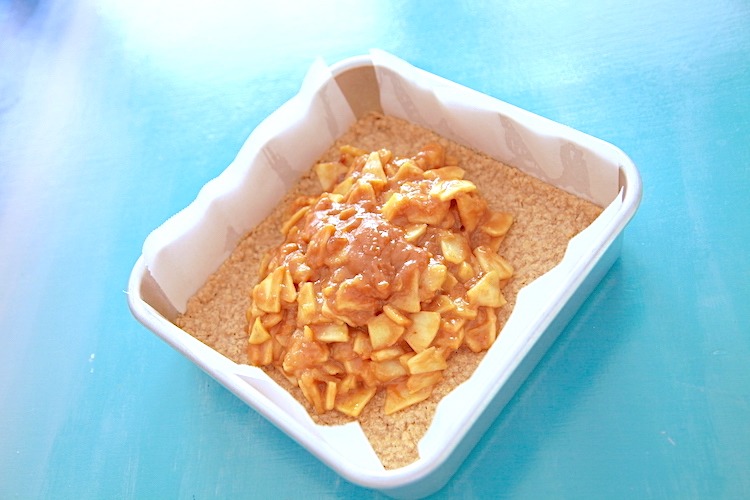
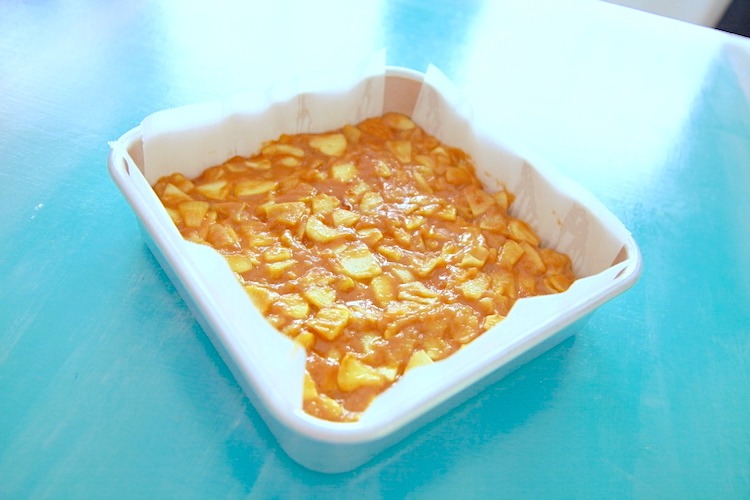
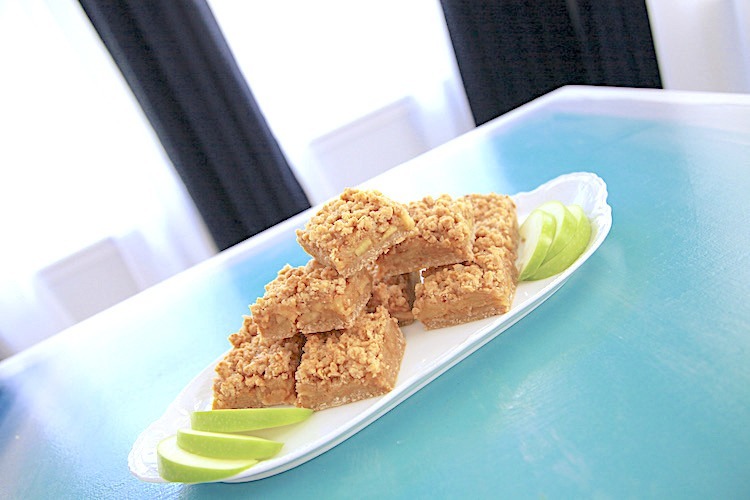
Now we build it! Pour the caramel apple mixture into the pre-baked crust. Sprinkle the remaining oat crumble mixture on top and bake until the top is browned nicely. Remove it from the oven and let it cool to room temp or in the fridge until it sets up before cutting. Then slice and serve just as it is, with whipped cream or ice cream.

About them Apples
Although you are welcome to use other types of apples, I like Granny Smith best for this recipe because they will hold up to this cooking & baking method without turning to apple sauce. They also have wonderful apple flavor with a bit of tartness, which is needed given how sweet the rest of the dish is when it comes together.

More Gluten Free Goodness to Explore
- Apple Crisp
- Ginger Apple Pie
- Spiced Pumpkin Cheesecake
- Pumpkin Whoopie Pies
- S’mores Cupcakes
- Cherry Crumb Pie
- Peanut Butter Pie
Caramel Apple Bars
Ingredients
Base & Topping:
- 2 cups quick cooking oats - gluten free
- 1 cup gluten free flour blend with xanthan gum
- ½ cup granulated sugar
- ½ cup light brown sugar
- 1 teaspoon cinnamon
- 6-8 tablespoon butter - softened
Filling:
- 4 large granny smith apples
- 1 teaspoon cinnamon
- 2 tablespoon cornstarch
- 2 tablespoon butter
- 14 oz thick caramel sauce - nothing from a squeeze bottle
Instructions
- Preheat oven to 350. Line an 8 x 8 or 9 x 9 pan with parchment & grease exposed areas.
- Combine dry ingredients for the base, mixing well. Add the softened butter, a little at a time, mixing until crumbles form.
- Reserve about ⅓ of the mixture for the topping and press the rest of the mixture into the bottom of the prepared pan. Bake for 15 minutes, then remove and set aside at room temp until ready to fill.
- Peel, core and thinly slice the apples into evenly sized pieces. Sprinkle the apples with cinnamon and cornstarch. Mix to coat the apples as evenly as possible.
- Turn the heat on the cooktop to medium low and melt the butter in a large high sided skillet. Transfer the apples to the pan and cook for about 10-15 minutes, stirring from time to time. Adjust the heat lower, if the apples are sticking or start to brown at the beginning of the cooking process. When the apples have warmed through & softened some and most of the liquid has evaporated or thickened.
- Pour the caramel sauce into the pan with the apples. Stir to combine well and allow to heat through, reduce & thicken. This will take about 10 minutes on a low to medium low heat.
- Spread the apple mixture into the crust in an even layer. Sprinkle with the remaining oat mixture. Bake for 40-45 mins or until the crust is lightly browned.
- Let cool completely before cutting & serving. It can be placed in the fridge to cool down faster. Store covered at room temp or in the fridge.



Comments
No Comments