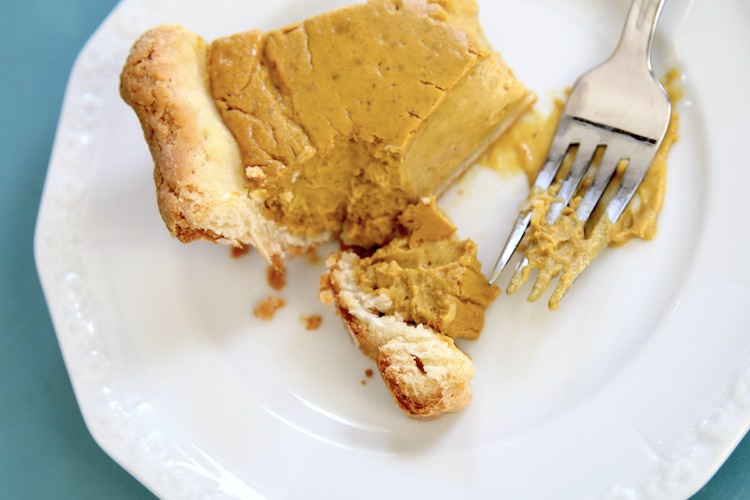
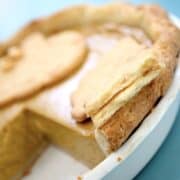
A buttery, Gluten Free Flaky Pie Crust seemed impossible when I was first diagnosed with celiac in 2012. But after almost a decade, I finally got down to business and developed a recipe that is easy to make. The dough that is a pleasure to work with, has a fantastic buttery flavor and bakes up flaky. And it isn't gritty! Now I can finally make all of my old favorite pies again, completely from scratch! And so can you! This recipe easily makes enough crust for a 9” deep dish pie plus extra for lattice or decorative pieces.

To Start
There are only 7 ingredients and each of them are important individually and combined. Begin by cutting cold butter and cream cheese into ½ inch cubes. Measure out the buttermilk and mix it with the egg. Keep these in the fridge until you are ready to use them.


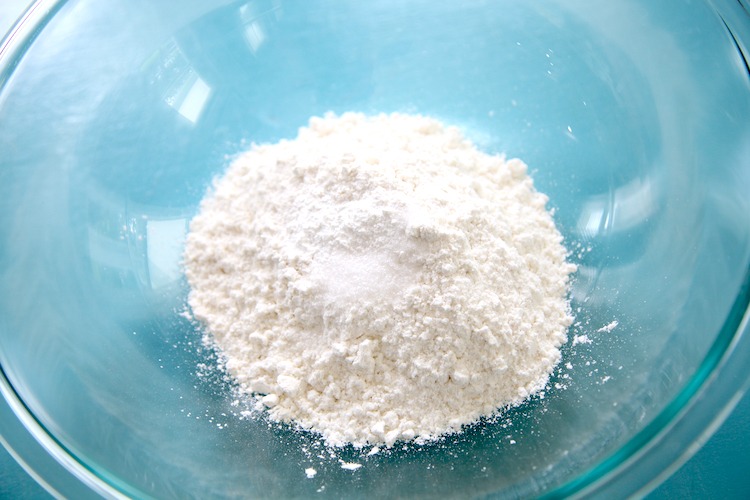
Combine the Cup4Cup multi-purpose gluten free flour with salt and baking powder in a large mixing bowl.
Mixing Method
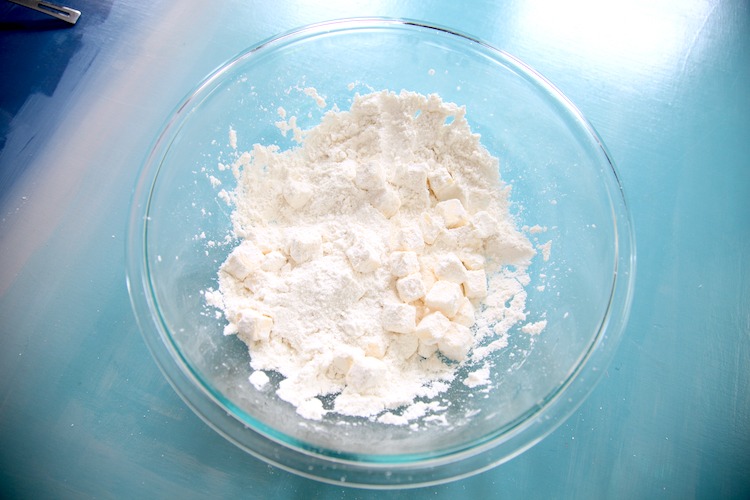
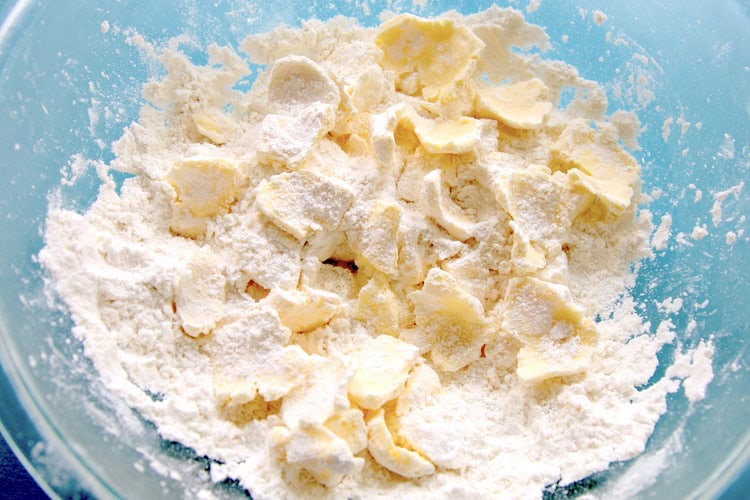
Add the very cold butter and cream cheese to the flour mixture. Use your hands to coat each piece of butter and cream cheese with flour to prevent them from sticking together. Then sift through the bowl, pressing each cube as flat as possible with your fingers. These flat pieces of butter and cream cheese will melt during the baking process creating air pockets. These air pockets are the flaky layers we are looking for! Continue with this process until you have a scraggly mixture like you see in the photo below.

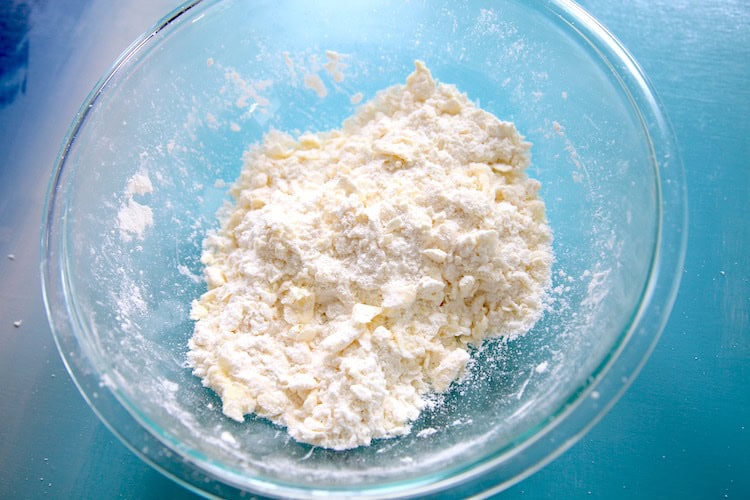
Pour the beaten egg and buttermilk mixture into the flour mixture and combine with your hands. This will be a strange combination of dry flour and wet sticky dough in the beginning. Continue rubbing the sticky dough off your hands as you mix it all together. After a few minutes it will come together in a ball.

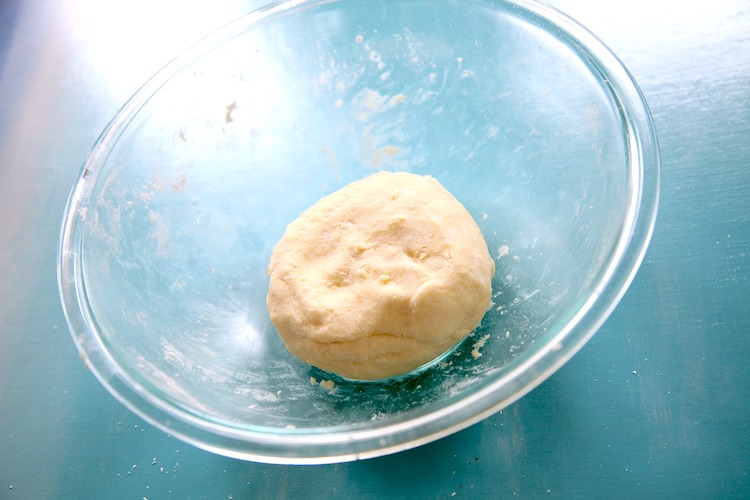
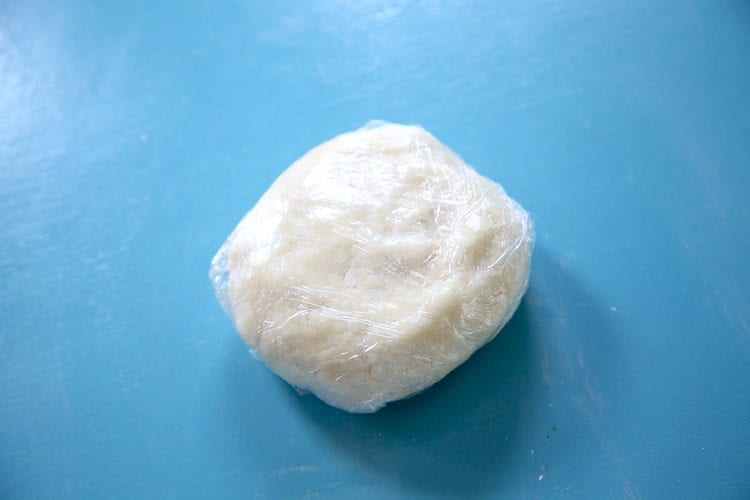
If it holds together well and isn’t very sticky, you can go ahead and roll it out. If it is pretty sticky or you are making it ahead for another time, wrap it tightly in plastic wrap and store it in the fridge or freezer. It will remain fresh for about a week in the fridge or several months in the freezer.
Rolling the Dough
The dough will roll best when it is close to room temp. It tends to be more crumbly when it is very cold. You can warm it up some by working it with your hands or just leave it at room temp for an hour or so before trying to roll it.
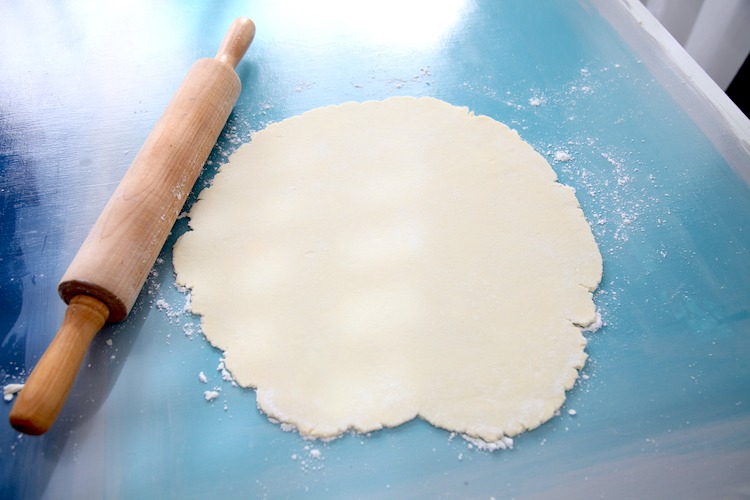
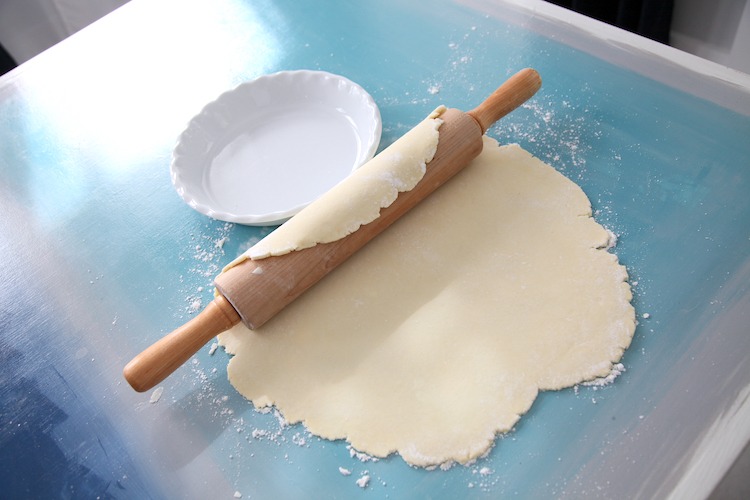
Just as you would with any pie dough, dust the rolling surface, rolling pin and dough with flour and begin rolling. Continue to dust with flour as needed to prevent sticking. When the dough is a little thicker than ⅛th of an inch, use the rolling pin to help transfer the dough to the pie plate.


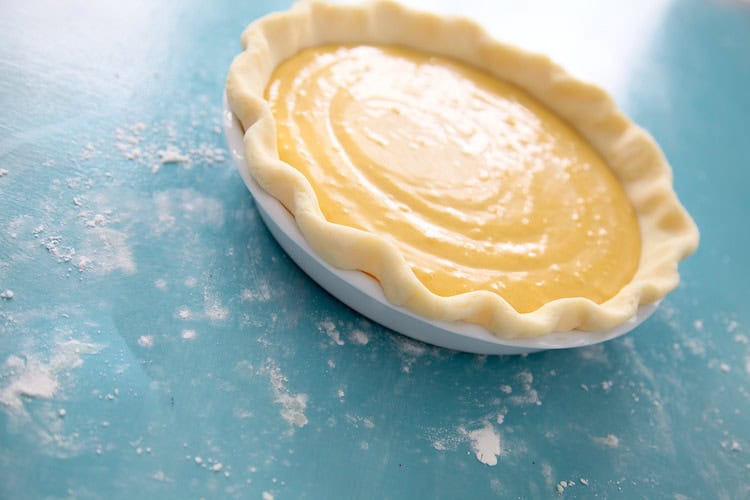
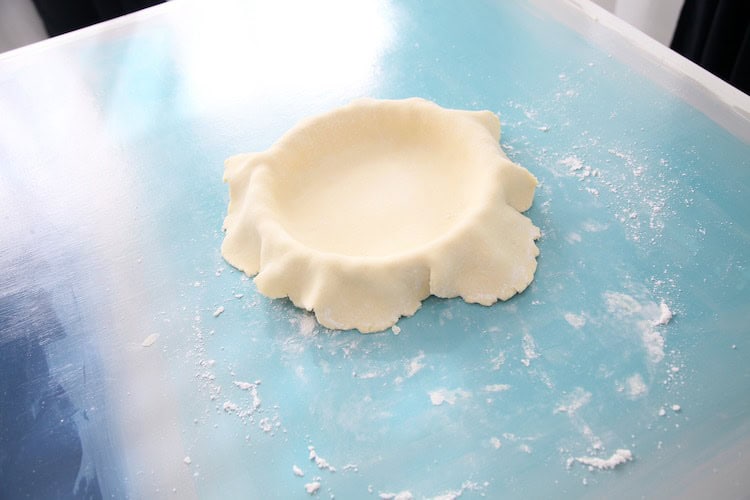
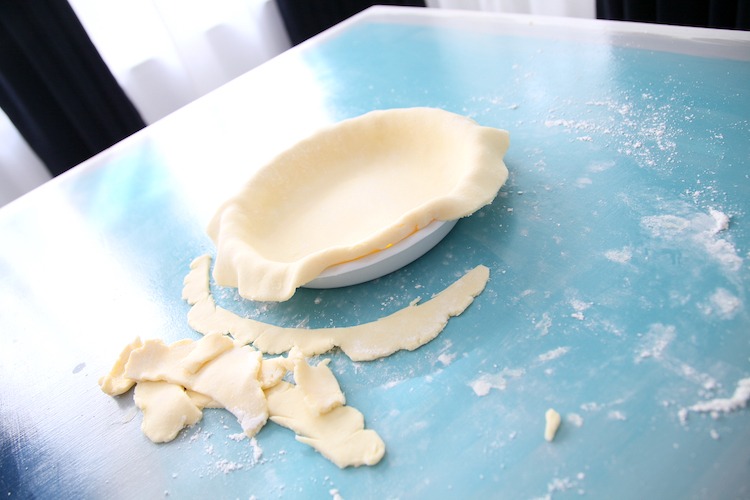
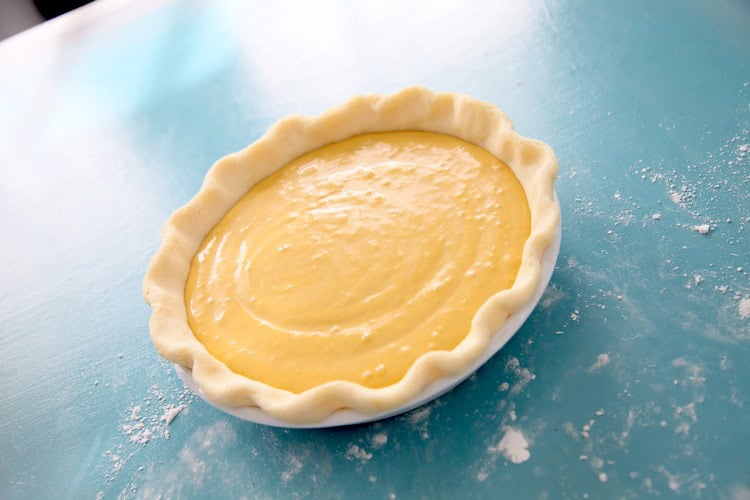
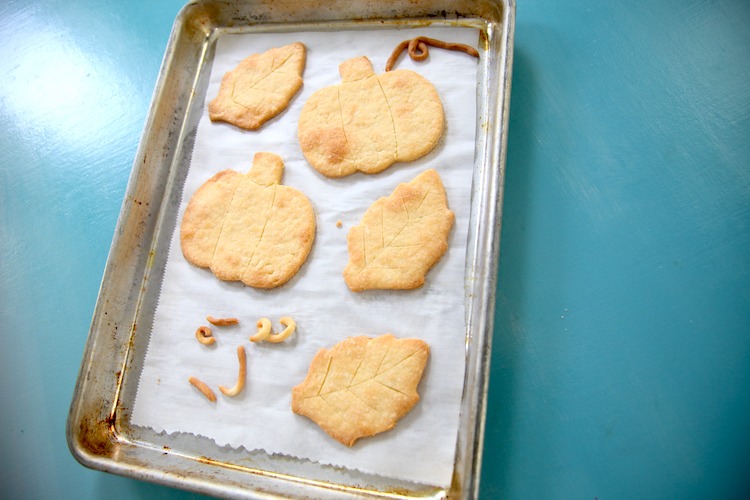
Lift the dough from the edges and encourage it towards the center and bottom of the plate instead of trying to press it with your fingers into the bottom. Pressing or stretching the dough is more likely to tear it. Tears can be easily repaired by pressing the dough back together though. Once the dough has settled into the pie plate, trim the excess dough around the edge and shape the crust. The scraps can be rolled again and used as a lattice top or decorations for the pie.


Baking
If baking without any filling, prick the bottom of the crust with a fork a few times and bake at 375 degrees for about 15 minutes or until browned to your liking. I have baked this successfully several times without using pie weights. Feel free to use them if you’d like though!
If baking with a filling and the recipe requires baking below 375 degrees, I suggest baking for the first 15 minutes at 375 degrees to activate the baking powder in the crust. Then return the oven to the suggested temp in the recipe. If the baking temp is at or above 375 degrees, just bake as suggested. The baking powder doesn’t activate as well below 375 degrees, resulting in a denser crust, so if you can give it at least 15 minutes at that temp, I have found that it is much lighter and flakier.


Back Story
I tried making several traditional style, gluten free pie crusts from scratch the first few years I was gluten free. All of the recipes resulted in very sticky doughs that had to be rolled out between sheets of wax or parchment paper. Most of the time, I couldn’t get it to peel off well and get it positioned in the pie pan properly. One crust that had to be pre-baked, then baked again with the filling in it, baked up as hard as a rock! I couldn’t get a knife to cut through it. We ended up scraping the filling out and eating it without the crust. Fortunately we all had a great sense of humor about it and still laugh about it today.
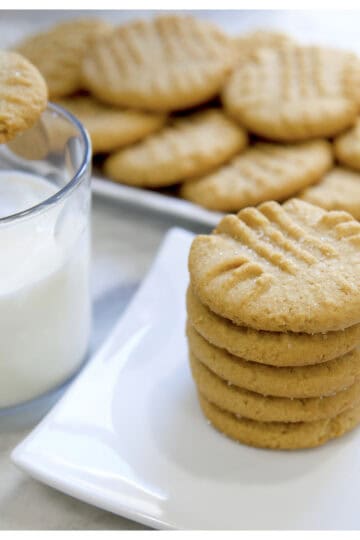
Eventually I began making alternative crusts using oats, nut flours, crackers and cookie crumbs. All of those worked really well, but I still craved a traditional style, Buttery & Flaky Pie Crust. And I somewhat accidentally developed this recipe when I was making Rugelach, which requires a pastry-like, flaky dough as the base for the cookies. It turns out that a few simple changes to that recipe makes a fabulous pie crust!
The Flour Matters
While developing this recipe, I tested it with Bob’s Red Mill 1 to 1 gluten free Baking Flour and Cup4Cup multi-purpose gluten free flour. Although Bob’s is fantastic for quick breads, cookies and cakes, it tends to be too heavy for pastry-like doughs from my experience. It became soggy from the fillings and no one wants a soggy bottom! Fortunately, Cup4Cup shines with this type of recipe. Since all gluten free flours are made differently, please let me know what your results are if you try something else!
The Method Matters
I also tried blending, preparing and baking the dough in different ways; using a hand mixer, combining by hand, using cold butter, room temp butter and baking it at various oven temperatures. The results varied dramatically in many cases. Ultimately, I found the right method from start to bake that results in a fabulous Buttery & Flaky Crust. Yahoo!!!
Gluten Free Pies to Enjoy
- Creamy Vegan Pumpkin Pie
- Chocolate Cherry Pie
- Ginger Apple Pie
- Cherry Cream Pie
- Blueberry Cardamom Cream Pie
- Banana Cream Pie
- Lime in the Coconut Pie
Gluten Free Flaky Pie Crust
Ingredients
- 2 cups Cup4Cup multipurpose gluten free flour
- ½ teaspoon fine sea salt
- ½ teaspoon baking powder
- 12 tablespoon butter - very cold, cut into ½" cubes
- 2 oz cream cheese - 4 tablespoon very cold, cut into ½" cubes
- 2 tablespoon buttermilk
- 1 large egg
Instructions
- Mix egg & buttermilk together, set aside.
- Combine flour, salt & baking powder in a large mixing bowl.
- Add the butter and cream cheese to the bowl and use your hands to coat each piece of butter and cream cheese with flour. Then begin pressing the butter and cream cheese between your fingers to flatten each piece. Instead of making pea shapes, make flat disks with the butter, cream cheese and flour. Continue until the mixture looks scraggly.
- Pour in the egg & buttermilk mixture. Mix with your hands to incorporate the ingredients. You will need to continuously rub your hands together to keep the sticky dough from accumulating on your hands. The dough will come together into a ball in a few minutes.
- If the dough is sticky, shape the dough into a disk and wrap it tightly in plastic wrap. Let it chill in the fridge for about 30 minutes or until it is no longer sticky.
- The dough rolls best when it is closer to room temp, so if you store it in the fridge or freezer for an extended period of time, let it rest wrapped in plastic for an hour or two to bring it back to room temp before rolling.
- Work the dough a little with your hands to soften it up and flatten it some. Dust gluten free flour on your work surface, rolling pin and the dough to prevent sticking. Roll to approximately ⅛” inch thick. Transfer to the pie plate, trimming & shaping edges as you like.
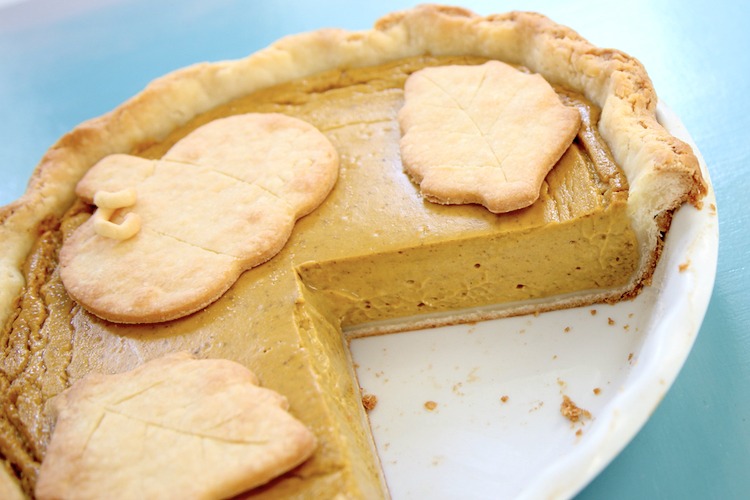
- Leftover dough can be used for a lattice crust, decorative pieces or wrapped and saved for another use.
- If baking without filling, bake at 375 degrees for approximately 15 minutes or until browned to your liking. If baking with a filling, consider baking at a minimum of 375 degrees for the first 10-15 minutes of baking time then turn the temp down to meet the recipe directions. This will give the crust enough heat to activate the baking powder and optimize flakiness.


Comments
No Comments