I love, love, love this Quick Dry Cookie Icing!!! It only has a few ingredients. I can whip it up in just a few minutes and it dries super fast! Oh- it tastes really good too, thanks to a little vanilla extract or almond liqueur!
Easy to Make
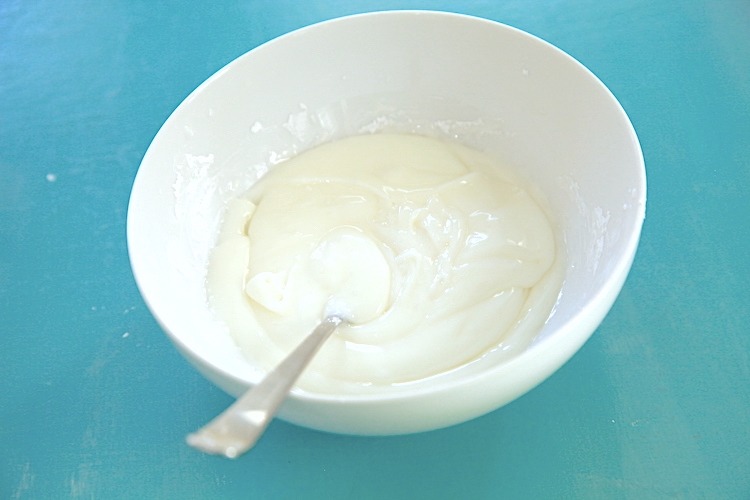
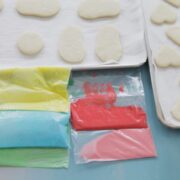
Combine all ingredients (except the food color) in a bowl and combine until smooth. Separate the mixture into bowls or zipped bags and add food color to each mix. The icing can be stored in an airtight zippered plastic bag for a week or more at room temp. Great for make ahead prep!


Tips for Success
If you want a matte finish with the Quick Dry Cookie Icing, use the minimum amount of corn syrup in the recipe. For a glossy finish, use more corn syrup. However, be aware that corn syrup increases the drying time.
Consistency is Key
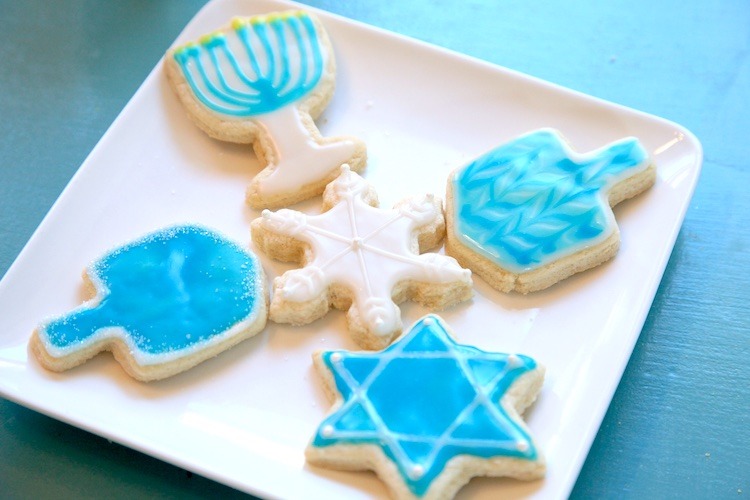
For outlines, writing and fine details the icing needs to be as thick as possible and the base needs to form a crust before adding the detail. Check out the photo of the white on white snowflake below as an example of how a difference in consistency can change the final look of the decoration. Adding a little powdered sugar to make it thicker will keep the icing from spreading and makes wonderful fine lines and detailing.
For "flooding" or filling in the outlines and larger areas, thin the consistency with water or flavored liquor. These will ensure a faster dry time and a matte finish.
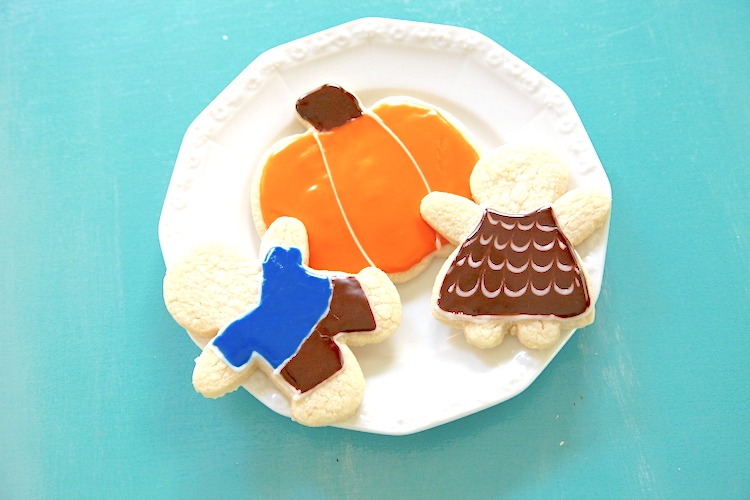
No matter the consistency of the icing, make sure to add any sprinkles or decorations to the top before it dries, otherwise they won't stick!


Gluten Free Cookies to Dress Up or Not!
- Almond Cut Out Cookies
- Naked Cut Out Cookies
- White Chocolate Macadamia Nut Cookies
- Dirty Snowballs (aka Mexican Wedding Cookies)
- Pumpkin Chocolate Chip Cookies
- Chewy Chocolate Chip Cookies
- Browned Butter Oatmeal Cookies
- Chocolate Filled Macaroons
- Hamantaschen
Quick Dry Cookie Icing
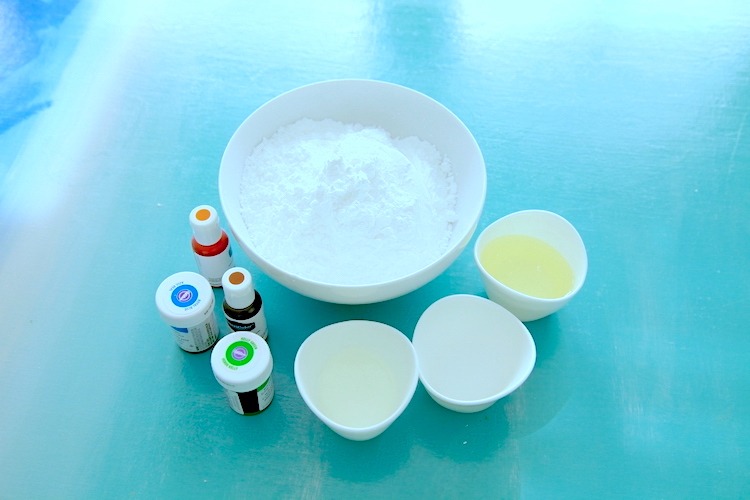
Ingredients
- 2 cups powdered sugar - *more to thicken if needed
- 2 tablespoon water
- 2 teaspoon clear flavored liquor or vanilla extract - vanilla extract will add color
- 1-3 tablespoon light corn syrup
- food coloring - your choice of colors
Instructions
- Combine powdered sugar, water, liquor or extract and 1 tablespoon of corn syrup in a bowl, working out any lumps. Remove a portion of this mixture for outlines and details and place in a zippered bag.
- Adjust with corn syrup, water or liquor to reach your desired consistency for flooding the cookie with icing. The more corn syrup you use, the more glossy the finish will be and the longer it will take to dry. Using only 1 tablespoon corn syrup will give you a matte finish. Thinning with water or liquor will improve the dry time and result in a matte finish.
- Separate into as many bowls or plastic bags as you will need for as many colors of icing you want.
- Add food coloring to each bag/bowl and mix until the color you desire is achieved.
- Decorate the cookies as you wish! A crust will develop in just a few minutes. It will dry to the touch in less than an hour and will be stackable within about 3-4 hours (unless you live in a humid environment, in which case you may want to let them sit overnight before stacking).

Diedra Bloomer says
I wish this recipe said about how many cookies it would frost so I knew if I needed a double batch???
Shay says
Hi Diedra! Under "servings" it shows that 1 batch of icing will cover about 30 2-inch cookies. Keep in mind that we all decorate our cookies differently, size of cookies will vary, number of colors, thickness of icing all will vary. In general, start with 30 2-inch cookies for 1 color and break down your needs from there. I hope that helps!
Lynda S. says
Can you freeze the icing?
Shay says
Hi Lynda! I have stored it in the fridge for weeks at a time and it holds up, but I have never stored it in the freezer. My guess would be that the sugar crystals may crystalize and then melt/change shape when it defrosts. This may require stirring it really well prior to using it. I think it is worth a shot though if you want to make a big batch months in advance. I would do a smaller test batch in advance though if it is for a special occasion:-)
D says
Does the icing dries a little dull in color? Mine was vibramt green but overnight, it looked a little dull but still shiny.
Shay says
Great question D! Thanks for reaching out:-) The lower the amount of corn syrup you add, the more matte (less shiny) the finish will be. Sometimes this also makes the colors look a bit lighter too. If you increase the amount of corn syrup you add, it will dry with more shine & the colors will be more vibrant. I have found that I have to play around with it a bit when I am being picky about the finish to get it exactly the way I want. You may get different results depending on the food color you are using as well. I try to use the very concentrated kind that is made for coloring icing which results in more vibrant colors too. Have fun with your cookie making!!!