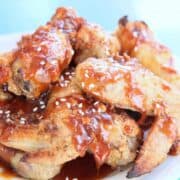
These Sticky Wings are baked, crispy and gluten free. Then coated in a mouth watering sauce made from honey, ginger, garlic and soy sauce. I must warn you that you will need several napkins or some wet naps. The sweet and sticky sauce is finger licking good, but you will still need some help on the clean up. Personally, I think it is totally worth the deliciousness. I always think of wings for a "big game party" as a snack, but you could easily make these into a meal. Add a side of Harissa Maple Glazed Brussels Sprouts and Perfect Baked Potatoes to fill everyone up with tasty goodness.
A Few Tricks for Crispy Sticky Wings
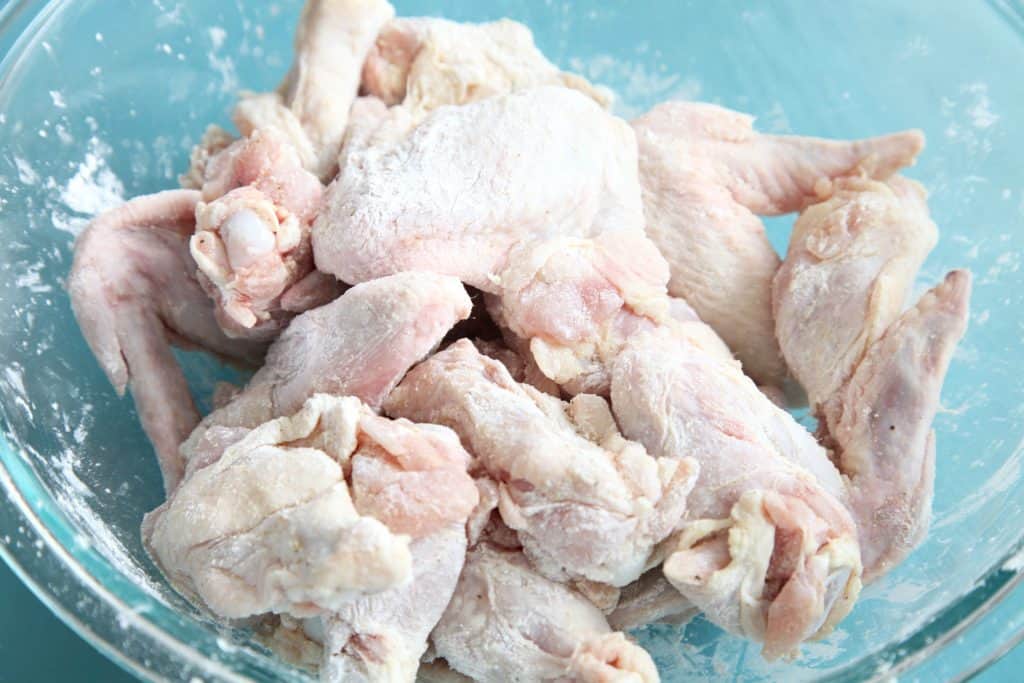
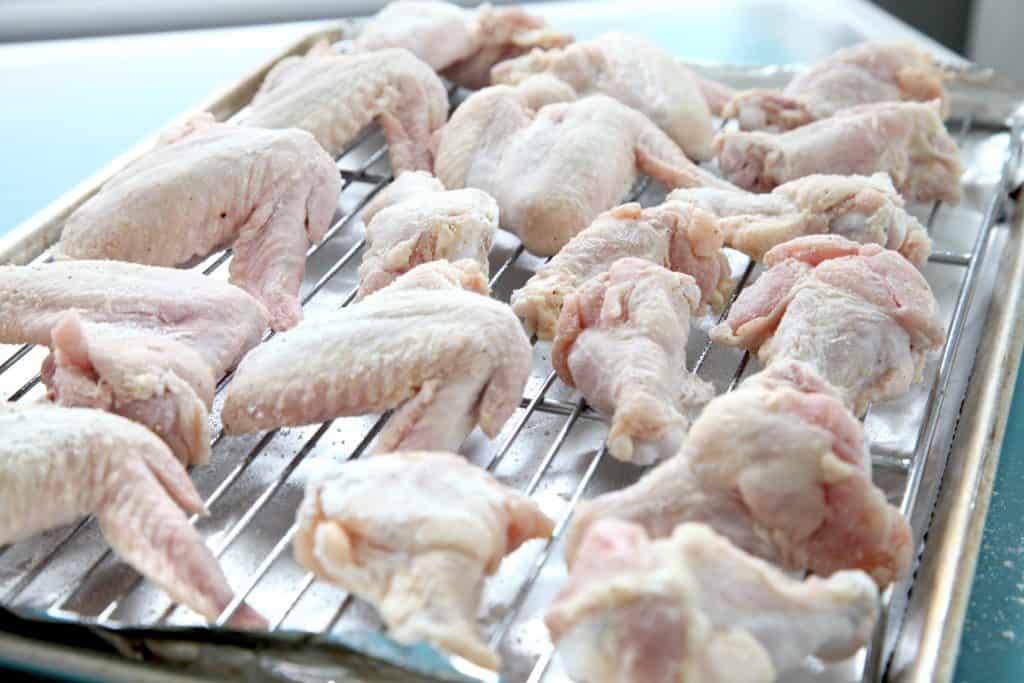
Sticky Wings are fairly easy to make, but there are a few things to keep in mind to make sure they turn out crispy underneath that beautiful Sticky Sauce. To start, make sure to dry the chicken pieces off with a paper towel. Give them a good squeeze to get any extra moisture out. This will help to ensure they don't get soggy as they bake. Combine the cornstarch mixture and seasonings together well in a bowl, then add the chicken and coat each piece evenly. Shake off the excess and place them on your prepared rack. Be sure to leave room between each piece to let the air circulate around them as they bake.

All About the Baking Pan
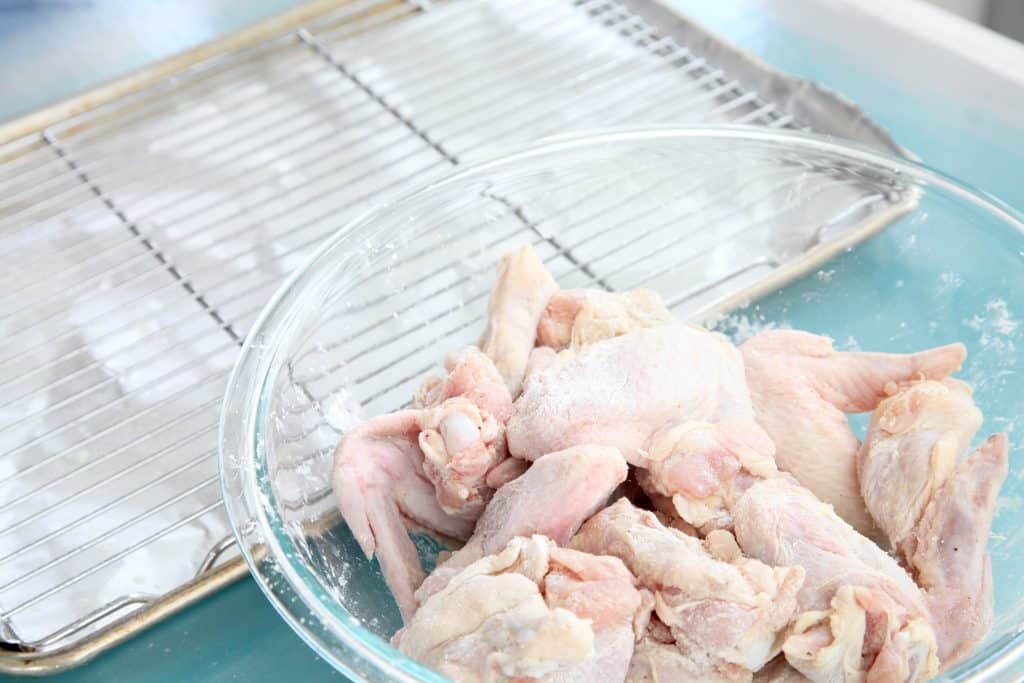
I am all about easy clean up and using the fewest bowls and pans as possible, but the extra rack for these Sticky Wings is an essential, necessary cleaning evil, for getting the chicken crispy on all sides. I wish it weren't true, but if you let them bake in their own juices, they will be soggy:-( Lining your sheet pan with aluminum foil will help with cleanup though. Then place the rack on top of the aluminum foil. Grease the rack the best you can to keep the chicken from sticking. I use a spray cooking oil. If you don't have a cooling rack that fits into your baking sheet, you can try crumbling aluminum foil in rows across the sheet pan to provide peaks and valleys to hold the chicken and catch the juices. I haven't tried this method with chicken wings myself, but I don't see why it wouldn't work.
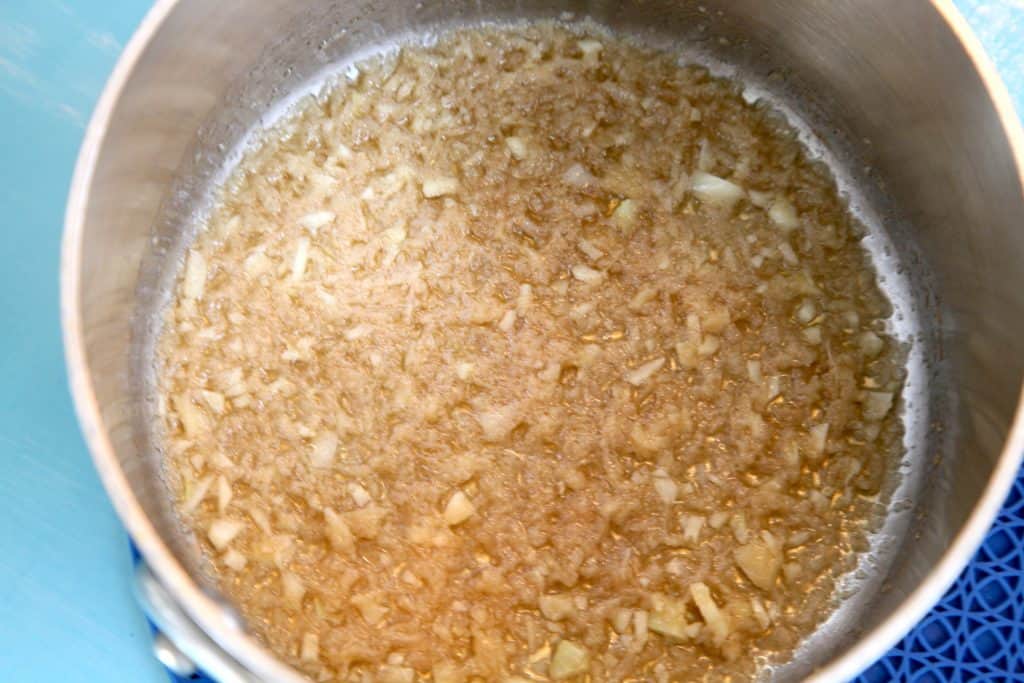
The Sticky Sauce
Making the Sticky Sauce is pretty simple. Start with heating the ginger and garlic in the pan, cooking until they soften. Add the remaining ingredients and just make sure it doesn't boil over... that would be a sticky mess to clean up! If it starts to thicken too much as it cools, just heat it up again over a low heat and it will loosen up again. This sauce is totally unique for wings with layers of awesome flavors and sweetness. If you are looking for a traditional wing sauce check out my Crispy Baked Gluten Free Buffalo Wings too.


Ingredients
For the wings:
- 3-4 Lbs chicken wings and/or drumsticks - fresh or thawed if previously frozen
- 2 tablespoon cornstarch
- 1 teaspoon garlic powder
- 1 teaspoon baking powder - not baking soda
For the Sticky Sauce:
- 2 tablespoon sesame oil
- 2 cloves fresh garlic - finely chopped
- 2 heaping tsp fresh ginger - grated or finely chopped
- ½ cup honey
- 1 tablespoon + 2 tsp gluten free soy sauce
- ½ lime, juiced
Instructions
- Preheat oven to 450 degrees. Line a rimmed baking sheet with aluminum foil and fit it with a cooling rack. Grease the rack to prevent the chicken from sticking to it.
- In a large bowl, combine the cornstarch, garlic powder, baking powder, salt and pepper. Mix to combine it well. Add the chicken to the bowl and stir it around to coat the chicken evenly. Shake off any excess and place the chicken pieces on the prepared rack and tray leaving space between each piece.
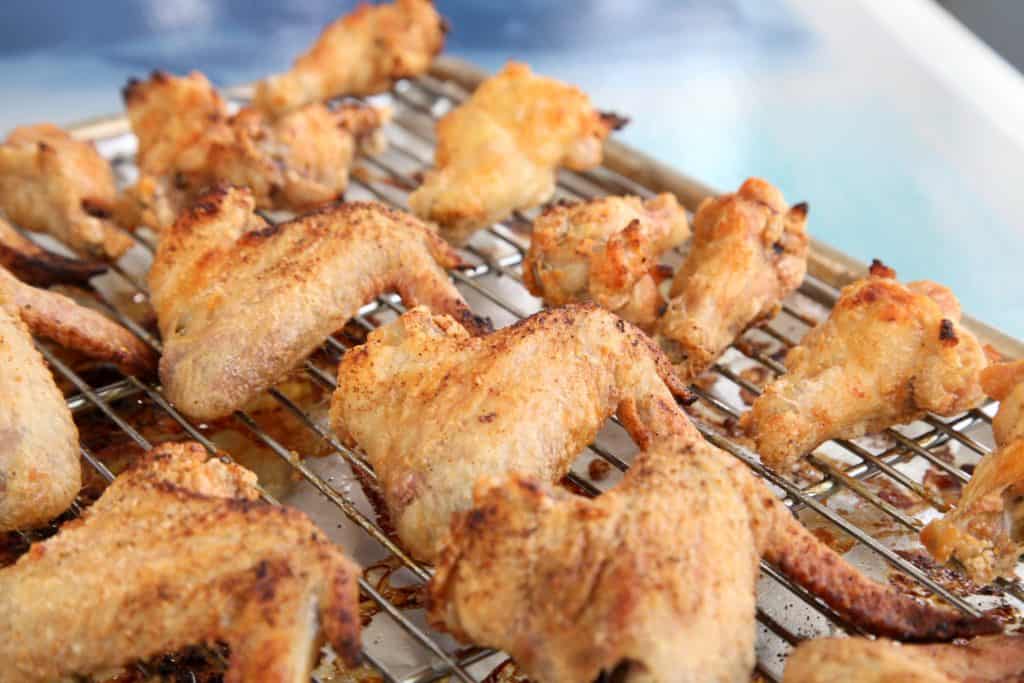
- Bake for 30 minutes, flip and continue to bake for an additional 15-20 minutes or until they are cooked through. The baking time will vary based on the size of your wings, so adjust the time accordingly based on the size of the wings I have in my recipe. The internal temp should be 165 to be cooked through, although I like to take it out at 160 because it continues to cook for a few minutes after you remove it.
- Once you remove the wings from the oven, place them in your serving dish and coat them with the Sticky Sauce (instructions below) and enjoy! Grab some extra paper towels before you dig in or plan on finger licking goodness taking hold of your dinner table!
For the Sticky Sauce:
- In a small saucepan, heat sesame oil, ginger and garlic until softened and fragrant.
- Add the remaining ingredients and let come to a low boil (be careful that it doesn’t boil over the pan). Continue to stir it frequently for about 2 minutes, then turn off the heat. If the wings aren’t ready to be coated yet, it may get too stiff to pour as it cools. Feel free to heat it again over low heat until it pours more easily.

Jacob says
Love the sweet and sour flavor. Your a great cook Shay.
Shay says
Thank you Jacob!!! Glad you enjoyed the Sticky Wings:-)
Robert Theroux says
Shay, the wings were delicious. 400' for 20 minutes, flipped at the 10 minute mark. I checked during the last 5 min to ensure even crisping.and flipped as necessary. Bob T
P.S. Like the new 3 PM Ch 11 show with Lauren. 🙂
Shay says
Thank you Bob! So glad they turned out well & thank you for the instructions with the air fryer:-)
Robert Theroux says
I will do this but no oven. Air fryer to cook and crisp and then follow your recipe.
Shay says
That sounds fantastic Robert, let me know how it turns out! I don't have an air fryer, so I haven't tried this method- Do you have any suggestions for the setting or timing on the air fryer?
Robert Theroux says
400' 20 min. Turn at 10 min. Check during last 5 min and rotate if necessary.