My Chocolate Covered Banana Ice Cream (dairy free) recipe was developed, more discovered, by chance. Do you ever have one of those days where you want to make something, but you are out of the staple ingredients? Well, this was one of those days for me and I decided to improvise. The results were fabulous, so I had to share;-)
I love the combination of chocolate, peanut butter and bananas. You probably picked up on that from some of my other recipes already... hehe. Although I wanted to make ice cream with my favorites, the day I came up with my Chocolate Covered Banana Ice Cream, we were out of peanut butter. I wanted to make it dairy free for my husband and fortunately we had plenty of coconut milk on hand, which means it is vegan too! Then I saw the bottle of chocolate liquor and it all started coming together. I added a little crunch from mini dairy free, vegan chocolate chips. Drizzled a little dairy free chocolate syrup on top because… do I really need a reason??? The result is a creamy, crunchy and chocolatey satisfying splurge. I didn’t miss the peanut butter;-) Which is also great, because now the recipe is tree nut free too.
Planning Ahead to Make Chocolate Covered Banana Ice Cream
Planning ahead will help a ton to ensure that your ice cream turns out perfectly churned. At least one day before you plan to churn the ice cream, you will want to prep your chocolate mixture so that it has plenty of time to cool. You can store it in the fridge until you ready to make the ice cream. Everything that goes into the ice cream maker needs to be as cold as possible for the ice cream to form. So make sure you have put the coconut milk/cream in the fridge and bucket of your ice cream maker in the freezer a few days in advance too!
Coconut Milk Makes a Difference
By all means- use whatever coconut milk you like! If you are unsure what to use, I recommend the Aroy-d brand coconut milk for the best results. It isn't the easiest to find in stores, but it is well worth planning ahead for it. You can buy it here on Amazon. I am not paid to promote this brand (or any other for that matter). This is just really great coconut milk and far better than anything in a can, in my opinion. It doesn't separate and is really smooth and creamy. There also isn't any metallic after taste. Yum, yum, in my book!
The Process of Making Chocolate Covered Banana Ice Cream
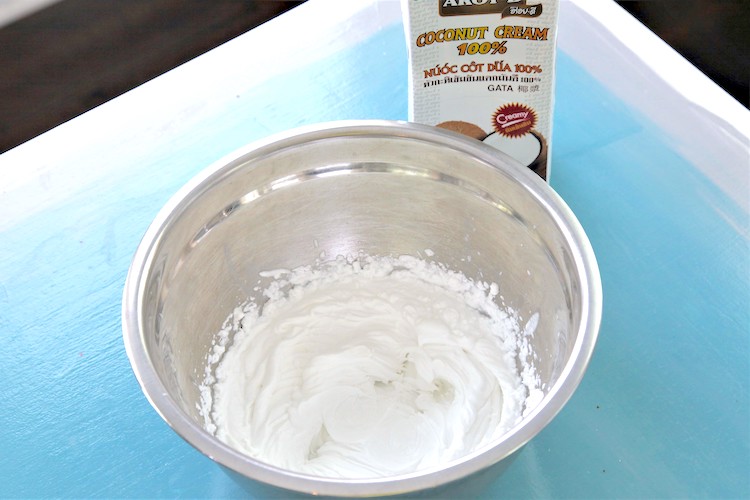
So that your ice cream turns out light and creamy instead of hard and icy, whip the coconut cream just like it is whipped cream. This will incorporate lots of air into the mixture.
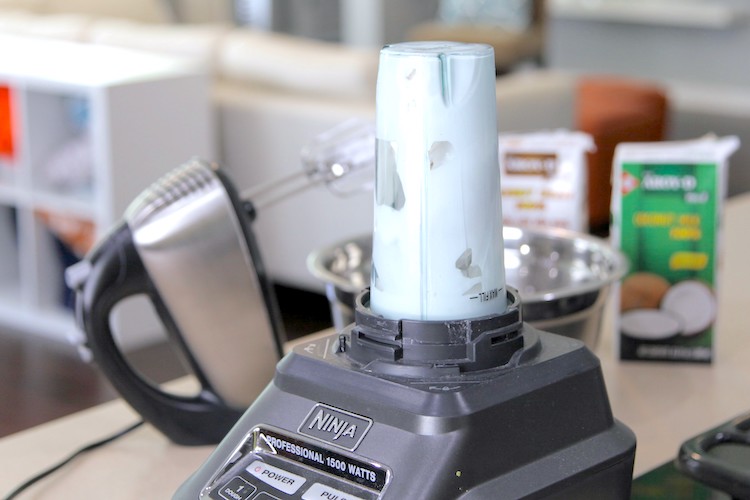
Also blend the frozen banana with the coconut milk to make it as smooth and creamy as possible. Then combine them all with a mixer to make sure the flavors all come together.
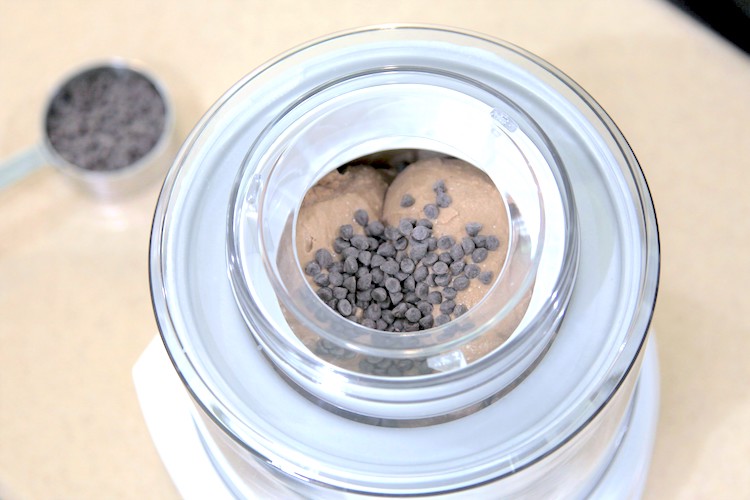
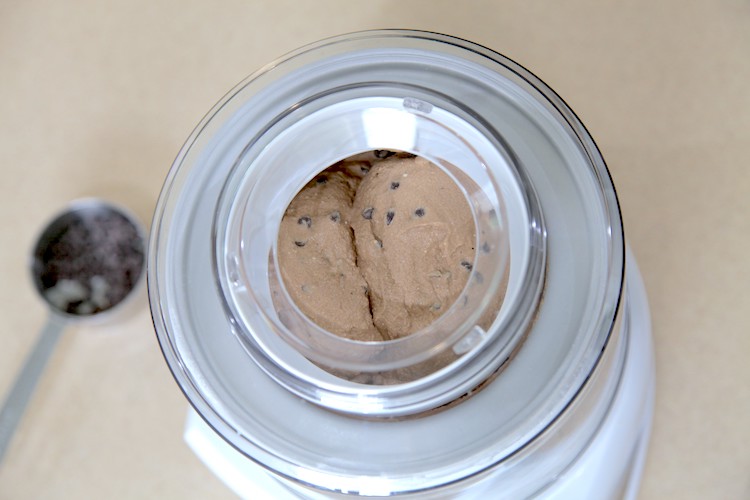
Once they go into the ice cream maker, it is just a matter of time before the magic happens! Add the chocolate chips once it is almost at the soft serve stage. Give it enough time to incorporate the chips and it is done! You can serve it at soft serve consistency or store it in the freezer.
For the Love of Chocolate and Peanut Butter and Bananas
Love chocolate, peanut butter and bananas? Give these recipes a try: Chocolate Banana Cupcakes, PB, Banana and Chocolate Cupcakes, Chocolate Toffee Peanut Butter Cupcakes, Chocolate Peanut Butter Caramel Cake, College Dorm Cookies, Seriously Great Banana Bread, Banana Cupcakes with Cream Cheese Frosting, Banana Pancakes and Make Ahead Banana Bread Oatmeal.
Recipe
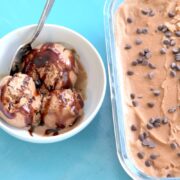
Chocolate Covered Banana Ice Cream (dairy free)
Ingredients
- ½ cup hot water
- ½ cup sugar
- 3 Tbsp Cocoa or Cacao powder
- 3 tablespoon Chocolate Liqueur - some have dairy, so check if this matters to you or use a different type of alcohol
- 1 teaspoon instant espresso powder
- 1 very ripe large banana - peeled and frozen
- 2 cups cold coconut cream - please use Aroy-d brand for the best results
- ½ cup cold coconut milk - please us Aroy-d brand for the best results
- ½ cup dairy free mini chocolate chips - divided
Instructions
One to two days ahead:
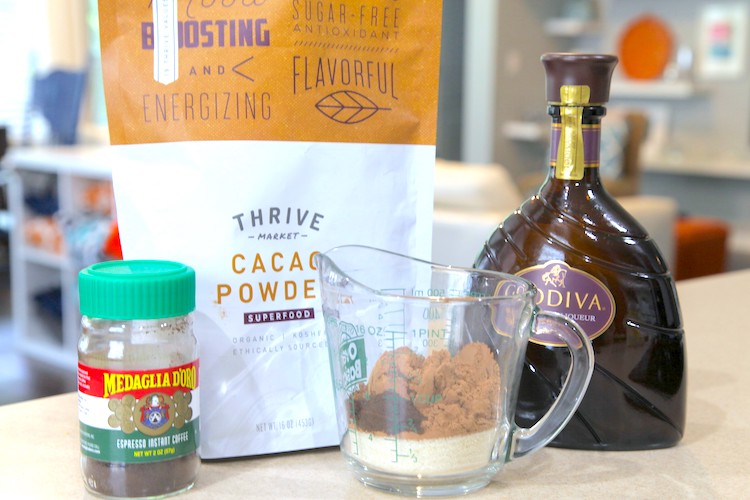
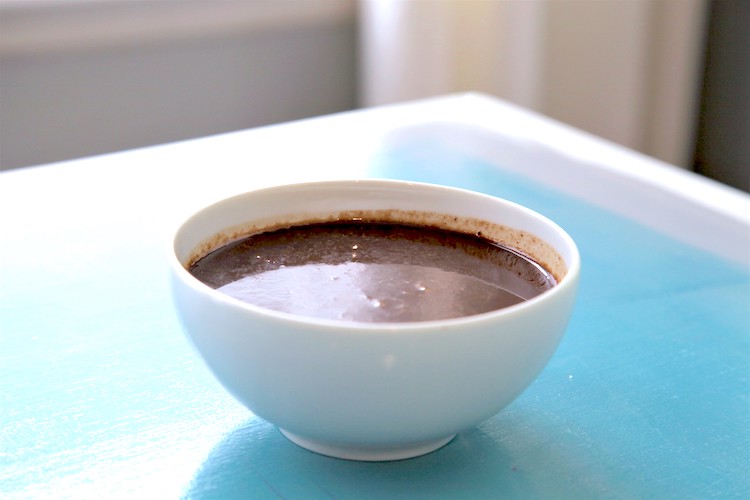
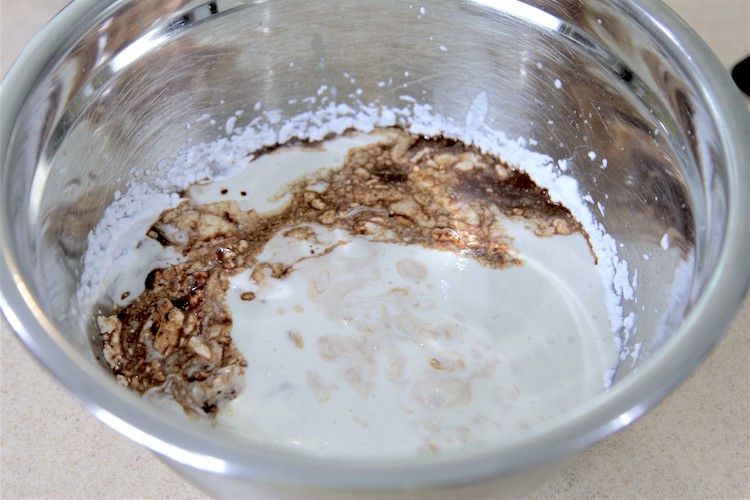
- In a heat safe bowl, add sugar, cocoa, chocolate liqueur and espresso powder. Add ½ cup hot water and mix with a spoon until combined and all sugar/powders have dissolved. Store in the fridge until you ready to make the ice cream.
On the day you are ready to churn your ice cream:
- Whip coconut cream in a large bowl until stiff peaks form.
- Blend frozen banana with ½ cup coconut milk until completely smooth.
- Quickly add banana mixture and chilled chocolate syrup mixture to the whipped coconut cream, beating with a hand mixer on high speed until combined. Store in the fridge if needed to keep well-chilled while you set up your ice cream maker.
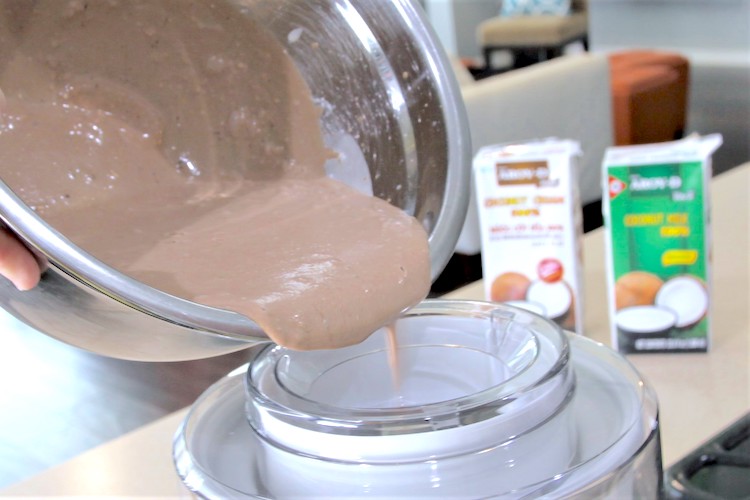
- Once it is ready to churn, pour your mixture into the machine and let it do its thing based on your machine’s instructions.
- Mine takes anywhere from 15-25 minutes to get to the soft-serve stage depending on how cold the bucket & the mixture is. At this point, add your chocolate chips reserving about a tablespoon to sprinkle on top.
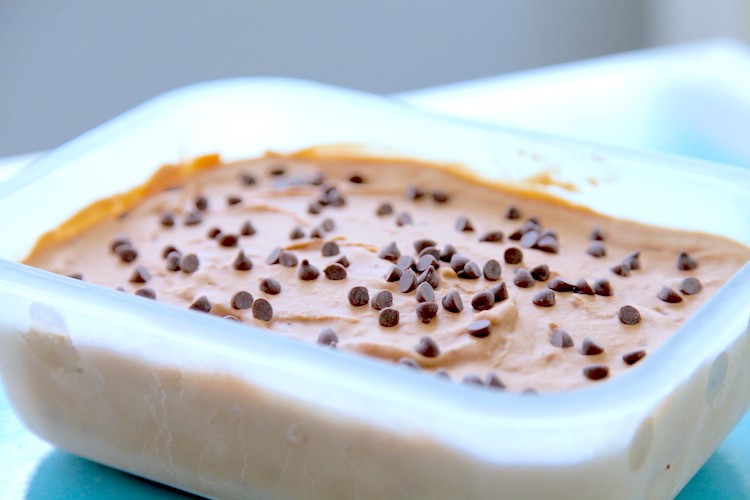
- Once the chocolate chips are mixed in, scoop your ice cream into a freezer safe container with a lid and sprinkle remaining chocolate chips on top. Freeze for about 6 hours to overnight before serving. You can serve it straight from the ice cream maker but it will be a soft-serve consistency and usually melts pretty quickly.




Leave a Reply