Guilty pleasure. That was my first thought when I dreamed up these Fluffernutter Chocolates. Creamy Marshmallow Fluff mixed with thick, rich peanut butter combines to create this super flavorful light and slightly chewy center. The rich chocolate shell just melts in your mouth along with the filling. The flavor combination of marshmallow, peanut butter and chocolate is pure bliss. These chocolates look super fancy but they are pretty simple and quick to make. If you don’t want to buy silicone candy molds, mini cupcake liners work great too! Check out my Nutella Cream Filled Chocolates and you’ll see pics in that post using the cupcake liners.
The Essential 4-1-1
Timing is the most important part of making these Fluffernutter Chocolates turn out well. Once the chocolate that makes up the exterior of the candy is melted and warm, you have about 20 minutes to work until it starts to cool and harden. Reheating it can be difficult at this point, so you might have to heat a new batch of chocolate if it “seizes” when reheating. My suggestion is to have your filling mixed and ready to go before you heat up the chocolate for the shell. Also have the molds ready to go and lined if needed.
The Candy Making Process
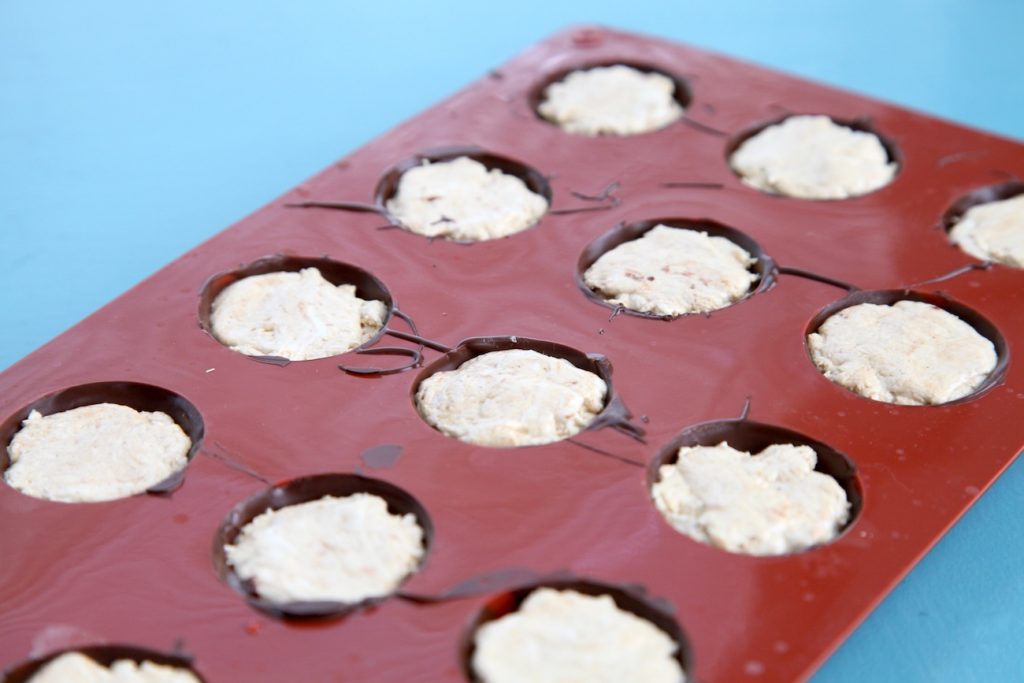
Start by lining your mini cupcake tin if you are using one. Then mix your filling. The next step is to melt your chocolate. Place a small amount of melted chocolate into each mold/liner. Use the back of your spoon to coat the mold or liner and scoop out any excess so that it doesn’t pool in the bottom of the mold. Once all of the molds are coated with chocolate, pop them in the freezer to firm up for a few minutes. Take them out, put the filling in. Make sure that the filling remains just below the chocolate line and away from the sides. Then top with more melted chocolate, trying to keep it as even with the mold as possible and covering the sides of the filling so that the chocolate is entirely around the filling. Pop them back in the freezer for a few minutes to firm up. When they are firm, they can be removed from the molds/liners and drizzled with more melted chocolate.

Mix It Up!
Feel free to try different types of chocolate- semi sweet, dark, milk, dairy free and white will all work with this recipe and process. I have used Enjoy Life brand chips (dairy free) for most of my chocolates and it works great. You can get creative with the fillings too! In addition to the Nutella Creme Filled Chocolates, I also use the same chocolate mold process to make S’Mousse Cups. They are a combination of S’mores and you guessed it- chocolate mousse. Let me know what ideas you come up with!

Ingredients
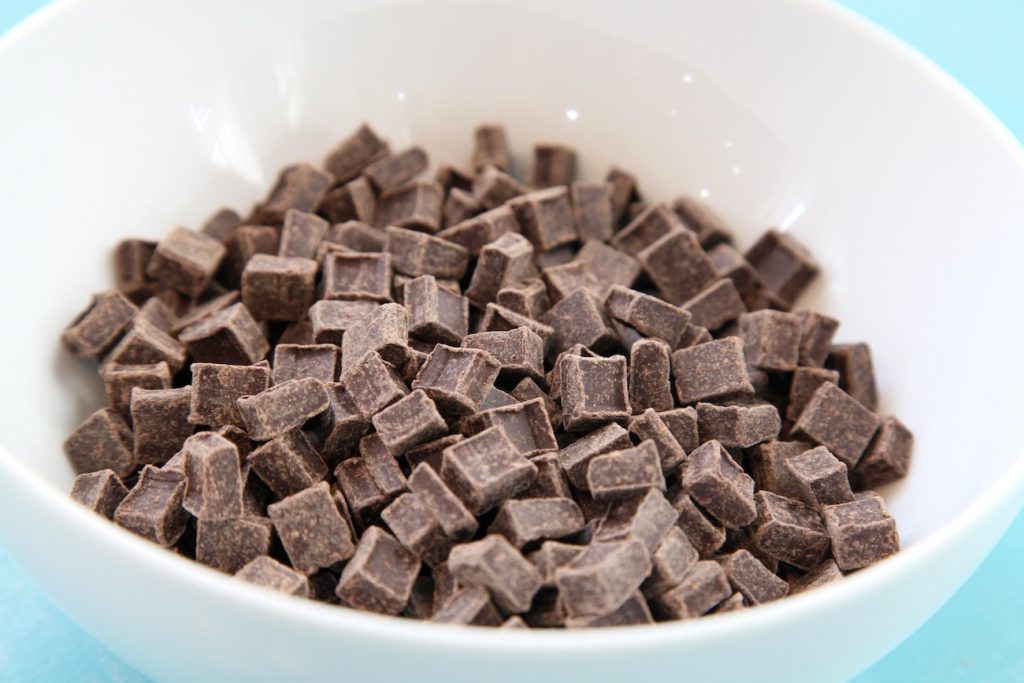
- 2 cups semisweet chocolate chips (divided) - I use Enjoy Life Dairy Free
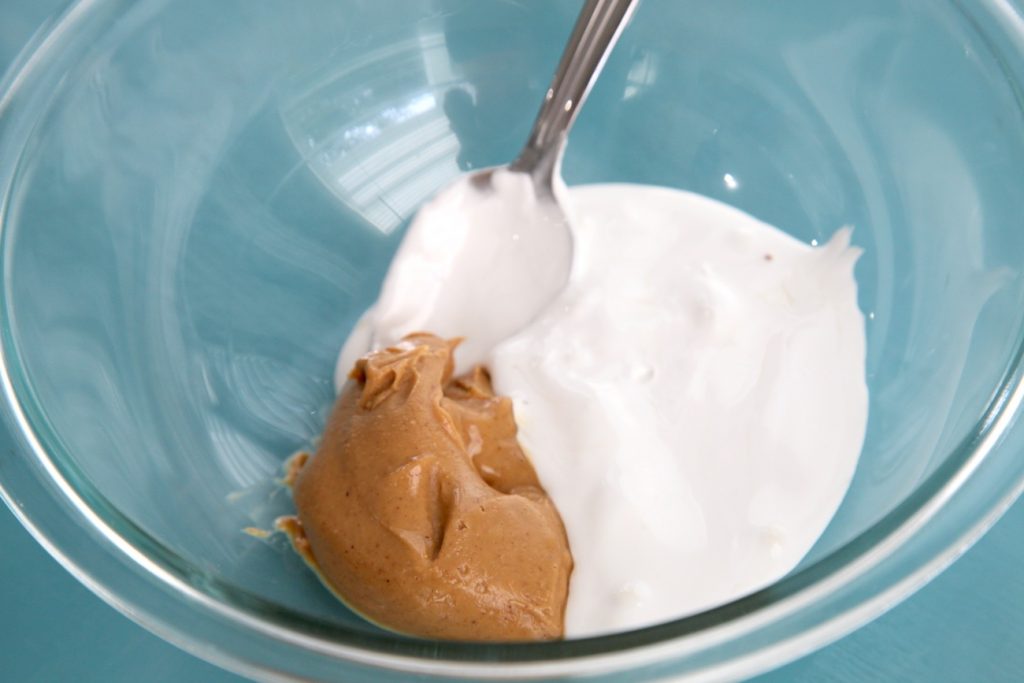
- ⅓ cup creamy peanut butter
- ⅓ cup Marshmallow Fluff
Instructions
- If using mini cupcake liners, put 20 liner into the molds.
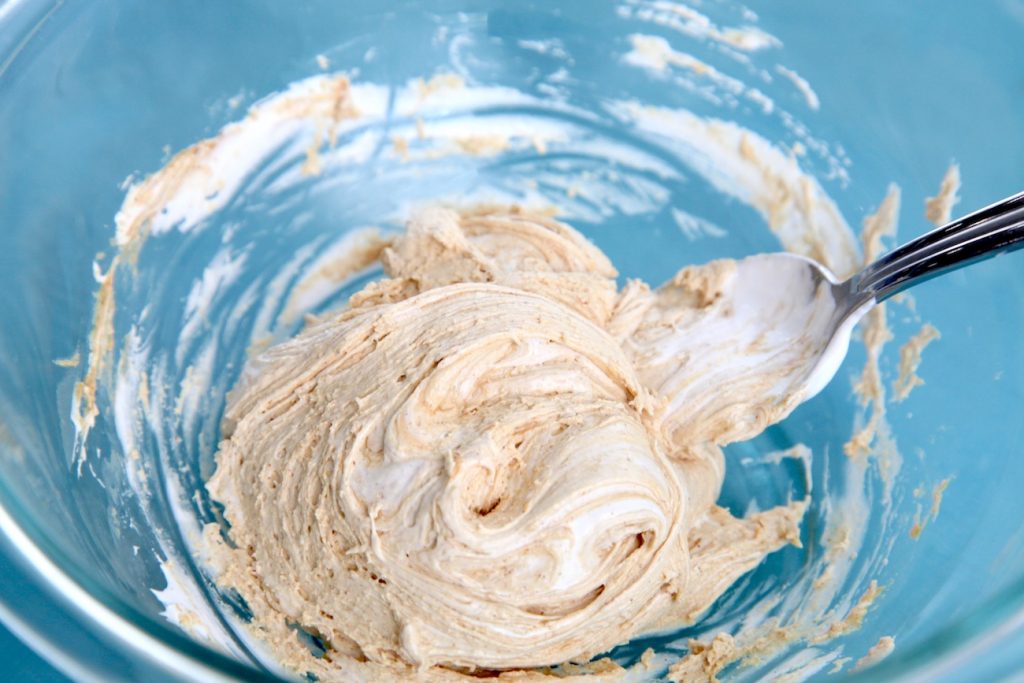
- In a small bowl, combine the peanut butter and fluff with a spoon. Since the fluff is super sticky, don’t feel the need to be precise with the measurement. As long as you have about the same about of peanut butter and fluff, you’ll have an awesome filling.
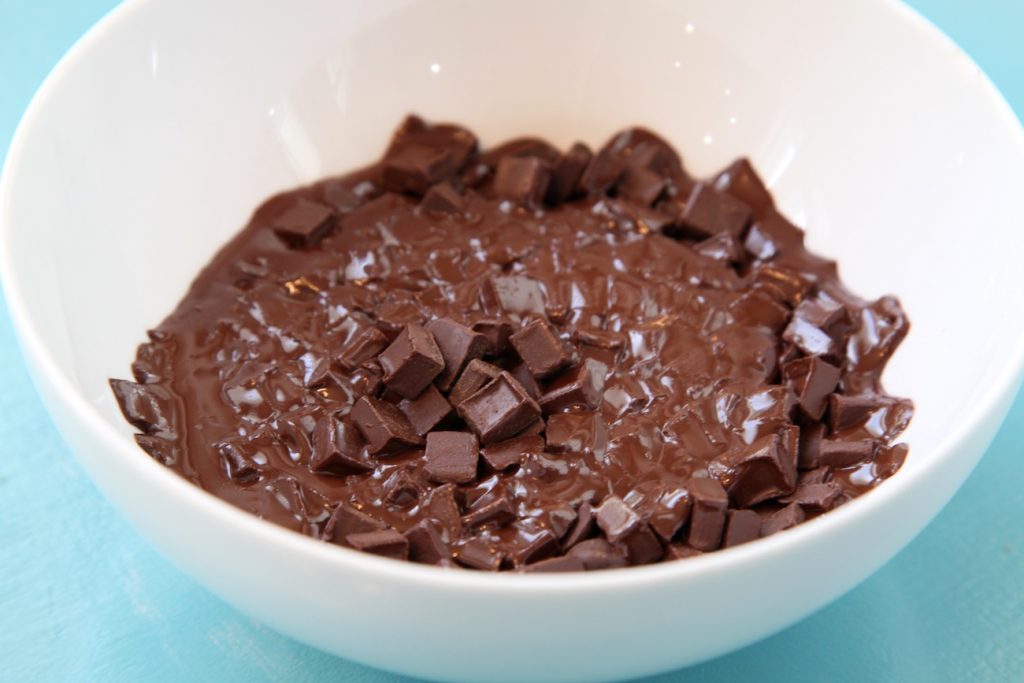
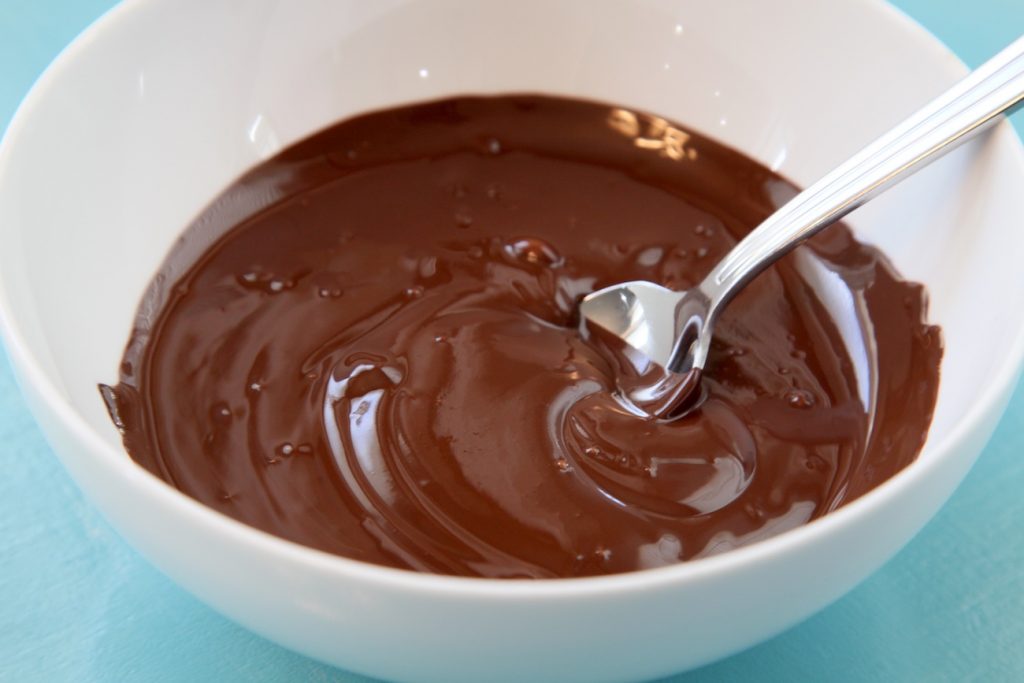
- In a medium sized microwavable bowl, heat 1 ¾ cups of the chocolate chips in 30 second intervals. When they are shiny and partially melted, stir until all of the chips are melted and it is smooth. Should take between 90 seconds to 2 minutes in the microwave.
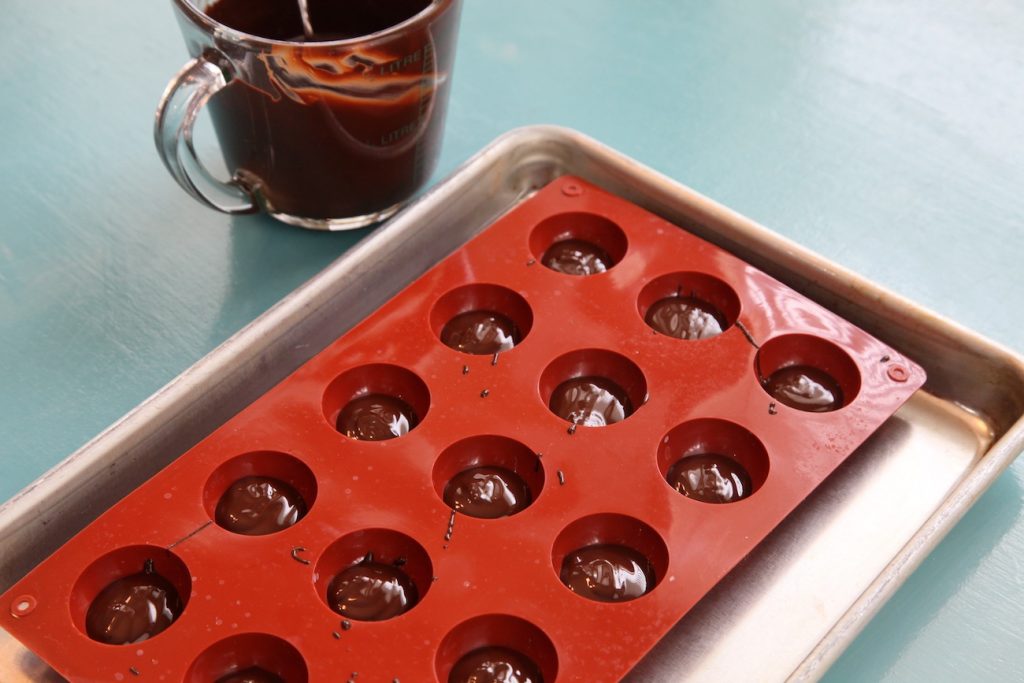
- Place a heaping teaspoon of melted chocolate into each hole of your silicone mold or mini cupcake liner set into a cupcake tin. Using the back of the spoon, brush the chocolate up the sides (not all the way to the top if using cupcake liners, only go about ½ way with these). You can fill up to 24 1 inch diameter molds, or about 20 mini cupcake liners. There will be chocolate left over and you need this to finish the chocolates, so just set it aside once you have the molds filled.
- Place the chocolate shells into the freezer for about 5 minutes, remove from freezer. Take a heaping teaspoon of the filling and gently place it into the center of the chocolate. The filling should be lower than the height of the chocolate on the sides.
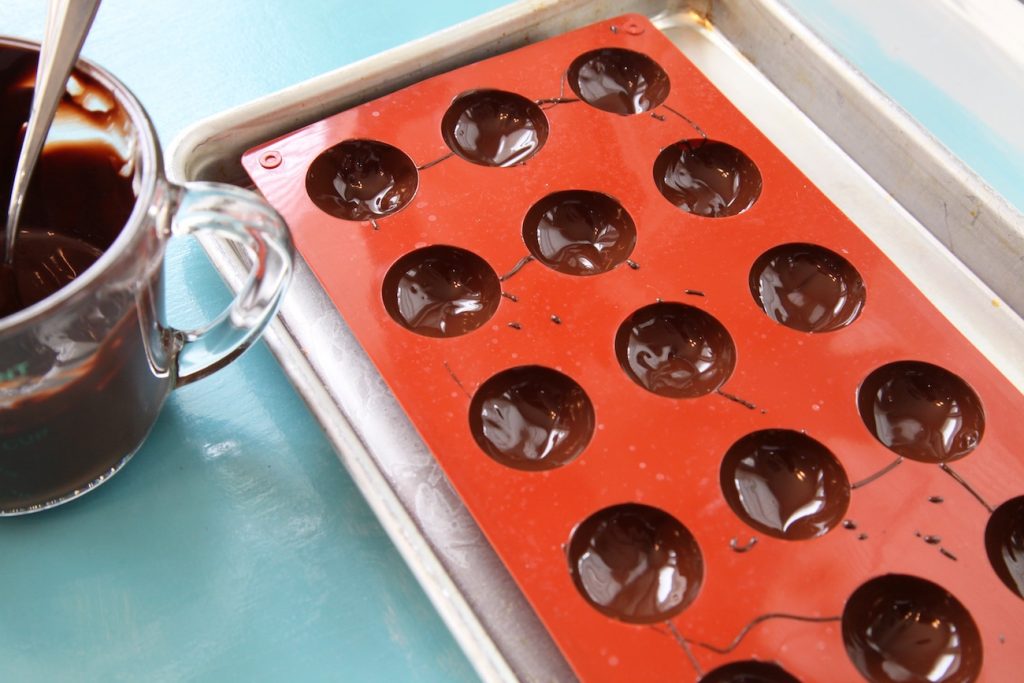
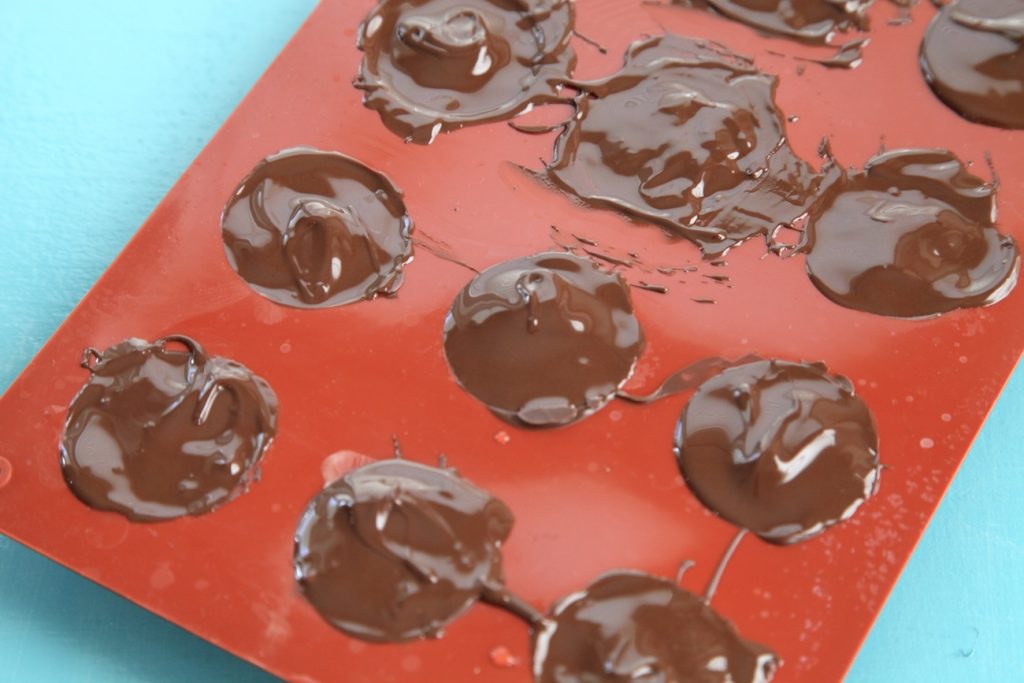
- Next, take the remaining melted chocolate and pour about a teaspoon on top of the filling and smooth it out with the back of your spoon or an off-set spatula. Skip this step if using cupcake liners. Make sure that the chocolate covers the filling and along the sides so that it meets up with the first layer of chocolate and surrounds the filling entirely.
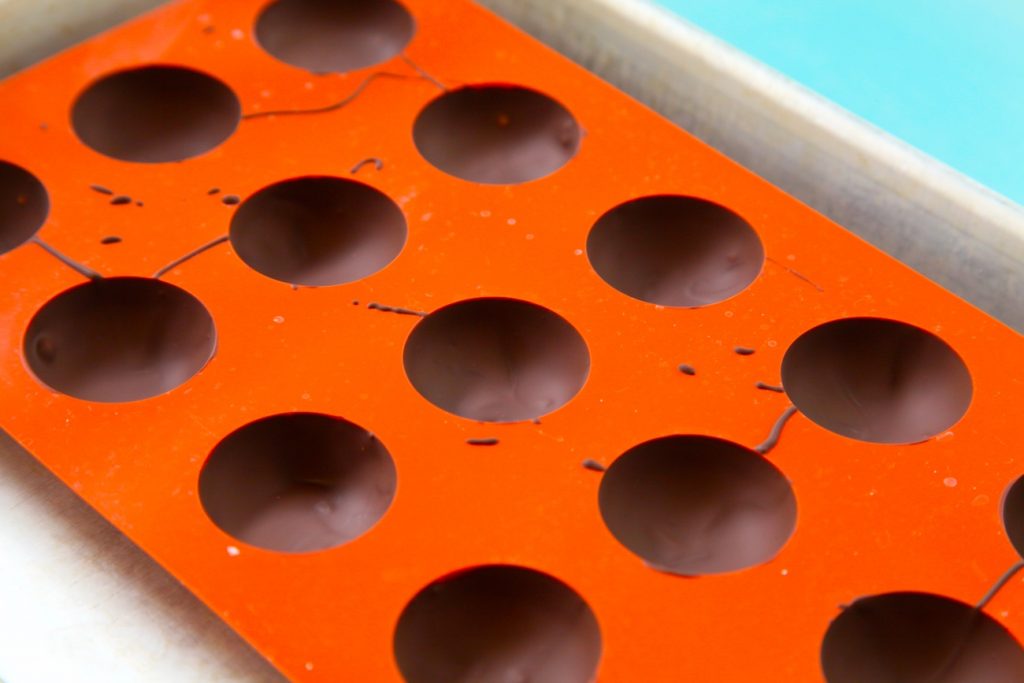
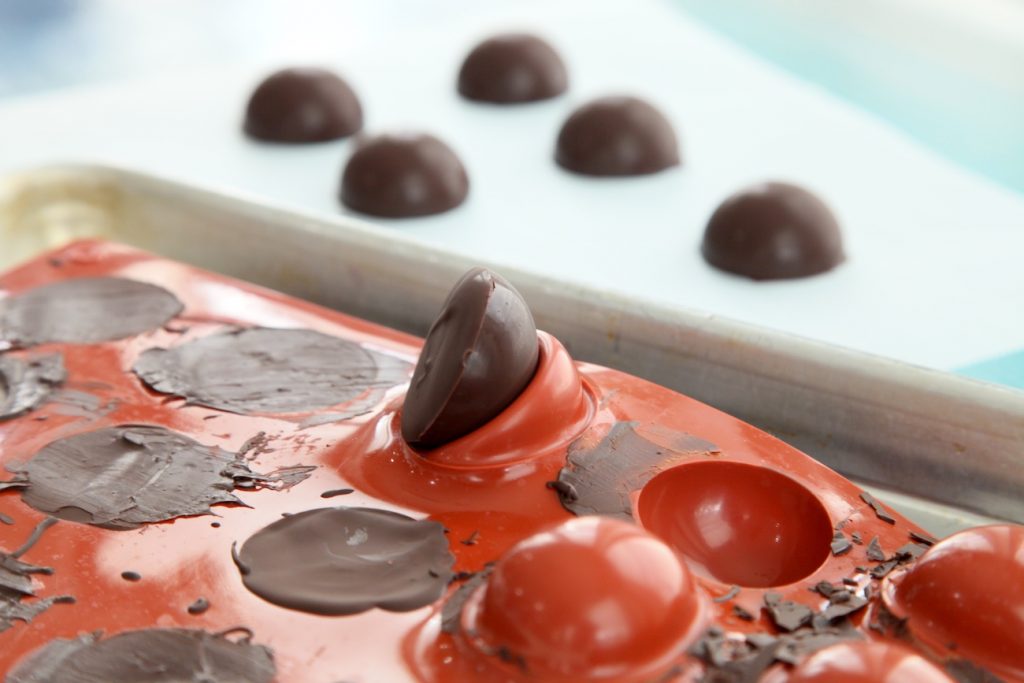
- Place chocolate in the fridge until completely set (about 30 minutes) or the freezer (about 5 minutes). Remove from fridge/freezer and take out of molds or liners. Flip upside down onto a piece of parchment or wax paper.
- Heat the remaining chocolate chips in 30 second intervals until chocolate is melted. Stir until smooth. This should take 60 seconds at most.
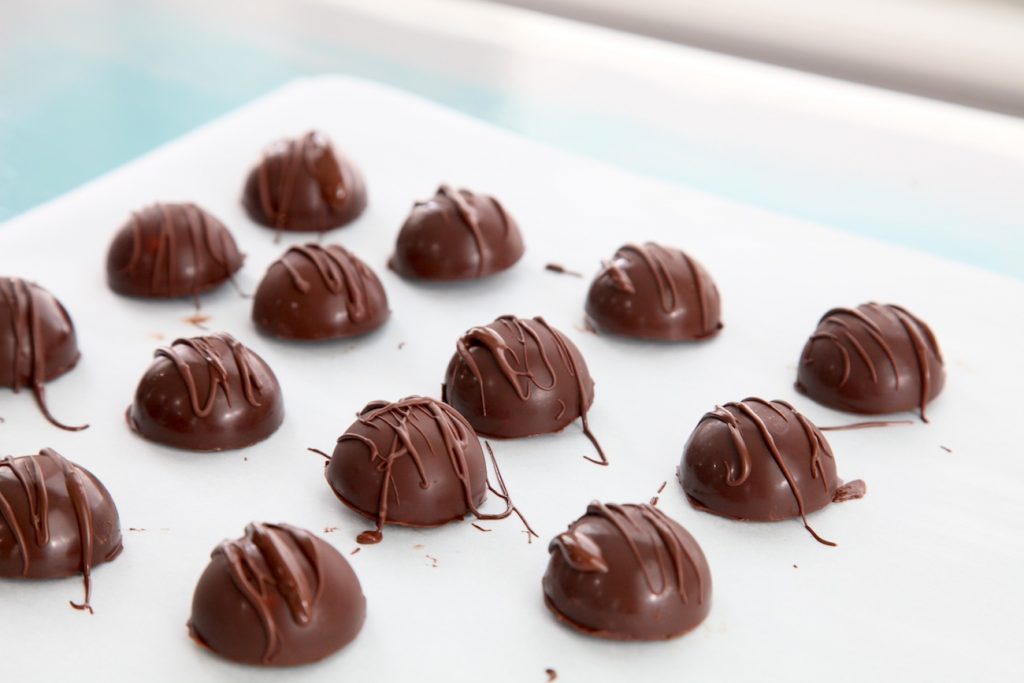
- Drizzle the melted chocolate on top of the chocolates. The drizzle will set very quickly since the chocolates are cold, but if you need to speed up the process, throw them back in the fridge or freezer for a few minutes. Once set, they can remain at room temp until you devour them all!

Comments
No Comments