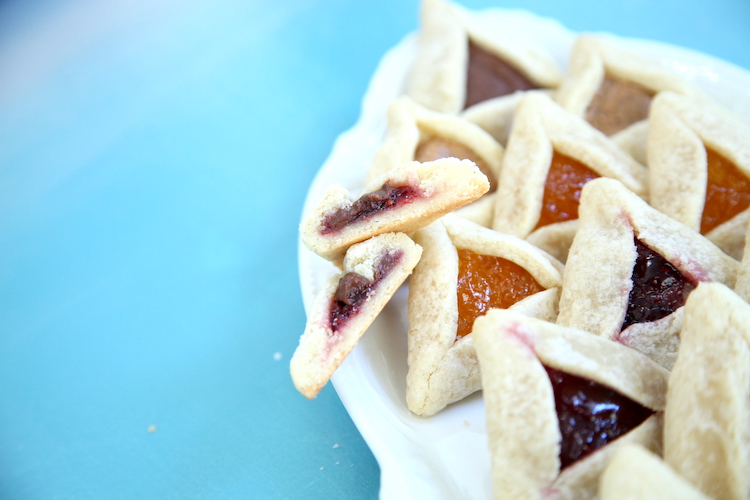
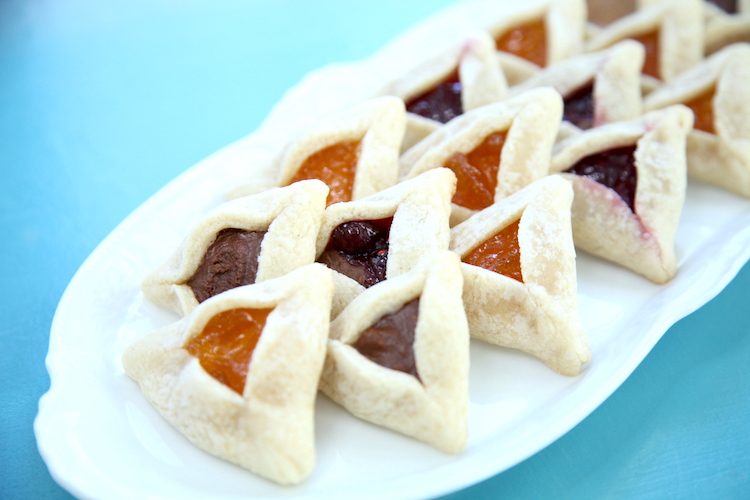
Hamantaschen, in the most simple terms, are delicious cookies that are triangular shaped. The center of the cookie is filled with jam, chocolate, nut butters or the most traditional- a poppyseed filling. This recipe is a gluten free version of Hamantaschen, that when my husband first ate one said, "I don't remember Hamantaschen tasting this good!" I have been gluten free for so long now, that it is hard for me to weigh in on that, but I can say that these are some darn good cookies. Whether you are eating them for the Jewish holiday of Purim or making them for a cookie tray at Christmas, they are sure to be a hit. Buttery crisp, yet still chewy and filled with whatever gooey sweetness your heart desires!
Backstory on Hamantaschen
Hamantaschen are traditionally eaten during the Jewish holiday of Purim. There are many backstories to the origin of the cookie and how it got it's name. The story most commonly recited is that the cookie symbolizes the triangular hat that was supposedly worn by Haman, the villian of the Purim story. Traditionally the cookies were filled with a poppyseed mixture which also provides a theory to it's origin. In the 18th or 19th century in Germany, a popular pastry filled with poppyseeds was called "mohntaschen." Mohn meant poppyseed, tasch meant pocket. During Purim, people created the play on words to come up with "Hamantaschen," turning the evil or wicked Haman, into something sweet. If you search the web, you will find many other explanations sighting all kinds of interesting stories. No matter the backstory, these gluten free Hamantaschen are a delicious way to celebrate any occasion!
Start with the Dough
This is a very simple dough to pull together. As long as you have a mixer that can handle cold butter, you can begin making the dough without softening the butter to room temp. I use a stand mixer, which pretty easily breaks up refrigerated butter. If you can keep the ingredients chilled while making the dough, you may not need to chill it at all before rolling it out. Yippee!! I wouldn't risk burning out the motor or bending your beaters on a hand mixer trying to cream cold butter though! So use your best judgement based on the equipment you have.
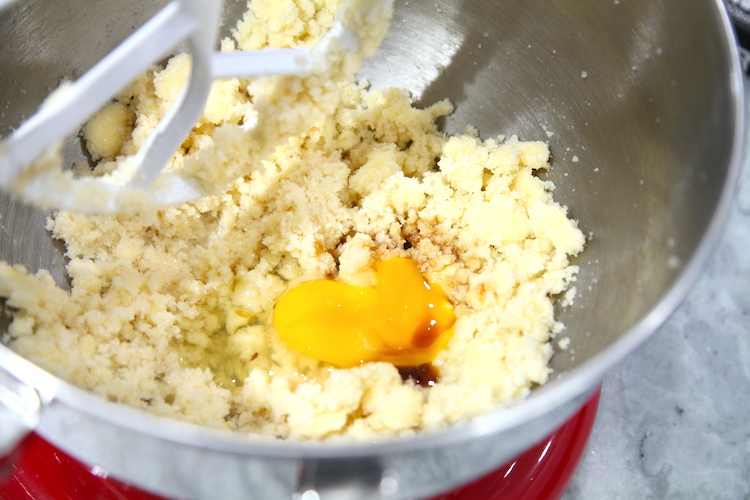
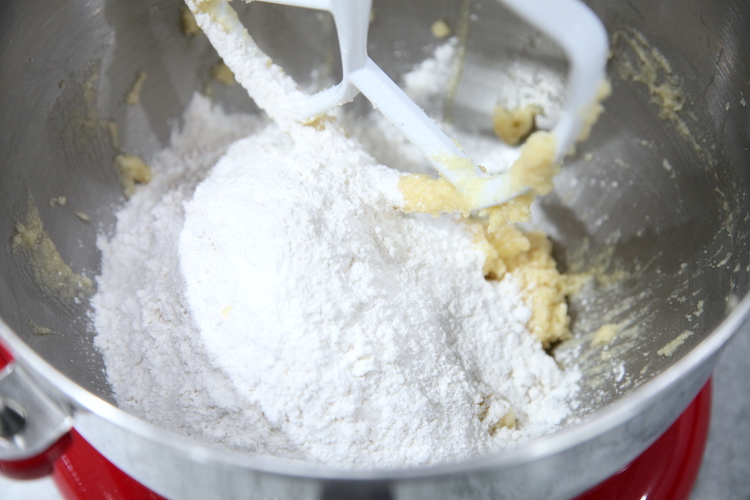
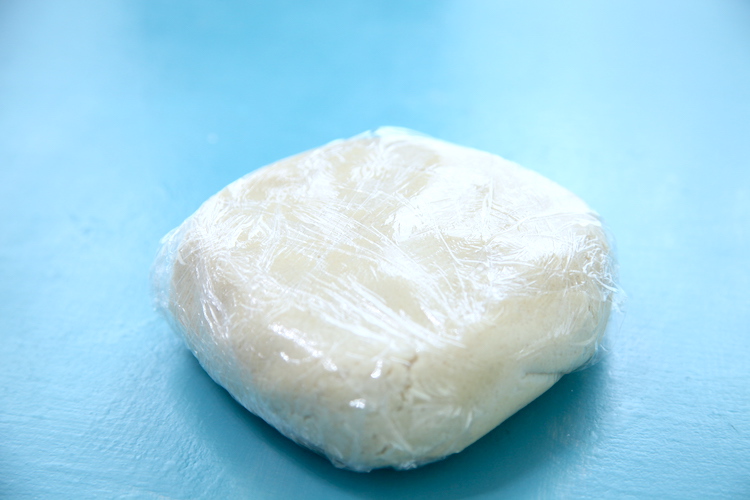
Once you have the butter and sugar creamed together, add the eggs and vanilla. Stir together the gluten free flour (I use Bob's Red Mill 1 to 1 Baking Flour) and salt together in a small bowl. Then add that mixture to the wet ingredients. The dough will begin to come together into clumps. At this point, use your hands to knead and shape the dough into a smooth ball. If it seems a bit dry or crumbly, add a teaspoon of milk to the dough, working it in as you knead the dough. You can wrap the dough tightly in plastic wrap and store it in the fridge for up to a week or the freezer for several months prior to rolling it out.
Rolling the Dough
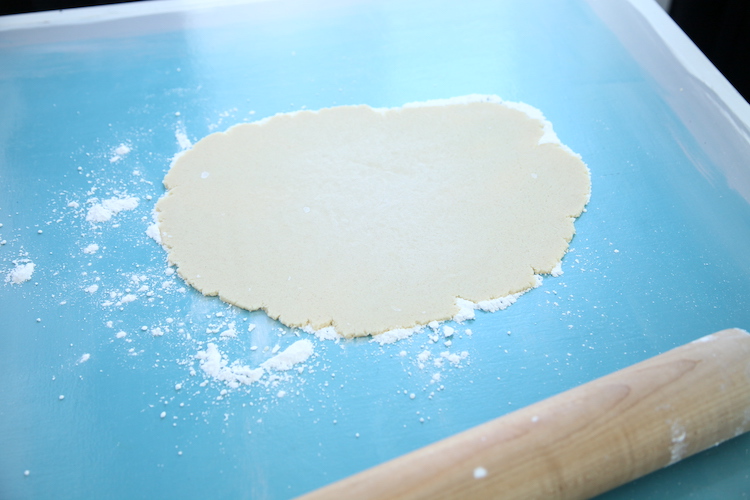
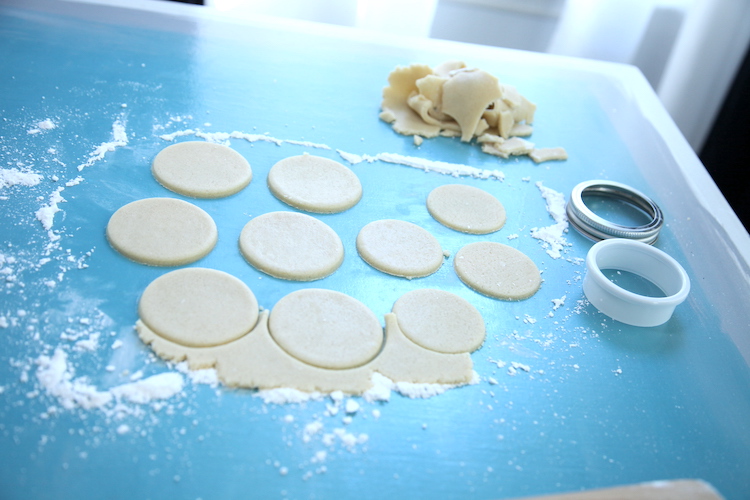
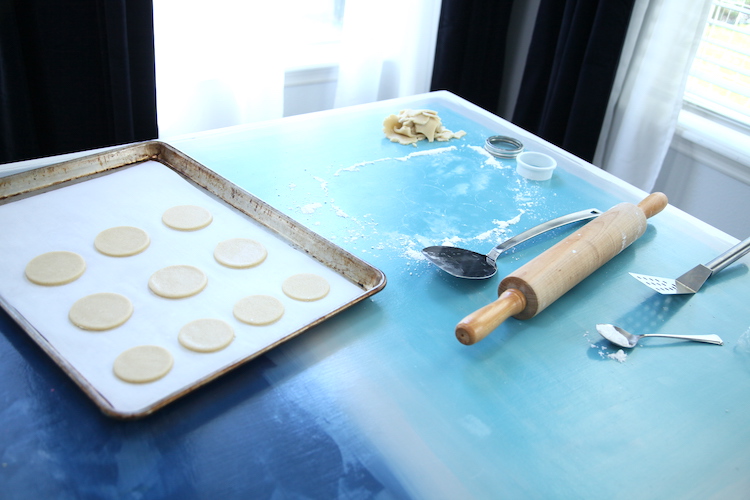
Sprinkle the dough with powdered sugar on all sides when you roll it out. If the dough is sticky or tacky at all, use a little extra powdered sugar. Roll the dough to ⅛th of an inch thickness. Cut circles out of the dough with a 2 ½ inch cookie cutter. Use a spatula to transfer the circles of dough to a parchment lined baking sheet. This dough won't spread, so you can place them about a half inch apart. Gather the scraps and continue rolling and cutting until all of the dough has been used.
Filling and Shaping
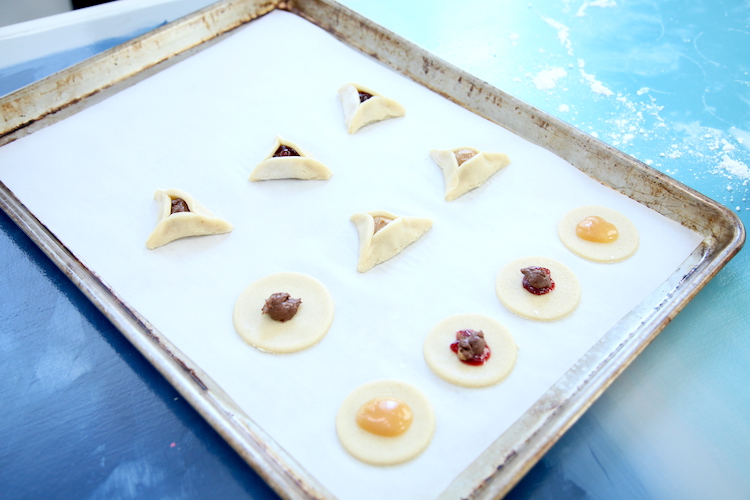
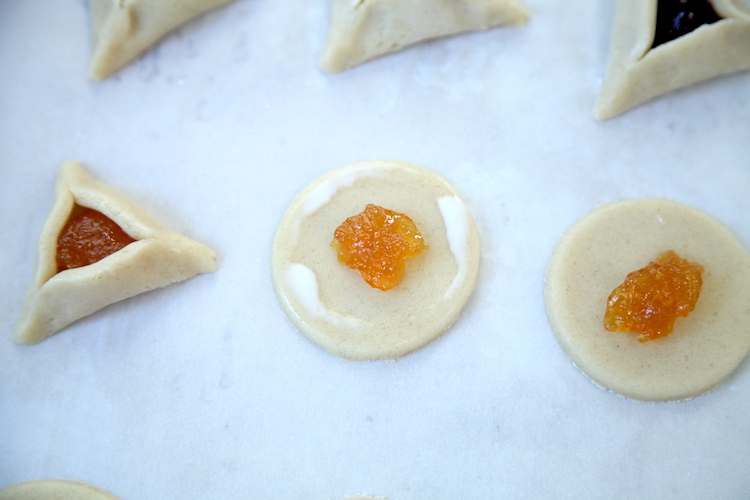
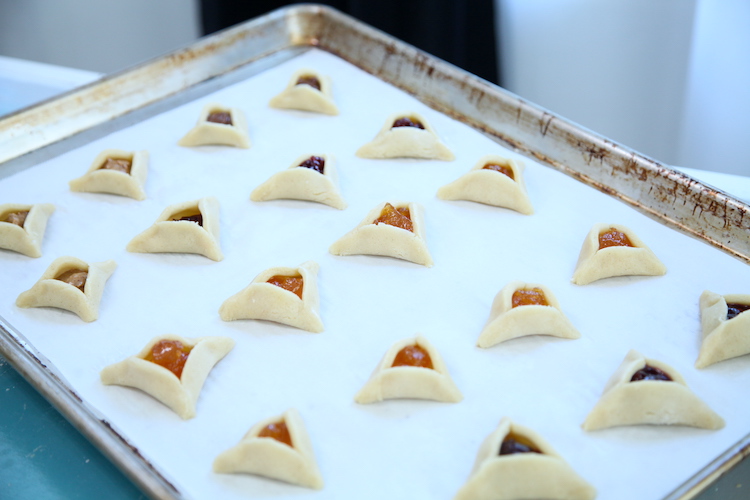
I find that nut butters and thicker jams work best as fillings. As you can see in the photos below, I tried using lemon curd that was the consistency of apple sauce. It was really, really delicious. The result unfortunately, was that it bubbled up, pushing the dough open. And the lemon curd to spill out. Bummer! However, I found that Justin's Vanilla Almond Butter, Chocolate Hazelnut Butter and multiple jams all work really well. Jam and chocolate hazelnut butter together also worked really well. Yum!! Once you've chosen your fillings, spoon about a teaspoon into the center of the dough. If the dough seems a little dry, make a ring of water or milk on the edge of the dough. Pull three sides from the circle together to make a triangle and press the edges together. Then use a wet finger to help seal the edges if needed.
And Bake!
Pop the tray of Hamantaschen in the oven and allow to bake for about 10 minutes. The goal is to remove them before they brown at all on top. Once the cookies come out of the oven, let them cool on the tray for about 10 minutes. That will ensure that the filling is no longer hot like lava. The result will be a cookie with a crispy exterior and chewy center.
More Gluten Free Baked Goodies
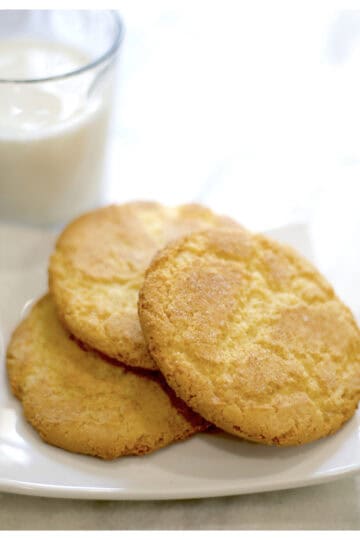
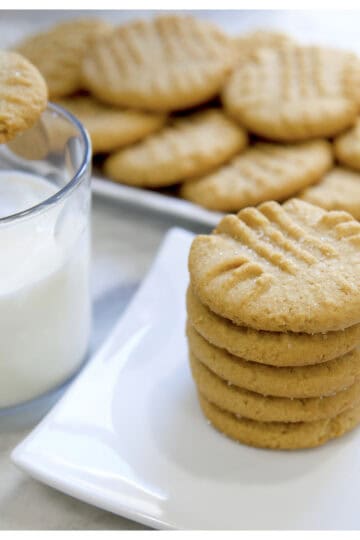
Almond Cut Out Cookies, Dirty Snowballs, Chewy Chocolate Chip Cookies, Pumpkin Chocolate Chip Cookies, College Dorm Cookies, Pumpkin Whoopie Pies and Naked Cut Out Cookies with Quick Dry Cookie Icing.
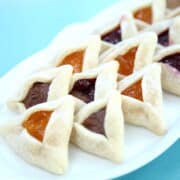
Hamantaschen
Ingredients
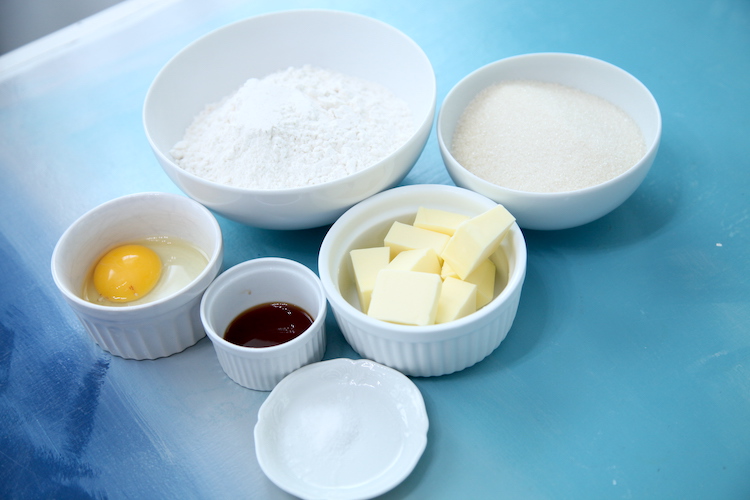
- 8 tablespoon cold butter
- 1 cup sugar
- 1 egg
- 2 teaspoon pure vanilla extract
- 2 cups gluten free flour blend with xanthan gum
- ½ teaspoon fine salt
- ¼ cup powdered sugar - for rolling out the dough
- 2 teaspoon milk or water - for sealing the dough
Filling:
- ¾ cup jam - any flavor jam or nut butters
Instructions
- Preheat the oven to 350 degrees and line 2 sheet pans with parchment paper.
- In a medium bowl, using a stand mixer or hand mixer (whichever can handle cold butter or let the butter soften some before starting), blend butter and sugar. Add the egg and vanilla. Mixing well to combine.
- Combine the flour and salt in a bowl, then gradually add the mixture a little at a time with the mixer on a low speed, so the flour doesn’t fly all over. You can do this by hand if you prefer, just be sure it is well combined.
- At this point, you can start rolling and cutting out the dough, but if it seems too sticky, dust with powdered sugar and try to roll it out. If it's still too sticky, wrap it in plastic wrap and refrigerate it for about 30 minutes. If it seems a bit dry and is cracking when you roll it out, knead about a teaspoon of milk or heavy cream into the dough by hand. Continue adding milk if needed until it becomes pliable without cracking.
- On a clean surface, sprinkle powdered sugar. Form the dough into a disk and sprinkle powdered sugar on top to prevent the rolling pin from sticking.
- Roll the dough out to about ⅛ inch thick and cut 2 ½” circles with a cookie cutter.
- Using a spatula, carefully lift and transfer the round pieces of dough to the lined baking sheet. These cookies don’t spread, so you can put them about ½ inch apart. Continue pulling the scraps together into a ball and rolling again until all of the dough has been cut out into cookies.
- Spoon about a teaspoon of filling into the center of each circle of dough. If it seems a little dry, dip your finger into water or milk and make a ring on the outside edge of the dough. Gently pull three sides of the circle together to form a triangle and press the dough together at each seam to seal the shape. Another dip of a finger into the water or milk will help to seal the dough as well if needed.
- Bake for approximately 8-10 minutes. Remove before the edges begin to brown. Let them cool completely on the baking sheet before transferring them to a serving tray. They will crumble if you try to remove them before they are cool.












Daniel says
These are delicious! Thank you so much!
Shay says
Yay!! So happy to hear that you enjoyed them Daniel! Thanks for taking the time to write & review:-)