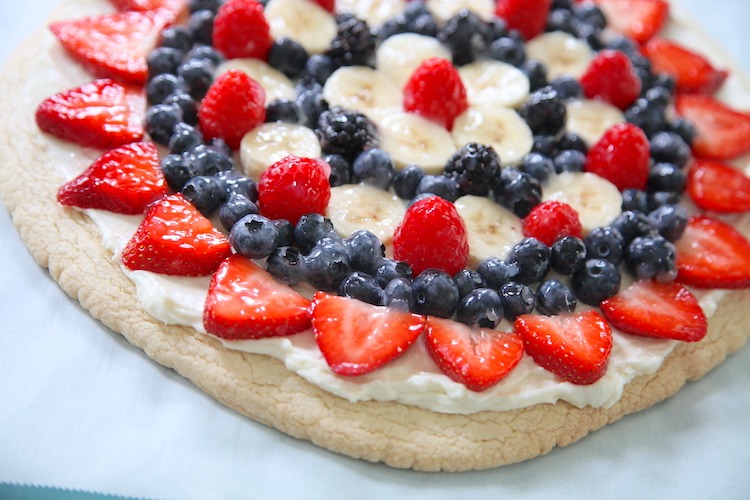
A gluten free buttery sugar cookie serves as the base for this Berries & Cream Pizza. The tender baked cookie is slathered with sweetened cream cheese and covered with fresh berries and fruit. A sweet lemony glaze does triple duty by adding flavor, shine and keeping the fruit from browning or drying out. One bite of these layers all together is a truly satisfying dessert. And it is easy to make!
Backstory
In grad school, I was given a fruit pizza recipe and carried it with me as I moved all over the country. I made that version of a fruit pizza for years and years. Recently, I realized that I hadn’t made it in a long, long time and had lost track of the recipe. Since the original version was made with a glutenous store-bought cookie dough base, it needed to be re-invented gluten free anyhow… so the fun began and here is the result! More added bonuses to this version: the microwavable glaze is easier to make and the base is homemade cookie deliciousness.
Start with the Cookie Base
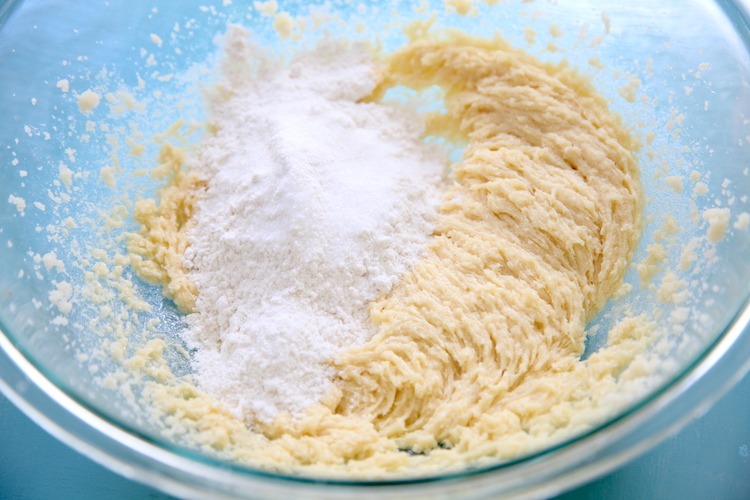
This buttery sugar cookie dough is very forgiving. Most of the time I take the butter straight from the fridge and cut it into chunks. By the time I get the rest of the ingredients together and preheat the oven, the butter is still cold, but soft enough to mix with the sugar without straining the beaters. Using the butter while it is still cold, instead of letting it come to room temp, will likely prevent the need to chill the dough before rolling it out.

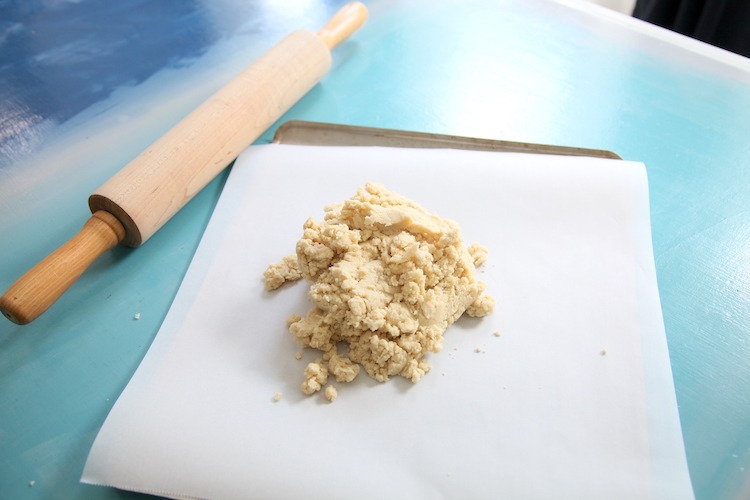
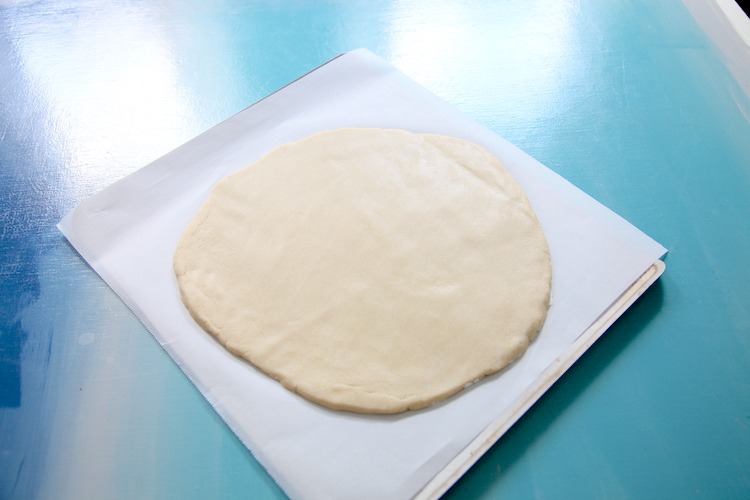
Once the butter and sugar are combined well, the egg and vanilla get mixed in. Then the flour and salt get added in a little at a time. Pull the dough together into a ball and place it on a parchment lined sheet pan. Use a rolling pin to roll it out a little less than ¼ of an inch. Shape it with your hands into a circle.


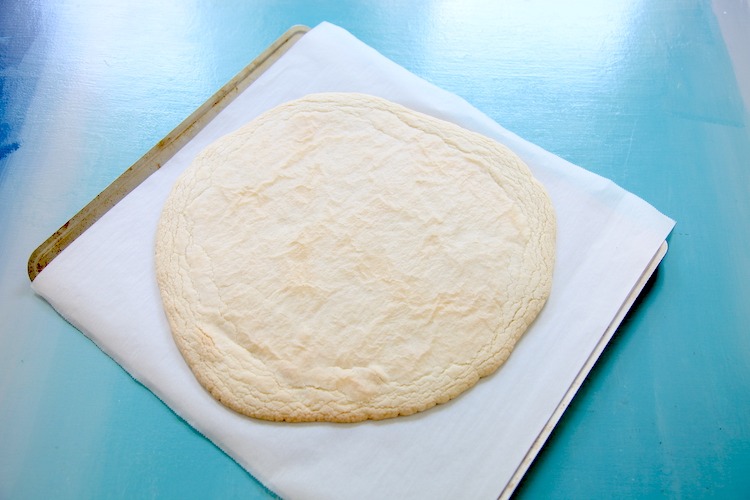
Bake the cookie base until it is no longer doughy in the middle and the edges may brown just a little on the edges. Remove it from the oven and let it cool at room temp while you work on the toppings.
Sweet Creamy Layer
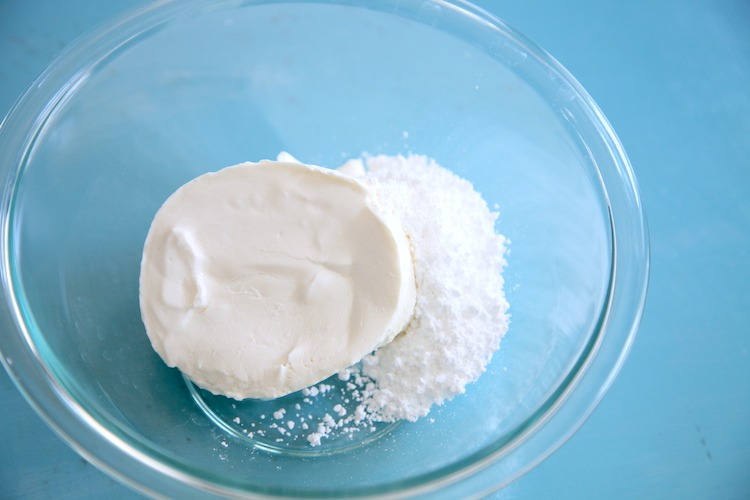
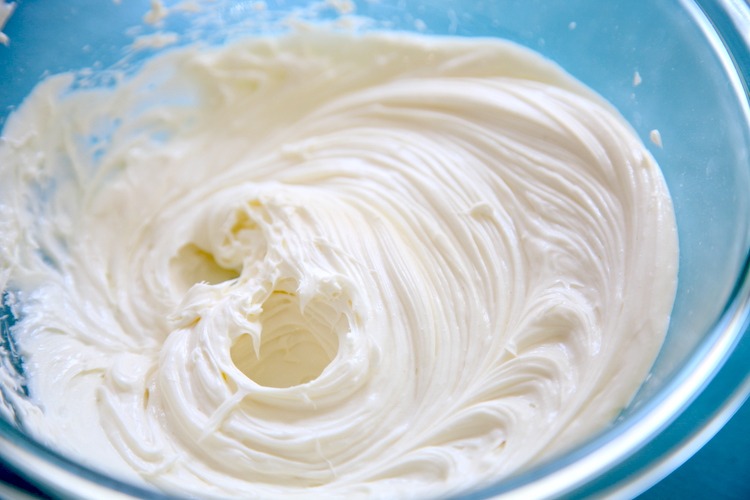
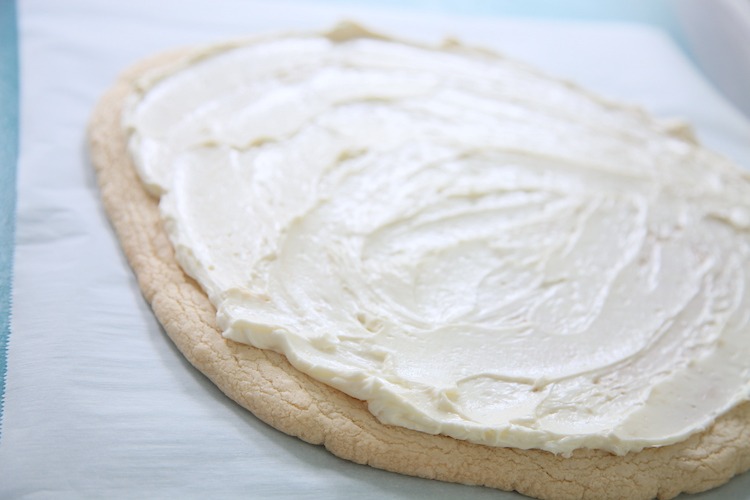
This is so simple! Just combine cream cheese and powdered sugar. You can use a hand mixer or a spatula if you’d like. Then spread it in an even layer over the cooled cookie base.

Berry Layer
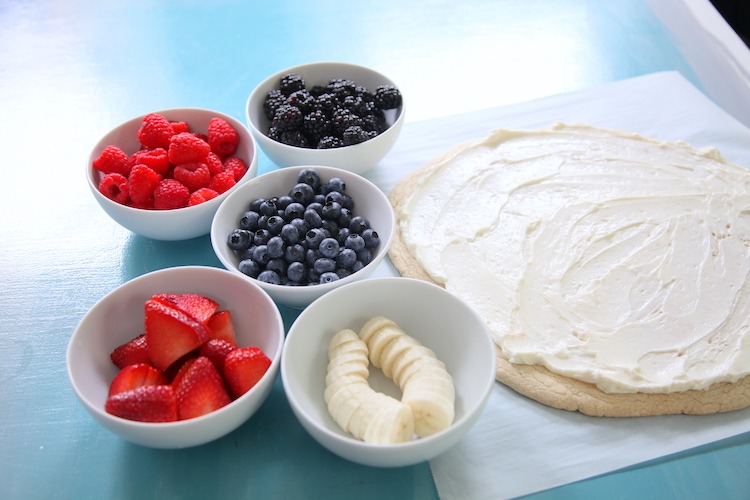
Make sure that the fruit you use isn’t dripping wet from being rinsed off or super juicy. Although the cream cheese layer is somewhat of a boundary between the fruit & cheese, you don’t want to risk a soggy cookie base. Place the berries and fruit on top of the sweet creamy layer however you’d like.

Lemony Glaze for the Berries & Cream Pizza
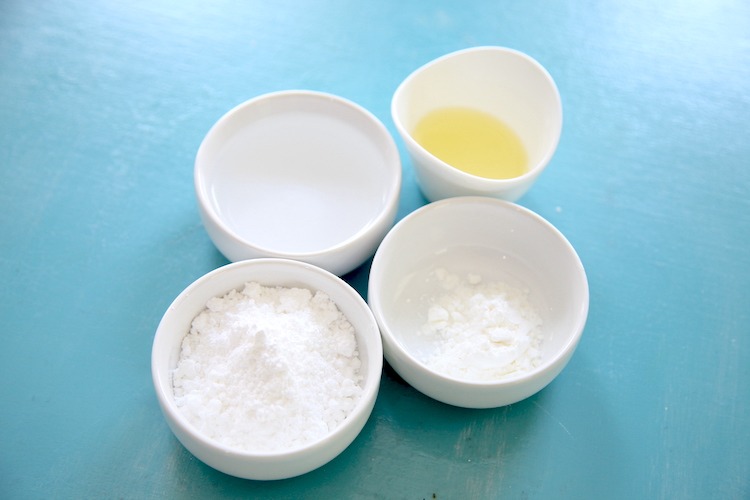
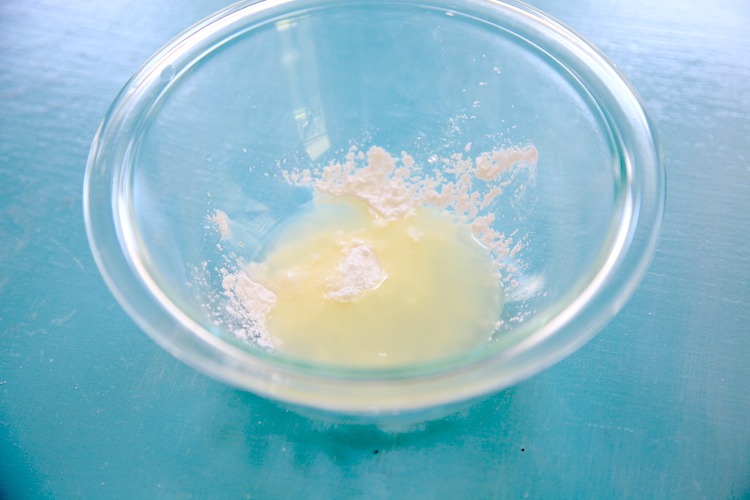
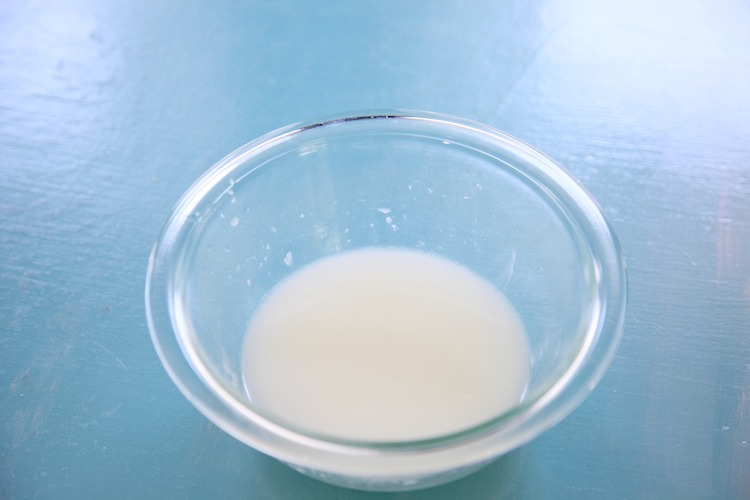
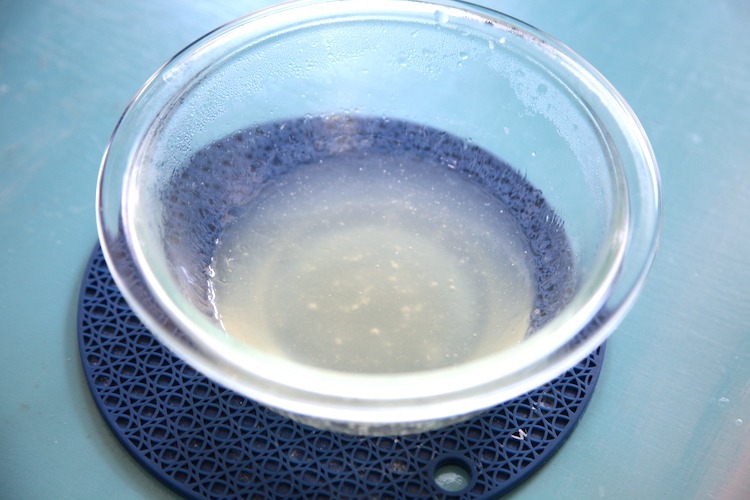
Begin by dissolving the cornstarch in the freshly squeezed lemon juice in a microwavable bowl. Then add the water and powdered sugar. It will be a cloudy mixture at this point. Once you heat the mixture to a boil, the cornstarch will fully dissolve and thicken the liquid. It will be almost clear at this point. Let it cool to the touch, then pour or brush the glaze onto the fruit.
Not only does this give the fruit a beautiful shine, it also helps to keep them from withering or browning. It also adds a sweet tang to the overall flavor. Yum!
More Gluten Free Desserts to Check Out
- S’mores Pizza
- Naked Cut Out Cookies
- Quick Dry Cookie Icing
- Almond Cut Out Cookies
- Browned Butter Oatmeal Cookies
- White Chocolate Macadamia Nut Cookies
- Chewy Chocolate Chip Cookies
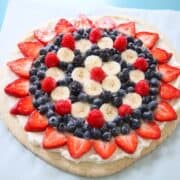
Berries & Cream Pizza
Ingredients
Gluten Free Cookie Base:
- 8 tablespoon butter - cool, *see notes below
- 1 cup sugar
- 1 egg
- 2 teaspoon vanilla
- 2 cups gluten free flour with xanthan gum - Cup4Cup & Bob's Red Mill 1 to 1 GF Baking Flour work well for this recipe
- ½ teaspoon salt
Creamy Layer:
- 8 oz cream cheese
- ¼ cup powdered sugar
Berry Layer:
- 1 ½ cups berries & other sliced fruit of choice
- 2 tablespoon lemon juice
- 2 teaspoon cornstarch
- ⅓ cup water
- ¼ cup powdered sugar
Instructions
- Preheat the oven to 350 degrees. Line a baking sheet with parchment paper.
- In a medium bowl, using a stand mixer or hand mixer, blend cool butter and sugar.
- Add egg and vanilla.
- Gradually add the flour and salt a little at a time so the flour doesn’t fly all over. You can do this by hand if you prefer, just be sure that it is combined well.
- Roll out the dough into a circle on the parchment lined baking sheet. Bake for approximately 18 minutes, or until the center is baked through and the edges have barely changed color, if at all.
- Remove from the oven and let cool at room temp.
Creamy Layer:
- Use a hand mixer to combine the cream cheese & powdered sugar. Once the cookie base has cooled to room temp, spread the creamy layer onto the cookie leaving about ½ inch of cookie exposed on the edge.
Fruit Layer:
- Rinse and let the berries or other fruit dry before assembling. You don’t want to make a soggy pizza! Cut the fruit or berries if needed.
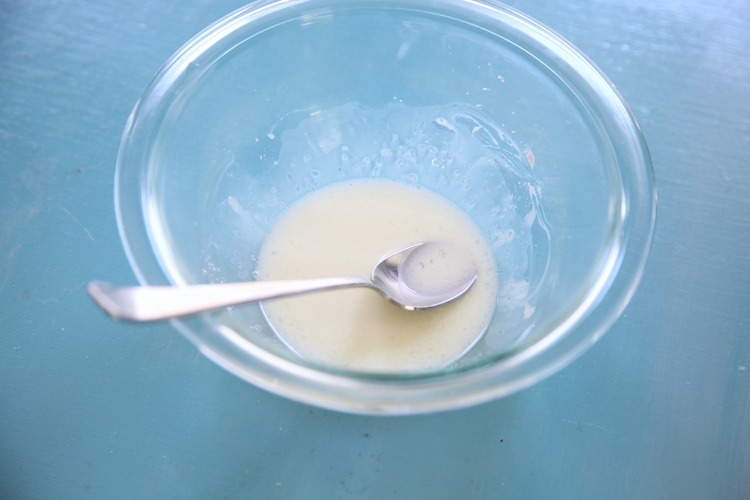
- In a small microwavable bowl, combine the lemon juice and cornstarch with a spoon to make a slurry. Add the water and powdered sugar, stirring to combine well.
- Microwave the mixture on high, watching for it to boil (takes about 1-2 minutes), then allow it to boil for a full minute before removing. Total time in the microwave should be between 2-3 minutes. Let it cool at room temp for a few minutes, until it is warm but not scorching hot.
- Pour or brush the mixture on top of the fruit to create a glaze. This will help to keep the fruit looking fresh and will prevent browning with some fruit as well. Enjoy right away or cover with plastic wrap and store in the fridge until ready to eat.
- Enjoy right away or store covered in the fridge until ready to dig in!

Comments
No Comments